 how-to
What Happens If a Door Is Not Installed Correctly
Table of Contents
- What Happens When a Door Is Not Installed Correctly
- Signs a Door Is Installed Incorrectly
- Why Your Door Won't Close After Installation
- How to Square a Door Frame During Installation
- How to Fix a Sagging Door
- Interior Versus Exterior Door Installation Risks
- When to Repair, Rehang, or Replace a Door
- Conclusion
- Frequently Asked Questions
Last Updated: October 10, 2026
What Happens When a Door Is Not Installed Correctly
When a door is not installed correctly, it compromises security, wastes energy, and creates safety hazards that compound over time, leading to costly repairs and reduced home value.
A door that doesn't seal properly wastes energy; one that won't latch leaves your home vulnerable; a sagging door can jam completely, blocking emergency exits. These are real safety and security issues.
This guide covers the visible signs of installation failure, root causes, and practical steps to fix or prevent them.
Signs a Door Is Installed Incorrectly
The first step is learning to spot installation problems before they become expensive repairs. Most installation errors show themselves within the first few weeks of use through visible, physical signs.
Door rubbing against the frame or floor
A door that rubs or drags indicates the frame isn't level or plumb, or the door has shifted out of alignment.
Rubbing wears away paint and exposes wood to moisture, creating grooves that worsen the problem and make operation harder.
Exterior doors that rub are serious, they create gaps that let air and water penetrate and indicate uneven frame settlement.
How to check: Open and close the door slowly. Listen for scraping sounds. Run your hand along the top and sides of the door frame where it meets the door. Feel for places where the gap is tighter than others. A consistent gap all around means proper installation. Tight spots or rubbing mean misalignment.
Uneven gaps around the door
A properly installed door has an even 1/8-inch gap all around. Wider gaps at the top, bottom, or sides indicate the frame is out of plumb or the door is crooked.
Uneven gaps let light, air, and noise through, signaling the frame wasn't squared or shims weren't used to adjust alignment.
Uneven gaps worsen as the house settles; a 1/4-inch gap can become 1/2 inch within a year.
How to check: Close the door and look at the reveal, the gap between the door edge and the frame, on all four sides. Use a straightedge or level against the frame itself. If the frame leans in or out, it's out of plumb. Compare the gap measurements with a ruler. Gaps should be equal top to bottom and left to right.
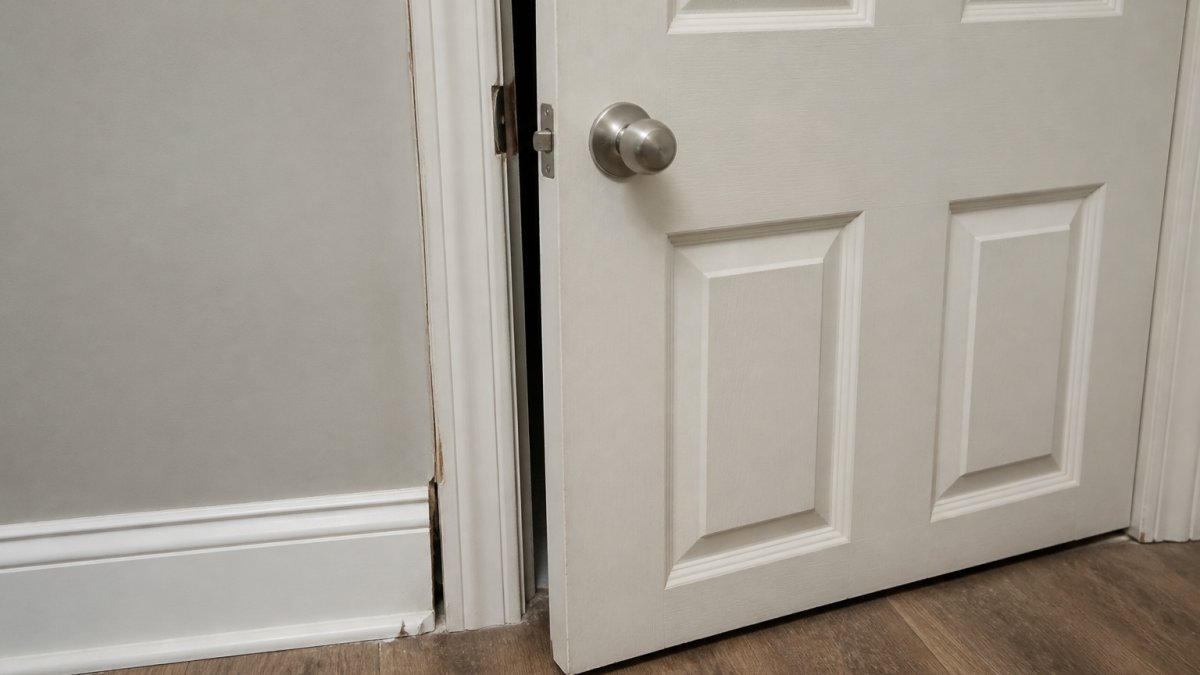
Door that will not close or latch
A door that won't latch is a critical failure caused by strike plate misalignment, the metal piece that catches the latch bolt must align perfectly with the door's latch mechanism.
An unlatching door compromises security and can warp or sag over time because it's not held square by the frame.
Incorrectly installed hinges cause the door to hang at an angle, making the latch miss the strike plate.
How to check: Close the door gently without pushing it. The latch should catch smoothly. If it doesn't, try pushing the door firmly shut.
Why Your Door Won't Close After Installation
When a door won't close properly after installation, the problem usually traces back to two specific installation errors: hinge placement and strike plate alignment. Understanding these root causes helps you know whether you need a simple adjustment or a professional rehang.
Hinge placement and alignment issues
Hinges are the foundation of door operation. Incorrect height, depth, or alignment causes the door to hang crooked and fail to close smoothly.
Hinges must be perfectly vertical, parallel, and set at the correct depth. Too deep and the door tilts inward; too shallow and it tilts outward.
Many mistakes occur because hinge alignment isn't checked before the door is hung. Once mortised, fixing requires chiseling out and starting over.
Common hinge mistakes:
- Hinges installed at different depths
- Top hinge higher than the bottom hinge
- Hinges not mortised deep enough or too deep
- Hinges not parallel to the door edge
- Screws stripped or loose, allowing hinges to shift
Strike plate misalignment
The strike plate must line up exactly with the latch bolt. Even a 1/4-inch difference prevents latching or requires forcing the door shut.
Strike plate misalignment occurs when installers don't account for where the latch lands when the door closes, not where it is when open.
Temperature and humidity affect alignment, wood shrinks in dry conditions and swells in humidity. Professional installation accounts for seasonal changes.
How to fix strike plate misalignment:
- Close the door gently and mark where the latch bolt touches the frame
- Install the strike plate so the opening aligns with that mark
- Test the door multiple times to ensure smooth latching
- If the door is sticky or hard to latch, the strike plate is too tight, move it slightly forward
How to Square a Door Frame During Installation
Squaring the frame is the most critical step. If the frame isn't square, plumb, and level, every other adjustment will fail.
Check the door frame for plumb and level
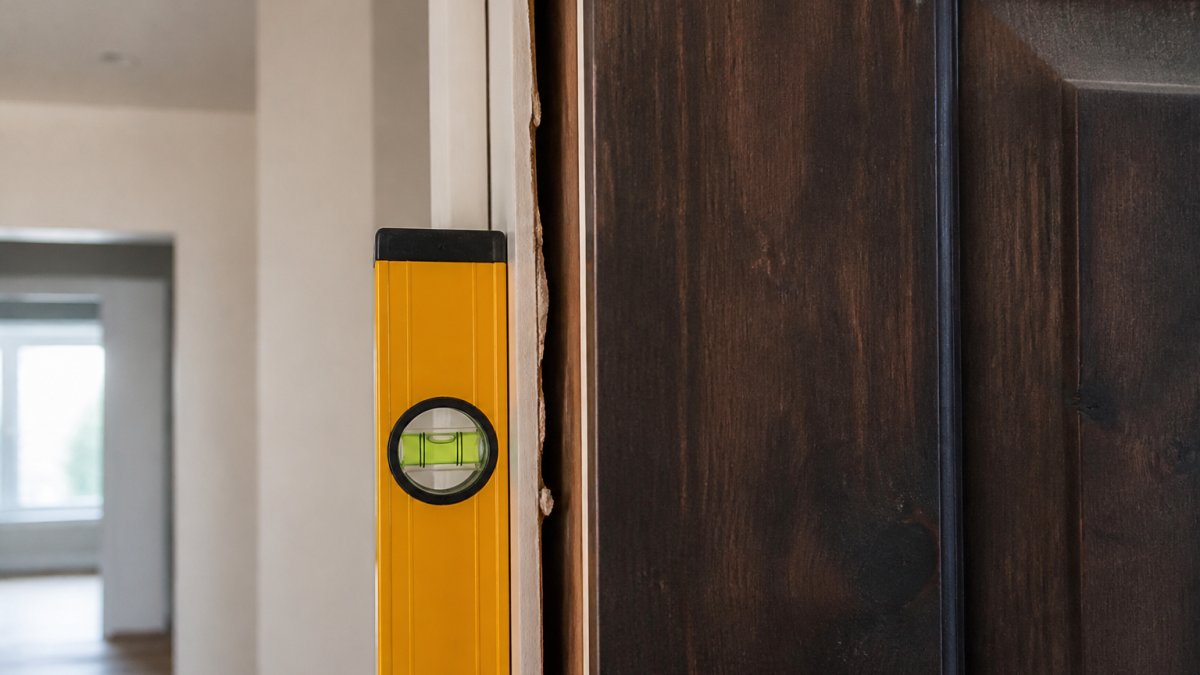
Before the door goes in, the frame must be perfectly plumb and level. Use a 4-foot level on all four sides; the bubble should sit dead center.
Check the frame at top, middle, and bottom on both sides. If any measurement is off, the frame needs adjustment.
A frame out of plumb by 1/8 inch causes the door to drift open or closed; an unlevel frame causes sagging over time.
How to check plumb and level:
- Place a 4-foot level against the left side of the frame, top to bottom
- The bubble should sit in the center
- Repeat on the right side
- Check the top of the frame horizontally
- Check the bottom of the frame horizontally
- If the bubble is off-center, the frame needs adjustment with shims
Use shims to correct frame alignment
Shims are thin wedges inserted between the frame and rough opening. Adjusting their position and thickness shifts the frame until it's perfectly plumb and level.
This step separates professional from amateur work. Professionals spend time shimming correctly; amateurs often skip or rush this step.
Shims go at every hinge and strike plate location, plus top corners and midpoints. Shims must be tight with no gaps.
Loose shims allow frame shift; even 1/16 inch ruins door operation. Tight shims hold the frame solid through house settlement and seasonal changes.
Shimming process:
- Insert shims at the top corners, leaving 2 inches of shim sticking out
- Check plumb and level, then tap shims in or out until the frame is perfectly plumb
- Insert shims at each hinge location, checking plumb as you go
- Insert shims at the strike plate location
- Cut off excess shim material flush with the frame
- Seal gaps with caulk or foam to prevent air infiltration
How to Fix a Sagging Door
A sagging door develops over time as the house settles, the frame shifts, or hinges wear. It's more common in older homes or extreme climates.
Identifying sagging versus other alignment problems
A sagging door tilts visibly, the top hinge-side corner is higher or the bottom corner is lower, caused by hinge shift or uneven frame settlement.
Sagging differs from a crooked installation, a sagging door was level when new but shifted over time; a crooked door was never level.
Signs of sagging:
- Door rubs at the top of the frame on the hinge side
- Door rubs at the bottom on the latch side
- Visible tilt when you look at the door edge
- Door drifts open or closed on its own
- Uneven gaps that weren't there before
Adjusting hinges and rehang options
Minor sagging can sometimes be fixed by tightening hinge screws. This is a quick fix worth trying first.
If tightening doesn't work, replacing screws with slightly longer ones can lift the door back into position if the shift is less than 1/4 inch.
For significant sagging, the door must be rehanged, a job for professionals unless you have carpentry experience.
Rehanging is common in older homes or extreme climates. In the Southwest, temperature swings cause wood expansion and contraction, making seasonal sagging typical.
Quick fixes to try:
- Tighten all hinge screws with a screwdriver, don't use power tools, which can strip screws
- If screws turn but don't tighten, remove them and inspect for damage
- If the screw hole is stripped, insert a toothpick in the hole with wood glue, break it off flush, and reinstall the screw
- Test the door after each adjustment
- If the door still sags, professional rehanging is the next step
Interior Versus Exterior Door Installation Risks
Interior and exterior doors have different installation requirements. An exterior door installed like an interior door will fail.
Interior doors seal against noise and provide privacy but don't need weather sealing. Mistakes are inconvenient but not dangerous or expensive to fix.
Exterior doors seal against weather and extremes. Installation mistakes create water infiltration, energy loss, and security gaps.
Exterior doors carry higher security demands. A door that won't latch or has gaps is a security vulnerability.
Interior priorities: Hinges aligned, strike plate aligned, even gaps, smooth operation.
Exterior doors in the Southwest face unique challenges: intense sun causes expansion, dry air causes shrinkage, and temperature swings stress the frame and hinges.
When to Repair, Rehang, or Replace a Door
Repair is appropriate when hinges are loose, strike plate misaligned, weatherstripping compressed, door rubs slightly, or latch is sticky. Repairs cost $50-200 and take 1-2 hours.
Rehang is appropriate when the door sags more than 1/4 inch, frame can't be shimmed, hinges are bent, or multiple problems trace to installation angle. Rehanging costs $200-500 and takes 2-4 hours.
Replace when the door is warped or cracked, frame is rotted, rehang attempts fail, or damage is extensive. Replacement costs $300-1500 and includes removal, installation, finishing, and hardware.
For homeowners and contractors in the Phoenix and Scottsdale area, Arizona Door Store can help you assess whether your door needs repair, rehanging, or replacement. Our team has experience with the specific challenges that Arizona's climate creates for doors, expansion, contraction, warping, and misalignment.
Conclusion
A door that's not installed correctly creates problems that compound over time. What starts as a minor gap or slight rubbing becomes a security risk, an energy drain, and a daily frustration.
If your door shows signs of installation failure, start by checking whether it's plumb, level, and square. Many problems can be fixed with simple adjustments, tightening hinges, shimming the frame, or realigning the strike plate. For more complex issues, professional rehanging or replacement may be necessary.
Arizona Door Store provides the high-quality doors and expert guidance you need to get installation right the first time. Our team understands the challenges of installing doors in Arizona's climate, and we're here to help contractors and homeowners make confident choices about repair, rehanging, and replacement.
Frequently Asked Questions
How can you tell if a door is hung correctly?
A correctly hung door will have even gaps on all sides, close smoothly without rubbing, and latch securely without force. Check that the door frame is plumb and level using a 4-foot level. The door should swing freely and return to its starting position without drifting. If gaps are uneven or the door binds, the installation is likely incorrect and needs adjustment.
Can an incorrectly installed door cause drafts or water leaks?
Yes. When a door is not installed correctly, uneven gaps and improper sealing allow air infiltration and water penetration. Exterior doors with poor frame alignment are especially vulnerable during heavy rain or high winds. This can damage interior walls, increase energy costs, and lead to mold growth. Proper installation with correct frame alignment and weatherstripping prevents these costly problems.
What causes a door to sag after installation?
Door sagging typically results from hinges installed incorrectly, inadequate hinge support on heavy doors, or frame settling over time. Weight distribution across misaligned hinges causes the door to drop at the latch side. Older homes with uneven floors and walls complicate installation further. Adjusting hinges or adding shims can correct minor sagging, but severe cases may require rehang or replacement.
How do I know if my door frame is square?
Use a 4-foot level to check that the frame is plumb vertically and level horizontally. Measure diagonally from corner to corner, both measurements should be equal if the frame is square. Gaps between the door and frame should be consistent around all edges. If measurements don't match or gaps are uneven, the frame needs adjustment with shims before the door can operate smoothly.