 how-to
How to Install Weatherstripping on Entry Doors
Table of Contents
- How to Identify When Entry Door Weatherstripping Needs Replacement
- Best Weatherstripping for Exterior Doors: Types and Selection Guide
- Weatherstripping Tools and Materials You'll Need
- How to Measure for Door Weatherstripping Accurately
- Step-by-Step: How to Install Weatherstripping on Entry Doors
- How to Replace Door Weatherstripping: Fit and Compression Checks
- Common Mistakes to Avoid During Installation
- Frequently Asked Questions
Last Updated: October 6, 2026
How to Identify When Entry Door Weatherstripping Needs Replacement
Your entry door weatherstripping seals out drafts, but it doesn't last forever: foam compresses, adhesive weakens, and vinyl cracks.
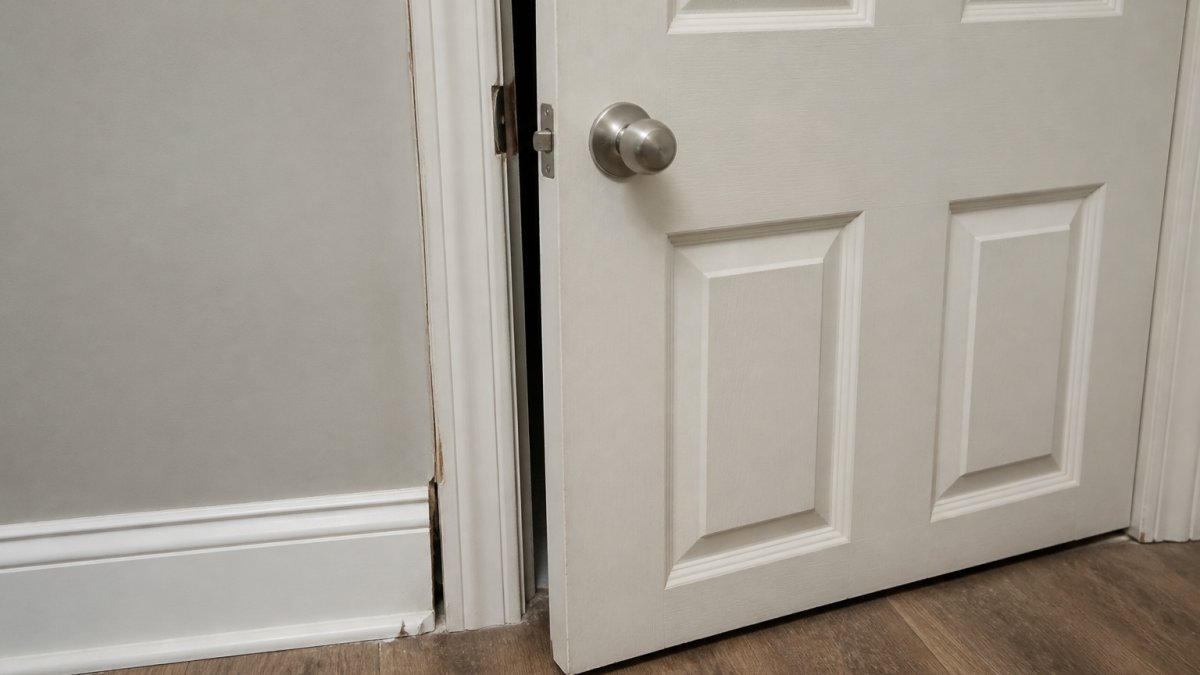
Drafts around the frame are the most obvious sign of failure. Feel for cold air in winter or warm air in summer, and watch for higher energy bills. If your door no longer closes smoothly or the latch feels loose, the weatherstripping may have compressed unevenly.
Check the foam, vinyl bulb, or V-strip. Cracked, peeling, or flattened weatherstripping cannot seal properly, and a backing liner pulling away means replacement is overdue. Daylight around the edges guarantees the seal is broken.
Test the seal yourself. On a windy day, hold a lit candle near the frame; if the flame flickers or bends toward the door, air is leaking. Or close the door on a dollar bill: if it pulls out easily, the weatherstripping has lost its compression.
At Arizona Door Store, we help homeowners and contractors catch these warning signs early.
Best Weatherstripping for Exterior Doors: Types and Selection Guide
Not all weatherstripping performs the same. Your choice depends on door type, frame construction, climate exposure, and needed compression.
Adhesive-backed foam weatherstripping is the most common choice for entry doors: affordable, easy to install, and fine in moderate climates.
V-strip weatherstripping (tension seal) uses a vinyl or metal strip bent into a V that springs back after repeated openings.
Vinyl bulb weatherstripping has a hollow bulb that compresses when the door closes, sealing tightly and resisting weather well. It suits older doors with uneven frames or gaps that vary in width.
Kerf-in weatherstripping fits into a groove (kerf) routed into the frame or jamb.
Door sweep weatherstripping installs at the bottom of the door to seal the gap between door and threshold. Choose brush, vinyl, or combination sweeps.
For entry doors in Arizona's climate, prioritize durability against intense sun and temperature swings. Foam works for most homeowners, but V-strip or vinyl bulb performs better in direct sun.
Weatherstripping Tools and Materials You'll Need
Gather everything before you start. The right tools make installation faster and produce better results.
Essential tools:
- Utility knife or razor blade (for cutting and scraping)
- Measuring tape (at least 25 feet)
- Pencil or marker (for marking cut lines)
- Straightedge or metal ruler (for straight cuts)
- Screwdriver set (for removing old fasteners if needed)
- Caulk gun (if using adhesive-backed weatherstripping)
- Cloth or sponge (for cleaning surfaces)
Materials to have on hand:
- Weatherstripping (foam, V-strip, vinyl bulb, or door sweep, your choice based on type)
- Rubbing alcohol or degreaser (for cleaning the door frame)
- Sandpaper or sanding block (for roughing up glossy surfaces)
- Painter's tape (optional, for marking guidelines)
- Replacement weatherstripping for all four sides of the door frame
Optional but helpful:
- Heat gun (for softening old adhesive to remove weatherstripping)
- Caulk (for sealing gaps larger than weatherstripping can handle)
- Drop cloth (to protect flooring during cleanup)
Most of these items cost very little, and the weatherstripping itself is the main expense.
Check your weatherstripping package for special requirements; manufacturers may recommend different spacing, compression levels, or surface prep.
How to Measure for Door Weatherstripping Accurately
Accurate measurements prevent waste and ensure proper fit; mistakes lead to gaps that defeat the new weatherstripping.
Measure the side jambs first. Measure both vertical sides from the head jamb to the threshold.
Measure the head jamb. This horizontal piece at the top of the frame is measured from the inside edge of the left side jamb to the inside edge of the right side jamb.
Measure the threshold area. For a door sweep, measure the width of the door from edge to edge at the bottom; sweeps need to fit snugly across this opening without gaps.
Check the gap width. Run your fingers along the frame edges to feel the gap between the closed door and the frame.
Test the door closure. Close the door and check that it latches smoothly without binding.
Write all measurements down before shopping. Arizona Door Store staff can help you choose the right type based on your measurements and door condition.
Step-by-Step: How to Install Weatherstripping on Entry Doors
Follow these steps in order. The process takes 1-2 hours for a typical entry door.
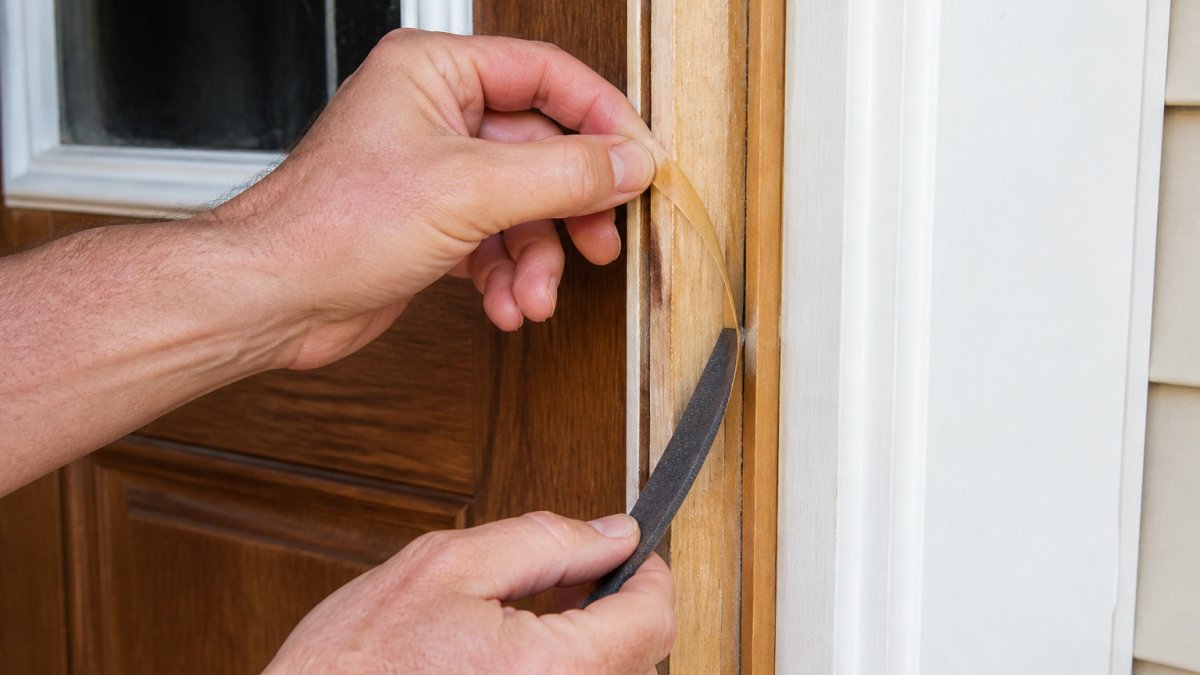
Remove Old Weatherstripping
Start by removing all the old weatherstripping; new material won't adhere properly over it, preventing proper compression and seal.
Step 1: Peel away the old weatherstripping. Grab the edge of the old foam or vinyl and pull it from the frame. If it's stubborn, slice along the edge with a utility knife and peel carefully to avoid gouging the wood.
Step 2: Remove adhesive residue. Scrape off remaining adhesive with a utility knife or plastic scraper, working gently. For stubborn spots, apply rubbing alcohol or adhesive remover, let it sit 5 minutes, then scrape again.
Step 3: Clean the entire surface. Wipe the frame with a cloth dampened with rubbing alcohol or degreaser to remove dirt, dust, and adhesive residue. A clean surface is essential for adhesion. Let it dry completely.
Clean and Prepare the Surface
Surface preparation determines how well your new weatherstripping sticks.
Sand glossy surfaces. Lightly sand glossy finishes or varnish with fine-grit sandpaper so adhesive grips better. Wipe away dust and let dry.
Fill large gaps. If gaps between the frame and wall exceed 1/2 inch, fill them with paintable caulk first, let it cure, then install weatherstripping over it.
Inspect the frame for damage. Look for rot, cracks, or splintered wood. Small splinters can be sanded smooth, but rot or significant damage requires frame repair before weatherstripping will seal.
Install Weatherstripping on the Side Jambs
The side jambs are where most air leakage occurs. Install weatherstripping on both sides carefully.
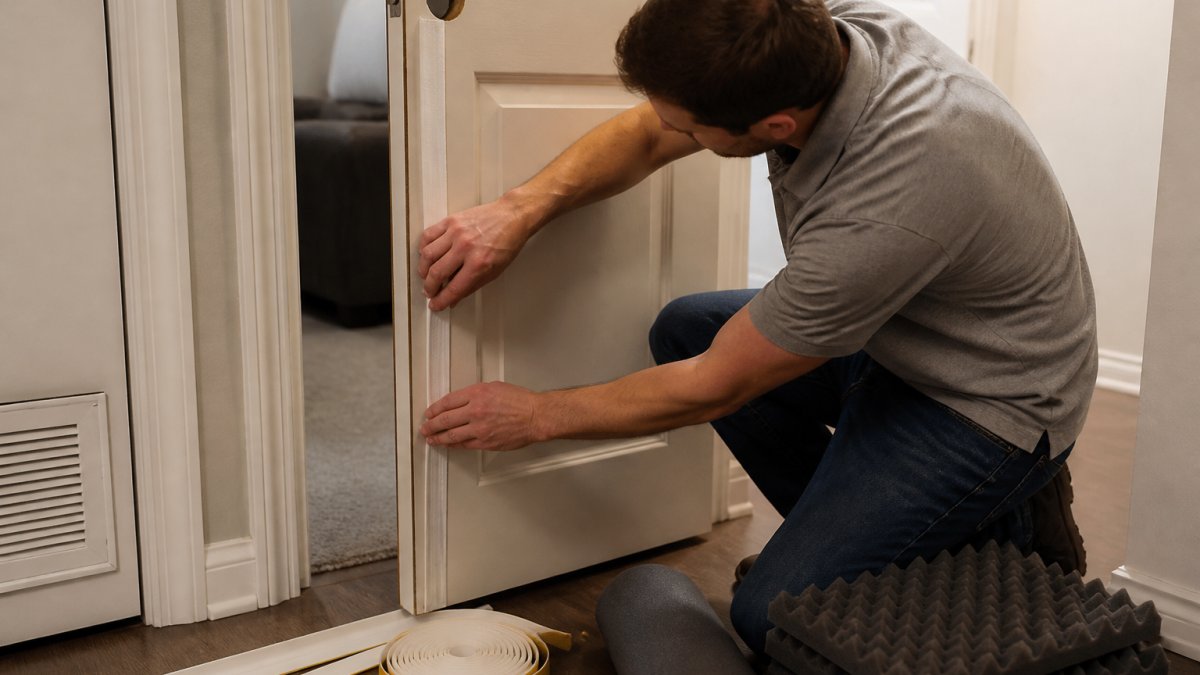
Step 1: Cut the weatherstripping to length. Using your side jamb height measurement, cut the weatherstripping about 1/4 inch longer than needed so you can trim it flush later. Use a sharp utility knife and a straightedge.
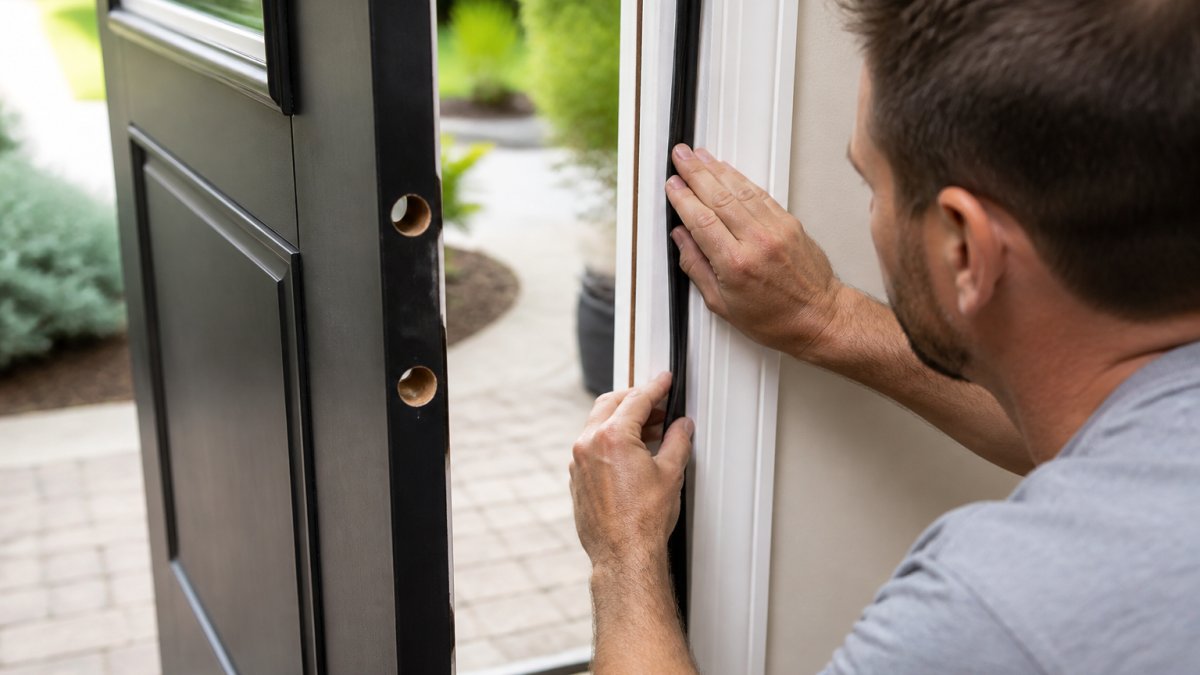
Step 2: Position the weatherstripping. Hold the cut piece against the side jamb so it contacts the door edge when closed, keeping it straight and aligned with the frame edge.
Step 3: Apply adhesive or press into place. For adhesive-backed foam, peel the backing liner slowly and press firmly onto the frame, especially at the top and bottom.
Step 4: Test the compression. Close the door gently. The weatherstripping should compress slightly, giving gentle resistance without binding.
Step 5: Trim excess length. Once installed and tested, trim excess weatherstripping at the top and bottom flush with the frame edges. Repeat for the opposite side jamb.
Install Weatherstripping on the Head Jamb
The head jamb is the horizontal piece at the top, requiring the same care as the side jambs.
Step 1: Cut to length. Measure the head jamb width from inside edge to inside edge of the side jambs, then cut the weatherstripping to that length plus about 1/4 inch.
Step 2: Position carefully. The head jamb weatherstripping must sit where the door top contacts the frame when closed. Position it so the door closes smoothly without binding.
Step 3: Apply and compress. Press the weatherstripping firmly onto the head jamb with consistent pressure. Close the door to check compression; it should feel the same as the side jambs.
Step 4: Trim and finish. Cut away excess weatherstripping at both corners where it meets the side jambs, keeping them neat and aligned.
Install Door Sweep and Check Threshold Alignment
The door sweep seals the gap at the bottom of the door, where a lot of air leakage happens.
Step 1: Measure the door width. Measure the door opening at the bottom from jamb to jamb; the sweep must fit snugly across this width.
Step 2: Choose the right sweep type. Brush sweeps work on smooth thresholds, vinyl sweeps are more durable, and combination sweeps offer both. Select based on your threshold condition.
Step 3: Install the sweep. Most door sweeps screw onto the bottom of the door or into the threshold; follow the manufacturer's instructions. The sweep should drag lightly on the threshold, giving slight resistance but no binding.
Step 4: Check threshold alignment. The threshold should be level and in good condition. If it's cracked, warped, or sloped, the sweep won't seal properly and the threshold may need replacement first.
Step 5: Test the complete seal. Close the door fully and check all four sides for gentle resistance and no light showing. If you see gaps, adjust the weatherstripping or sweep position.
How to Replace Door Weatherstripping: Fit and Compression Checks
Installation isn't finished until you verify fit and compression. Poor compression means poor sealing and wasted effort.
Compression check: Close the door slowly and feel the resistance. There should be gentle, consistent pressure all around the frame. Uneven compression means the weatherstripping may be crooked or the frame out of square.
Contact check: Open the door and look for a visible compression mark on the foam or vinyl. If some areas show no mark, the weatherstripping isn't making full contact; reposition it and test again.
Fit check: The door should close smoothly without sticking or extra force.
Draft test: On a windy day, repeat the candle flame test. The flame should not flicker around the door edges; if it does, you have a gap.
Threshold seal: The door sweep should drag lightly on the threshold without catching. If it's too tight, the door won't close smoothly; if too loose, air leaks underneath. Adjust the sweep height or position.
These checks take a few minutes but ensure your work actually seals the door.
Common Mistakes to Avoid During Installation
Installing over old weatherstripping. Never apply new weatherstripping over old material, which prevents proper adhesion and compression. Remove it completely and clean the surface first.
Installing weatherstripping too thick. If it's too thick for the gap, the door won't close properly. Measure the gap carefully and select weatherstripping sized for it.
Skipping the head jamb or one side jamb. Installing weatherstripping on only three sides leaves a gap that leaks air.
Not testing compression after installation. Don't assume you're done once the weatherstripping is installed. Close the door, test the compression, and adjust as needed.
Positioning weatherstripping where the door latch is. Weatherstripping that extends into the area where the latch engages the strike plate prevents proper latching.
Applying too much pressure during installation. Firm pressure ensures adhesion, but excessive force over-compresses foam and reduces its ability to seal.
Ignoring a warped or damaged door frame. Weatherstripping alone won't seal a severely warped or damaged frame.
Installing weatherstripping on your entry door is a straightforward project that improves comfort and energy efficiency.
When you're ready to start, visit the Department of Energy's guide on weatherization for additional insights on home energy efficiency. We stock quality products and offer personalized advice to help your entry door installation succeed.
Frequently Asked Questions
What is the best type of weatherstripping for exterior doors?
The best weatherstripping depends on your door type and climate. Adhesive-backed foam works well for most entry doors and offers easy installation. Test the door closure and latch operation after installation to ensure the seal doesn't interfere with function.
How do you measure an entry door for weatherstripping?
Measure the full length of both side jambs from the doorstop to the threshold, the head jamb width across the top, and the width of the threshold or sill. For door sweeps, measure the width of the door bottom. Accurate measurements prevent gaps and ensure proper contact with the door frame during compression.
Do you apply weatherstripping to the door or door frame?
Weatherstripping is applied to the door frame (the jambs and head), not the door itself. The foam, vinyl, or V-strip adheres to the doorstop or the groove in the frame. The door compresses against the weatherstripping when closed, creating an air-tight seal. Door sweeps are the exception: they attach to the bottom edge of the door to seal the threshold gap.
How can you tell if entry-door weatherstripping needs to be replaced?
Look for visible cracks, peeling, or missing sections in the foam or vinyl. Check for drafts by holding a candle near the door frame; movement indicates air leaks. Feel for gaps where the door doesn't compress evenly against the weatherstripping, or notice if the door sticks or requires excessive force to close. Inspect annually in high-traffic areas.