 how-to
How to Soundproof an Existing Interior Door
Table of Contents
- Diagnose Where Sound Is Leaking Around Your Door
- Seal Gaps Around the Door Frame and Jamb
- Install Door Weatherstripping for Soundproofing
- Add a Soundproof Door Sweep Under the Door
- Solid-Core vs. Hollow-Core Doors for Sound Reduction
- How to Stop Sound Coming Through a Door Gap
- Adding Mass and Acoustic Insulation to Your Door
- Frequently Asked Questions
Last Updated: October 12, 2026
Diagnose Where Sound Is Leaking Around Your Door
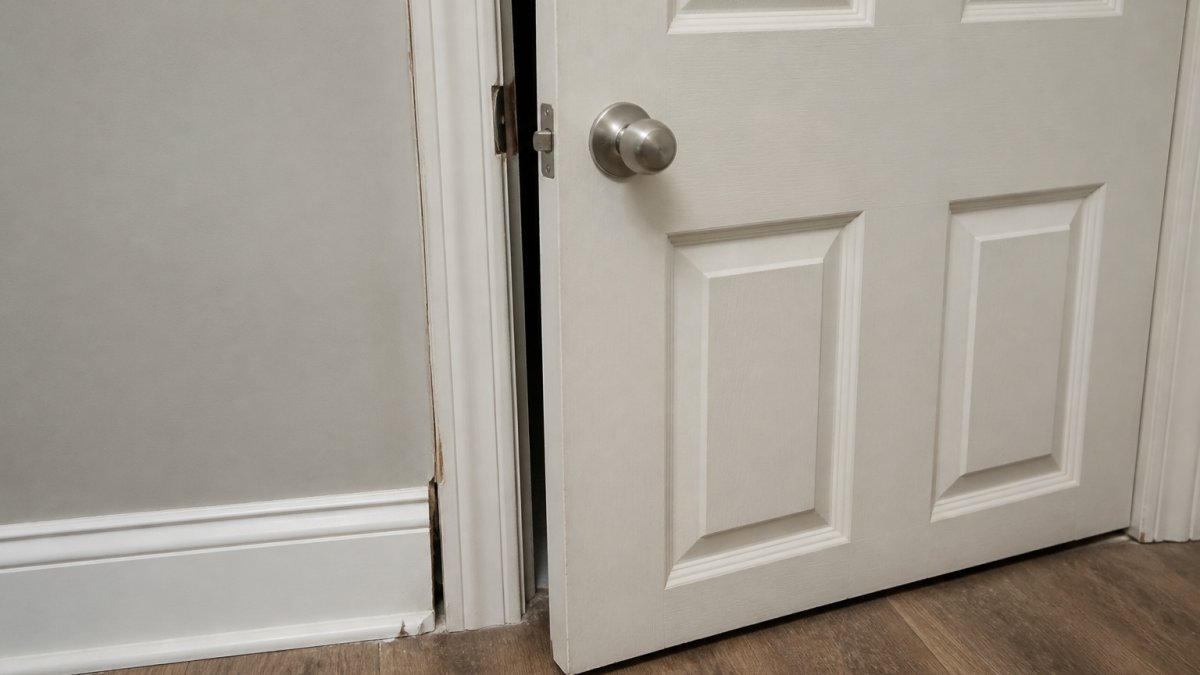
Sound travels through gaps and weak points. Learning how to soundproof an existing interior door starts with finding where the noise actually enters.
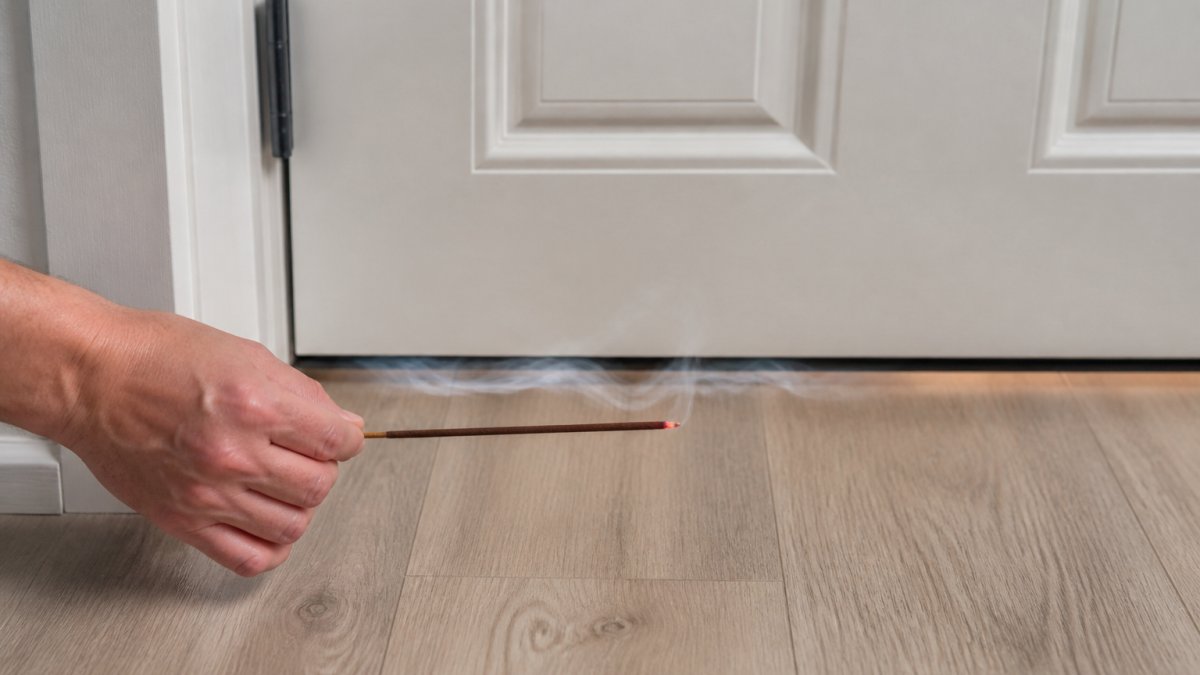
Start with a simple test.
You can also use the incense or smoke test.
Check three key areas:
- Bottom of the door, the largest gap in most doors
- Sides of the door frame, where the frame meets the wall
- Top of the door frame, often overlooked but significant
Mark these spots with tape or a marker. This targeted approach saves time and money by focusing only on areas that actually leak sound.
Seal Gaps Around the Door Frame and Jamb
Once you know where sound leaks, sealing the frame and jamb stops most of it.
Caulking is the simplest fix. Use acoustic caulk, not standard silicone.
Here's how to seal the frame:
- Clean the gap, Remove dust, paint chips, and debris with a vacuum or brush
- Apply caulk, Load a caulking gun with acoustic caulk and run a bead along the entire frame
- Smooth it, Use a wet finger or caulk tool to push the caulk into the gap
- Let it dry, Most acoustic caulk sets in 24 hours
Work on all four sides of the door frame.
For larger gaps (over one-quarter inch), use backer rod first.
The door jamb, the vertical pieces on each side, often has gaps where it meets the wall studs.
Install Door Weatherstripping for Soundproofing
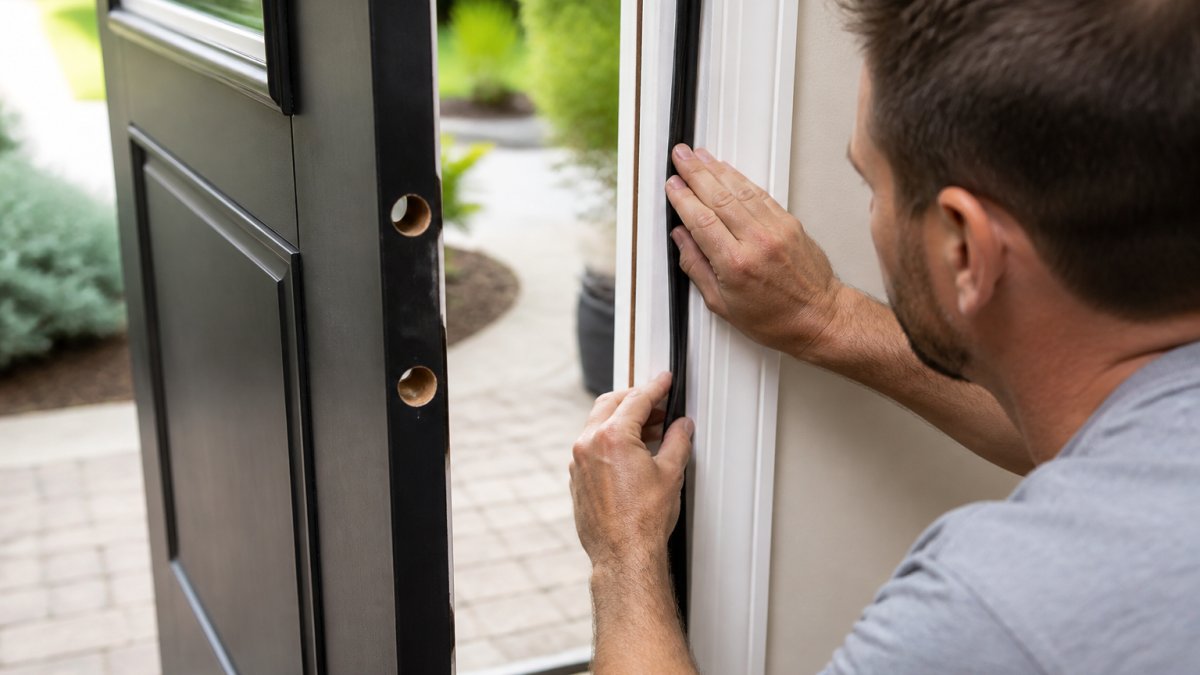
Weatherstripping creates a compression seal around the door edges. It's the fastest way to reduce sound leaking when learning how to soundproof an existing interior door, and unlike caulking, it's removable and reversible, a key advantage for renters.
The seal works by compression: when the door closes, the strip squeezes against the slab or stop, closing the air path. A properly compressed seal cuts a surprising amount of mid- and high-frequency noise (voices, TV, music), but does much less for low-frequency sound (bass, traffic rumble), which passes through the slab and wall structure regardless of edge sealing.
Types of Weatherstripping and What They Actually Do
- Foam tape, Cheapest, easiest to install, but compresses permanently within months and loses its seal. Best for a quick, temporary fix.
- Rubber or silicone bulb seals, Hollow or solid bulb that compresses against the stop. Good balance of cost, durability, and performance. Lasts several years.
- Magnetic seals, A magnetic strip on the door mates with a steel strip on the frame, giving a near-airtight closure. Higher cost, best performance for edge sealing.
For soundproofing, skip foam tape and go straight to a rubber or silicone bulb seal or a magnetic seal. Foam tape is too thin and too compressible to hold a seal.
Step-by-Step Installation on an Existing Door
- Measure the opening. Measure the top and both side jambs from the stop to the corner, adding about 1 inch of slack per side for trimming.
- Clean the stop and jamb. Wipe with a damp cloth and let dry, adhesive won't bond to dust, grease, or loose paint.
- Dry-fit the strip. With the door closed, the bulb should touch the door face and compress roughly 1/16 to 1/8 inch. If it doesn't touch, the gap is too wide and you need a thicker bulb.
- Cut to length. Use sharp scissors or tin snips for metal-backed strips; cut slightly long and trim after fitting.
- Peel and stick, or fasten. Self-adhesive strips work on clean, painted stops. For a permanent install, tack or staple the carrier every 6-8 inches, then press the bulb into place.
- Work top-down. Install the top piece first, then the sides, so the side strips butt cleanly against the top strip.
- Test the seal. Close the door and look for daylight. Run a dollar bill between door and stop, it should drag noticeably all the way around; if it slides freely, the seal isn't making contact.
Common Mistakes and Troubleshooting
- Installing on the door instead of the frame. Stick the strip to the stop or jamb, not the slab, on the frame it tightens as the door closes; on the door it can peel or bind.
- Too thick a bulb. If the door is hard to latch or the latch rubs, the bulb is over-compressing. Switch to a thinner bulb or adjust the strike plate.
- Skipping the top. The top is a real leak path, seal all three sides, not just the sides.
Weatherstripping on the sides and top is essential. Many people focus only on the bottom, but sound travels in straight lines through side gaps, so a bottom-only fix leaves most of the leak path open.
Add a Soundproof Door Sweep Under the Door
The gap under the door is often the biggest sound leak.
Door sweeps attach to the bottom of the door, a strip with bristles, rubber, or silicone that touches the floor when closed.
Installation:
- Measure the door width, Most sweeps fit standard 32-36 inch doors
- Cut to size, Use a hacksaw if needed
- Attach to the door, Most sweeps screw to the bottom; pre-drill holes to prevent splitting
- Adjust the height, The sweep should just touch the floor without dragging
Automatic bottoms cost more but offer better operation and longer life, worth it if you use the door frequently.
Key takeaway: The gap under the door causes a large portion of sound transmission, sealing it alone can make a noticeable difference.
Solid-Core vs. Hollow-Core Doors for Sound Reduction
The door itself matters. A hollow-core door is basically cardboard with a thin veneer. Sound travels right through it. A solid-core door is filled with dense material that absorbs vibrations.
Hollow-core doors:
- Lightweight and easy to install
- Inexpensive
- Poor sound insulation
Solid-core doors:
- Heavy (80+ pounds vs. 40 for hollow-core)
- Absorb sound vibrations
- More expensive upfront
However, upgrading the door is a bigger project than sealing gaps. If your budget is limited, start with caulking, weatherstripping, and a door sweep.
At Arizona Door Store, we stock both hollow-core and solid-core options for interior applications.
How to Stop Sound Coming Through a Door Gap
If you've sealed the frame, weatherstripped the edges, and blocked the bottom gap but still hear noise, the remaining sound likely comes through one of three paths: the door slab itself, a flanking path around the door assembly, or a leak you haven't found. Here's how to tell which.
Diagnose the Remaining Leak Before Buying More Materials
Run this sequence before spending money on more products:
- The paper test. Slide a piece of paper around the entire perimeter, where it slides freely, you have an unsealed gap. Mark those spots.
- The light test. With the room dark on one side, look for daylight around the edges, light and sound travel the same gaps.
- The smoke test. Hold a lit incense stick near the edges; where smoke drifts toward the gap, air and sound are moving through.
- The hand test on the slab. Press your palm against the door while someone talks on the other side. If it vibrates, sound is transmitting through the slab, not around it, that points to adding mass, not more sealing.
- The wall test. Press your hand against the wall next to the door. If the wall vibrates, sound is flanking around the door through the wall structure, and sealing the door won't fix that.
This sequence tells you whether your next dollar should go to a seal, a mass layer, or a wall treatment.
Path 1: Through the Door Slab
A hollow-core door is a drum. It vibrates when sound hits it and radiates that sound into the room. If the hand test shows the slab vibrating, sealing edges will not help much. You need mass:
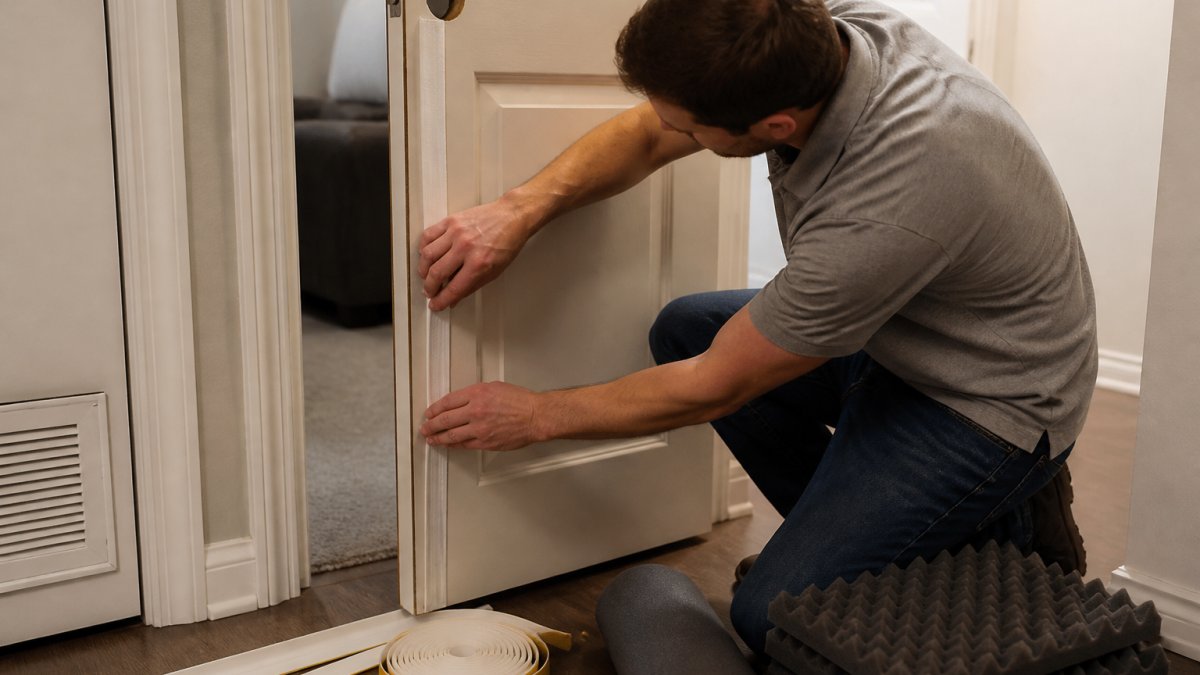
- Mass-loaded vinyl (MLV), A dense, thin sheet glued to the door face. Adds significant mass with minimal thickness change. Permanent.
- Acoustic blanket or moving blanket, Hung over the door. Reversible, less effective, good for renters.
- Rigid acoustic panel, Adhered or screwed to the door face. Adds mass and some absorption. Semi-permanent.
Adding mass raises the door's mass per unit area, lowering its resonant frequency and reducing vibration in the speech range. It's most effective combined with edge sealing.
Path 2: Flanking Paths Around the Door
This is the gap most guides miss. Sound travels not only through the door opening but through wall framing, the ceiling plenum, and shared ductwork. If the wall next to the door vibrates (hand test), the door isn't your main problem.
Common flanking paths:
- Shared wall studs, Sound travels along the studs from the noisy room to yours.
- HVAC ducts, A shared return duct can carry sound between rooms even with the door sealed.
- Ceiling plenum, In commercial or multi-unit buildings, sound travels over the wall through the ceiling space.
You can't fix flanking paths by treating the door alone. Options include adding mass to the shared wall, sealing outlet boxes with acoustic putty pads, or treating the duct with a lined flex connector.
Path 3: A Leak You Missed
Re-run the paper and smoke tests. Common missed spots:
- The corner where the side weatherstripping meets the top strip.
- The strike plate and latch cutout, sound leaks through the mortise.
- The hinge side, where the door meets the jamb.
Realistic Expectations
A well-sealed, mass-loaded interior door can noticeably reduce speech and TV noise, but it won't make a room silent. Low-frequency sound (bass, traffic, machinery) passes through the slab and wall structure regardless of edge sealing. For a recording studio or a bedroom next to a busy street, plan for wall and ceiling treatment too, the door is only one part of the assembly.
Adding Mass and Acoustic Insulation to Your Door
If sealing gaps isn't enough, add mass to the door itself. Mass blocks sound by resisting vibration.
You can add mass in several ways:
- Acoustic blankets, Hang on the door surface (removable)
- Soundproofing panels, Attach to the door with adhesive or screws (semi-permanent)
- Door insulation kits, Pre-made kits that add density to hollow-core doors
Mass-loaded vinyl is popular because it's relatively thin but very dense.
Acoustic blankets are reversible, hang them when you need sound reduction and remove them otherwise.
Installation for mass-loaded vinyl:
- Clean the door surface thoroughly
- Cut vinyl to size
- Apply construction adhesive to the back
- Press firmly onto the door, working from center outward to remove air bubbles
- Let adhesive cure per manufacturer instructions
The added weight makes the door heavier to close, so make sure hinges and closer can handle the load.
Soundproofing an existing interior door doesn't require replacing it.
Frequently Asked Questions
How can I soundproof an existing interior door without replacing it?
Start by sealing air gaps around the door perimeter with acoustic caulk, then add weatherstripping to the frame and install a door sweep beneath the door. These three steps address the primary sound transmission paths. If noise reduction is still insufficient, add mass with acoustic blankets or panels, or upgrade to a solid-core door slab if your frame allows. Each step builds on the previous one, so test after each addition to measure improvement.
Will weatherstripping and a door sweep actually reduce noise through an interior door?
Yes, but realistically. Weatherstripping and door sweeps reduce sound transmission by blocking air leaks, which are major pathways for noise. Most homeowners report noticeable reduction in high-frequency sounds (voices, music) when these seals are installed correctly. Low-frequency noise (bass, machinery) penetrates more easily because it travels through the door material itself, not just gaps. Combining seals with a solid-core door or added mass produces better results than either solution alone.
Should I replace my hollow-core door with a solid-core door for better soundproofing?
Solid-core doors block significantly more sound than hollow-core doors because they contain dense material throughout, reducing noise transmission through the door slab itself. If you're already sealing gaps and adding weatherstripping but still hear too much noise, upgrading to solid-core is often the next logical step. However, solid-core doors are heavier and may require hinge or frame adjustments. If your current door is in good condition and your budget is tight, adding acoustic mass first (blankets or panels) is a more affordable interim solution.
What's the most affordable way to soundproof an interior door?
Start with weatherstripping and a door sweep, which cost relatively little and address the biggest sound leak pathways. Acoustic caulk for frame gaps is also inexpensive. If you need more reduction, acoustic blankets or foam panels hung on the door are cheaper than door replacement. Solid-core door replacement is the most expensive option but delivers the best long-term performance. Most homeowners see meaningful improvement from the low-cost solutions before investing in a new door.