 how-to
How to Seal a Door Against Dust and Heat
Table of Contents
- Why Sealing Your Door Matters in Hot, Dusty Climates
- How to Check for Door Air Leaks and Identify Problem Areas
- Tools and Materials You'll Need
- Best Weatherstripping for Exterior Doors
- Step-by-Step Installation Guide
- How to Install Door Sweeps for Maximum Protection
- Common Mistakes to Avoid
- Frequently Asked Questions
Last Updated: September 27, 2026
Why Sealing Your Door Matters in Hot, Dusty Climates
How to seal a door against dust and heat is one of the most practical investments you can make in a hot, dry climate. Unsealed doors let dust, heat, and outside air pour into your home. This drives up cooling costs and fills your space with particles that affect air quality.
The problem compounds quickly. A single gap around a door frame can pull in surprising amounts of outside air. Over time, dust accumulation damages HVAC systems and reduces efficiency. Your air conditioning has to work harder. Your energy bills climb. The dust never stops coming.
Sealing a door properly stops this cycle. You're not just blocking heat, you're cutting off the pathway for dust infiltration. Done right, weatherstripping and door sweeps create a thermal bridge barrier that keeps both out. Arizona Door Store helps homeowners and contractors choose the right materials for their specific climate and door type.
The good news: this is a project you can handle yourself. It takes a few hours and basic tools. The results show up immediately on your next utility bill.
How to Check for Door Air Leaks and Identify Problem Areas
Before you buy materials, you need to know exactly where air is leaking. A visual inspection takes 10 minutes and tells you everything.
Visual inspection checklist
Start with a simple test. Close your door and turn off the lights inside. Go outside and look for light coming through gaps around the frame. Any light you see is an air leak. Mark these spots with a pencil or tape.
Next, check the strike plate area, the metal piece on the frame where the door latch catches. This is a common leak point. Feel along the top and sides of the door frame with your hand. You should feel no air movement. If you do, that's where dust is entering.
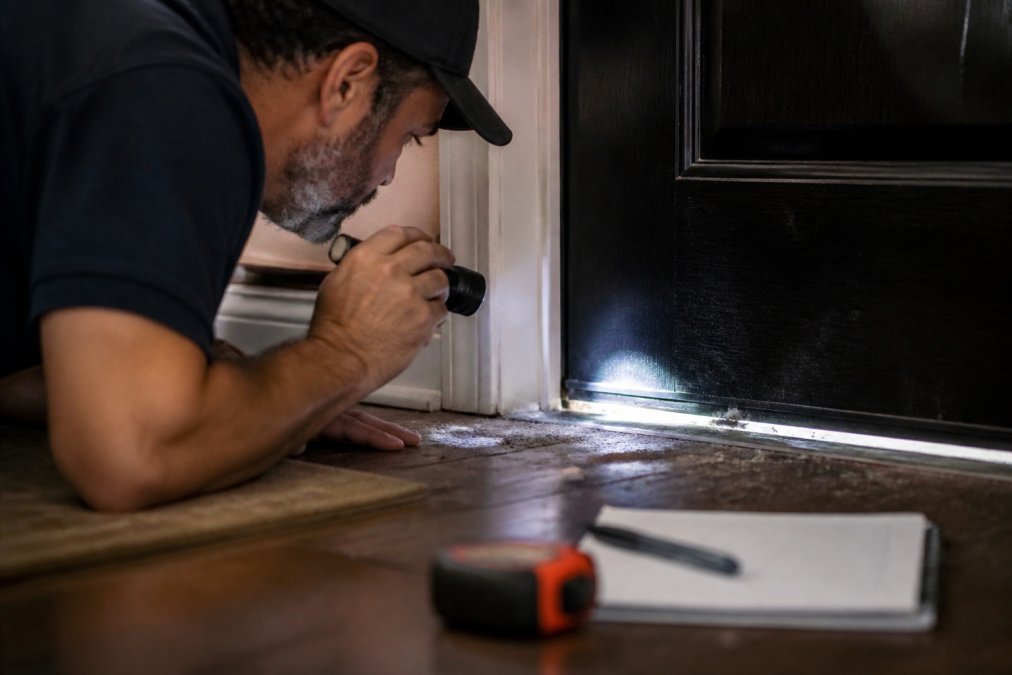
Run your hand along the bottom of the door. This is where most dust accumulates. Feel for gaps between the door and threshold. Even a quarter-inch gap lets dust through.
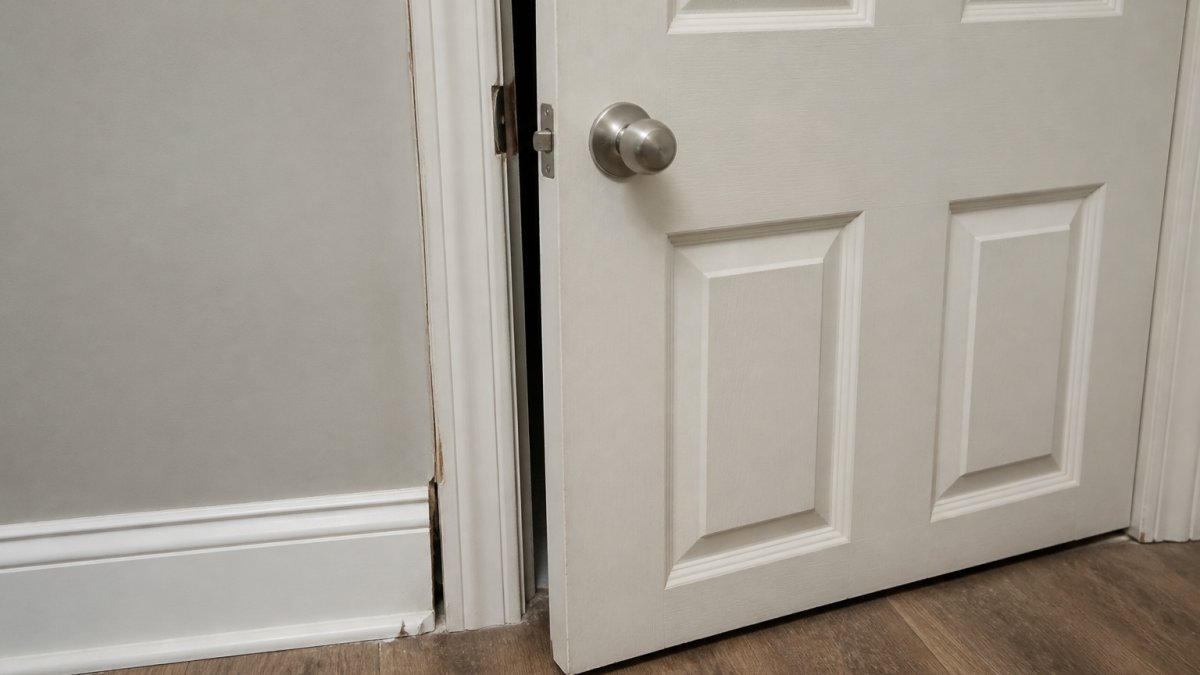
Check the door jamb, the vertical frame piece on the hinge side. Older doors often have gaps here. Press gently on the frame. If it flexes, the frame may be warped or the door may be misaligned.
Dust infiltration patterns
Dust doesn't enter evenly. It follows air pressure. In hot climates, dust tends to accumulate at the bottom of the door first. This is where you'll see a visible dust line on the floor.
Look at the threshold area closely. Dust collects in corners and along the edges. If you see a dust pattern forming a line around the door, that line shows you exactly where air is moving.
Pay attention to the door's latch side. Heat and pressure changes cause the most infiltration here. This is the first place to seal.
Tools and Materials You'll Need
You don't need much to seal a door properly. Most of this you may already have at home.
Basic tools:
- Measuring tape (at least 25 feet)
- Utility knife or scissors
- Flashlight (for checking gaps)
- Pencil or marker
- Caulking gun (if using sealant)
- Screwdriver (for strike plate adjustment)
Weatherstripping materials:
- Adhesive foam tape
- V-strip (vinyl or rubber)
- Compression seals
- Door sweep
- Silicone caulk (for permanent sealing)
You can buy all of this at any hardware store. Prices vary based on door size and material quality. For specific material recommendations suited to your door type, contact Arizona Door Store for a quote.
Start with measuring tape. You'll need exact measurements of your door frame. Measure the width of gaps in three places: top, middle, and bottom. Gaps are rarely uniform.
Best Weatherstripping for Exterior Doors
Not all weatherstripping works the same in extreme heat. Materials that work in mild climates fail in sustained high temperatures. You need materials designed for thermal stress.
Adhesive foam tape and V-strip options
Adhesive foam tape is the easiest to install. You peel and stick it directly to the frame. It works well for small gaps up to half an inch. In hot climates, choose closed-cell foam, which resists heat better than open-cell foam.
V-strip is a metal or vinyl channel that slides into grooves on the door frame or sits on top. It's more durable than foam tape. V-strip handles larger gaps and lasts longer in heat. The vinyl variety is cheaper and easier to install. Metal V-strip costs more but holds up better over years of temperature swings.
Both work. Foam tape is faster for a quick fix. V-strip is better if you want a solution that lasts five years or longer without replacement.
Compression seals and silicone bulbs
Compression seals are rubber or silicone strips that compress when the door closes. They create a tight seal without gaps. Silicone bulbs are bulbous rubber seals that compress from all sides.
These are the best choice for extreme heat and dust. They handle temperature swings without cracking. Silicone resists UV damage better than rubber. In a hot climate, silicone bulbs outperform every other option.
The trade-off: they cost more and take longer to install. They're worth it if dust and heat are serious problems.
Material longevity in extreme heat
Heat breaks down most weatherstripping materials faster than you'd expect. Foam tape typically lasts two to three years in a hot climate. By year three, it hardens and loses its seal.
V-strip lasts longer, usually four to five years. Metal V-strip can last seven to ten years if installed correctly.
Silicone and rubber compression seals last the longest. Quality silicone seals survive eight to ten years even in sustained high heat. They don't harden or crack like foam does.
When choosing materials, think about replacement frequency. Cheap foam tape means replacing it every couple of years. A silicone seal costs more upfront but saves you time and money over the life of your door.
Step-by-Step Installation Guide
Installation is straightforward if you follow the right order. Do it in sections: frame first, then bottom, then adjustments.
Measuring door gaps accurately
Measure three times. Measure at the top of the frame, the middle, and the bottom. Write down all three numbers. Gaps are almost never the same size everywhere.
Measure the width of the gap, how far the door sits from the frame. Measure the height of the gap, how much space runs along the entire side. A typical gap is between one-eighth inch and half inch.
For the bottom of the door, measure the distance from the door to the threshold. This tells you what size door sweep you need.
Take these measurements to the hardware store or to Arizona Door Store. Our team can recommend materials that fit your specific gaps. Buying the wrong size wastes money and time.
Installing weatherstripping on the frame
Start with the top of the frame. Clean the frame first with a dry cloth. Remove any dust or debris. Adhesive won't stick to dirty surfaces.
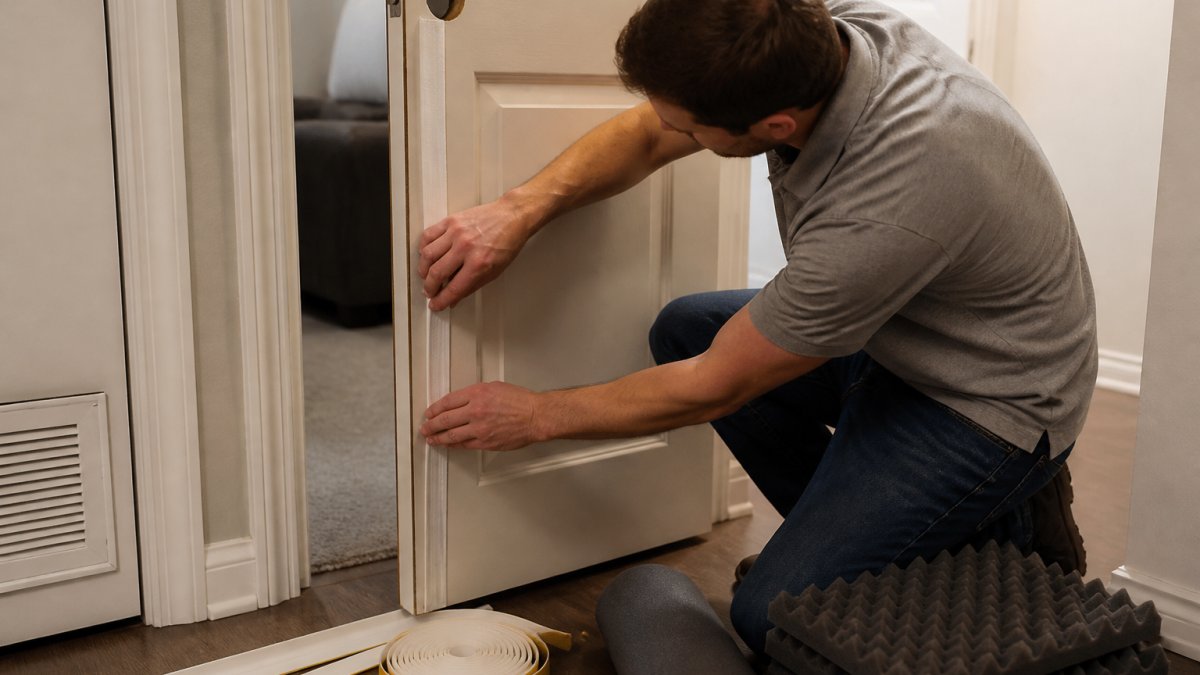
If using foam tape, peel the backing and press firmly along the top. Hold for a few seconds. Work your way down one side, then the other.
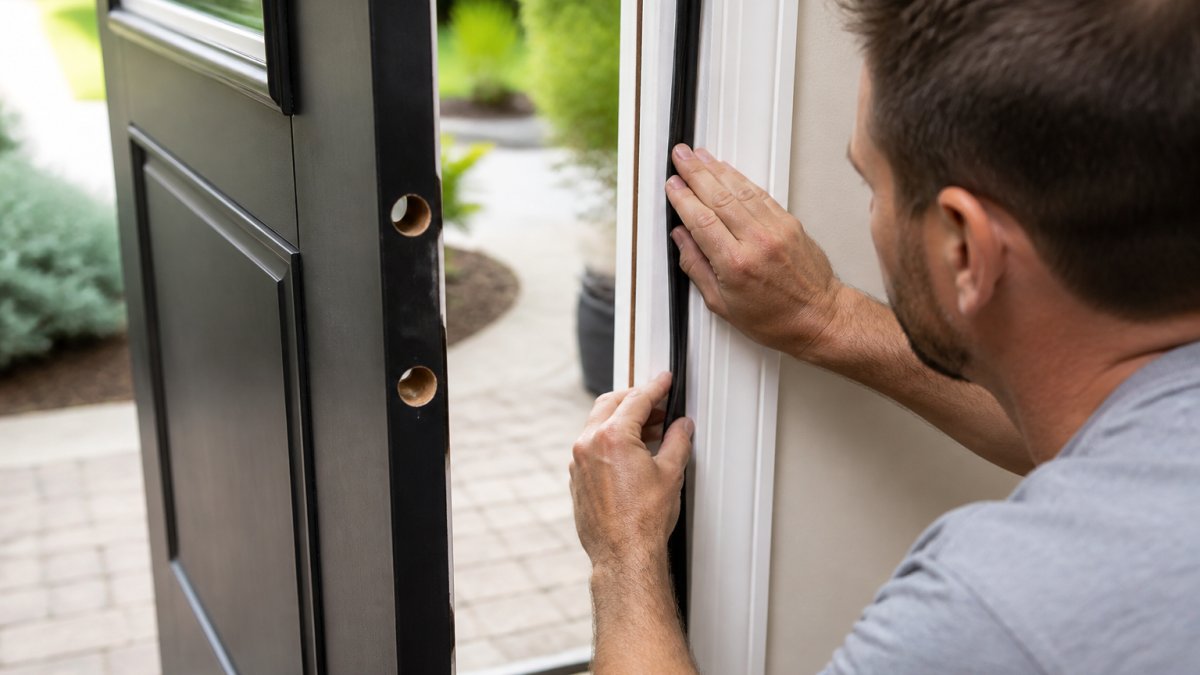
If using V-strip, slide it into the groove on the frame or nail it along the top. Make sure it sits flush with no gaps.
Work on one side at a time. The hinge side (where the door opens) usually needs less material than the latch side. The latch side bears the most air pressure and needs thicker sealing.
Don't rush this step. Proper adhesion matters. Press hard and let adhesive set for 24 hours before closing the door repeatedly.
Sealing the door jamb and strike plate
The door jamb is where the hinge side of the door meets the frame. This area often gets overlooked but leaks significantly.
Apply weatherstripping along the jamb the same way you did the frame.
How to Install Door Sweeps for Maximum Protection
Door sweeps are the final piece. They seal the bottom gap where most dust enters.
Bottom-of-door sweep installation
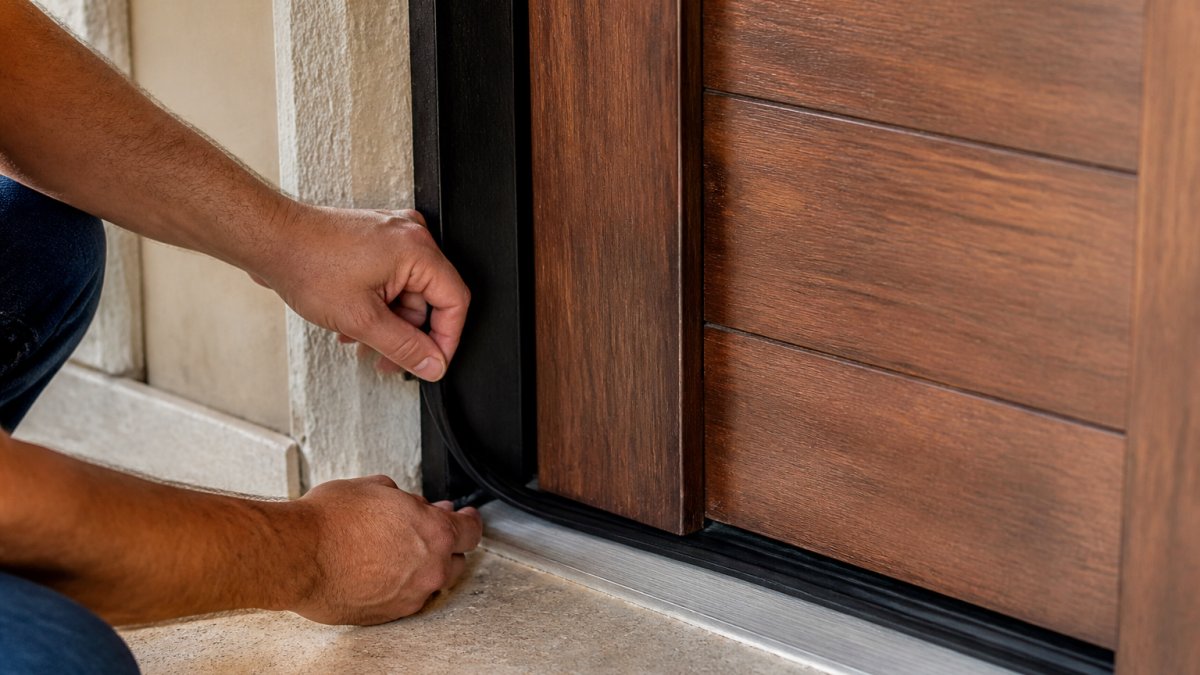
A door sweep is a strip of rubber or silicone that hangs from the bottom of the door. It drags slightly on the threshold when the door closes, creating a seal.
Dust-specific sealing techniques
Dust is heavier than air. It doesn't float in, it settles. The bottom of the door is where you stop it.
Common Mistakes to Avoid
Most failures happen because people skip steps or use the wrong materials.
Frequently Asked Questions
What are the most effective materials for sealing a door against dust?
Adhesive foam tape, V-strip weatherstripping, and compression seals are the most effective options. Foam tape works well for small gaps, while V-strip handles larger inconsistencies. Compression seals and silicone bulbs provide superior dust blocking because they compress against the door when it closes, creating an airtight barrier. In extreme heat environments, silicone-based materials last longer than foam, which can degrade over time.
How do I choose the right weatherstripping for high-heat environments?
Look for weatherstripping made from silicone, EPDM rubber, or vinyl rather than standard foam. These materials withstand temperature fluctuations without becoming brittle or losing their seal. Check the product specifications for UV resistance and temperature ratings. For doors exposed to direct sun, silicone-based products maintain flexibility and durability better than foam alternatives, which can harden and crack in intense heat.
Can door sweeps effectively block fine dust particles?
Yes, when installed correctly. Door sweeps reduce dust infiltration by sealing the gap at the bottom of the door. For maximum dust protection, combine a door sweep with weatherstripping on the sides and top. The key is ensuring the sweep makes firm contact with the threshold without dragging. In dusty climates, a dual-seal door sweep or one with a gasket provides better protection than basic vinyl sweeps alone.
How often should door seals be replaced in extreme climates?
In hot, dusty environments, inspect weatherstripping and door sweeps annually. Foam tape typically lasts 2-3 years before degrading, while silicone and EPDM seals can last 5-7 years. Replace seals if you notice visible cracks, hardening, gaps between the seal and door frame, or increased dust and heat infiltration. Regular maintenance extends seal life and keeps your door functioning properly year-round.