 how-to
How to Restore Antique Wood Doors in Arizona
Last Updated: October 31, 2026
Quick Summary
Restoring antique wood doors in Arizona starts with checking whether they are solid enough to save: doors with surface scratches, tired finish, or minor rot are almost always worth restoring, while structural failure, severe warping, or extensive rot may cost more than replacement. If the door is original to the house, made of solid wood, and still opens and closes without dragging, restoration is usually the better investment.
- Test for lead paint before sanding, scraping, or stripping any door painted before 1978.
- Dig out soft wood until solid, then press two-part epoxy wood filler into the cavity and sand smooth.
- Sand progressively from 80 to 220 grit, always with the grain, then wipe with denatured alcohol.
- Build three thin coats of exterior-grade spar urethane or marine varnish over stain for a clear finish.
- Get two written estimates and confirm lead testing, dust containment, and disposal are included.
Table of Contents
- Is Your Antique Door Worth Restoring?
- What You'll Need Before You Start
- Step 1: Assess Damage and Handle Lead Paint Safely
- Step 2: Wood Door Rot Repair
- Step 3: Old Door Stripping and Refinishing
- Step 4: Staining, Painting, and Protective Finish
- Historic Wooden Door Repair and Material Compatibility
- Wood Door Restoration Cost and DIY vs. Professional
- Frequently Asked Questions
Is Your Antique Door Worth Restoring?
Restoring antique wood doors in Arizona starts with one honest question: are these antique wood doors solid enough to save? A door with surface scratches, tired finish, or minor rot is almost always worth restoring. A door with structural failure, severe warping, or extensive rot may cost more to save than to replace.
Here's the short version: if the door is original to the house, made of solid wood, and still opens and closes without dragging, restoration is usually the better investment.
Repair or Replace: How to Decide
Run through four checks before you commit to a restoration project:
- Structure: Does the door stay square when you lift it slightly? A sagging door with a sound frame can be rehung. A cracked stile or split rail often means replacement.
- Rot extent: Small soft spots near the bottom edge are repairable. Rot that has spread into the lock rail or through the full thickness of the wood usually isn't.
- Original character: Hand-carved panels, unusual glass, and period hardware are worth saving. A plain hollow-core door from the 1970s is not.
- Fit: If the door frame is out of square or the opening has shifted, fixing the door alone won't solve the problem.
One insider note: many homeowners decide to replace a door that only needs refinishing. A dull, chalky finish and gray wood grain often look like failure, but they're usually cosmetic.
What You'll Need Before You Start
Gather your tools and materials before you touch the door, because stopping mid-strip to hunt for supplies is how projects stall. A basic restoration kit covers most antique doors:
- Chemical stripper or a heat gun for old finish
- Carbide scraper and putty knives in several widths
- Random orbital sander and sandpaper in 80, 120, and 220 grit
- Two-part epoxy wood filler for rot repair
- Lead test swabs
- Stain, primer, and exterior-grade topcoat
- Drop cloths, nitrile gloves, and a respirator
- Denatured alcohol for cleanup
Work in a shaded area or a garage. Direct sun on a stripped door dries the wood unevenly and can cause new cracks. Arizona heat makes this rule more important than most guides admit.
Step 1: Assess Damage and Handle Lead Paint Safely
Test for lead paint before you sand, scrape, or strip anything. Any door painted before 1978 may carry lead-based paint, and the EPA lead-safe renovation guidance requires certified handling practices for pre-1978 painted surfaces in many situations. Buy a lead test kit from a hardware store and swab every painted layer.
If lead is present, do not dry-sand. Use a chemical stripper that lifts the paint in sheets, capture the debris on a drop cloth, and dispose of it properly. Wear a respirator rated for the job.
Next, map the damage. Press a screwdriver into the bottom edge and any joints. Soft, spongy wood means rot. Mark every spot with painter's tape so you don't lose track once the door is stripped.
Step 2: Wood Door Rot Repair
Wood door rot repair is straightforward when the damage is caught early, and it's the step that saves most antique doors from the landfill. The process:
- Dig out all soft, dark, or crumbly wood with a chisel until you reach solid material.
- Let the exposed area dry completely. In monsoon season, bring the door indoors.
- Mix a two-part epoxy wood filler and press it into the cavity, slightly overfilling.
- Sand smooth once cured, then shape the repair to match the surrounding profile.
For larger voids, cut a matching patch from similar wood and epoxy it in place. The patch should match the original wood species where possible, since different species absorb stain differently.
Watch out: painting epoxy filler directly with stain produces a visible blotch. Seal the patch with primer first if you plan to stain the surrounding wood.
Step 3: Old Door Stripping and Refinishing
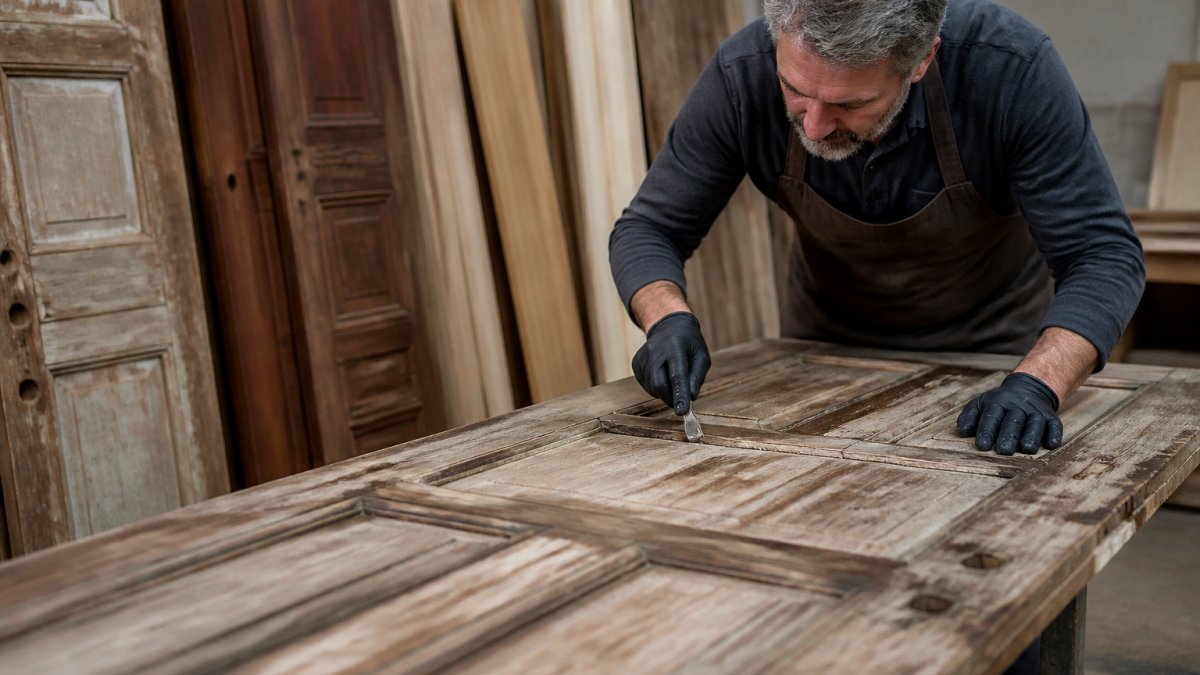
Old door stripping and refinishing removes decades of paint and varnish so the wood grain shows again. Work one panel at a time and let the stripper do the work rather than scraping hard.
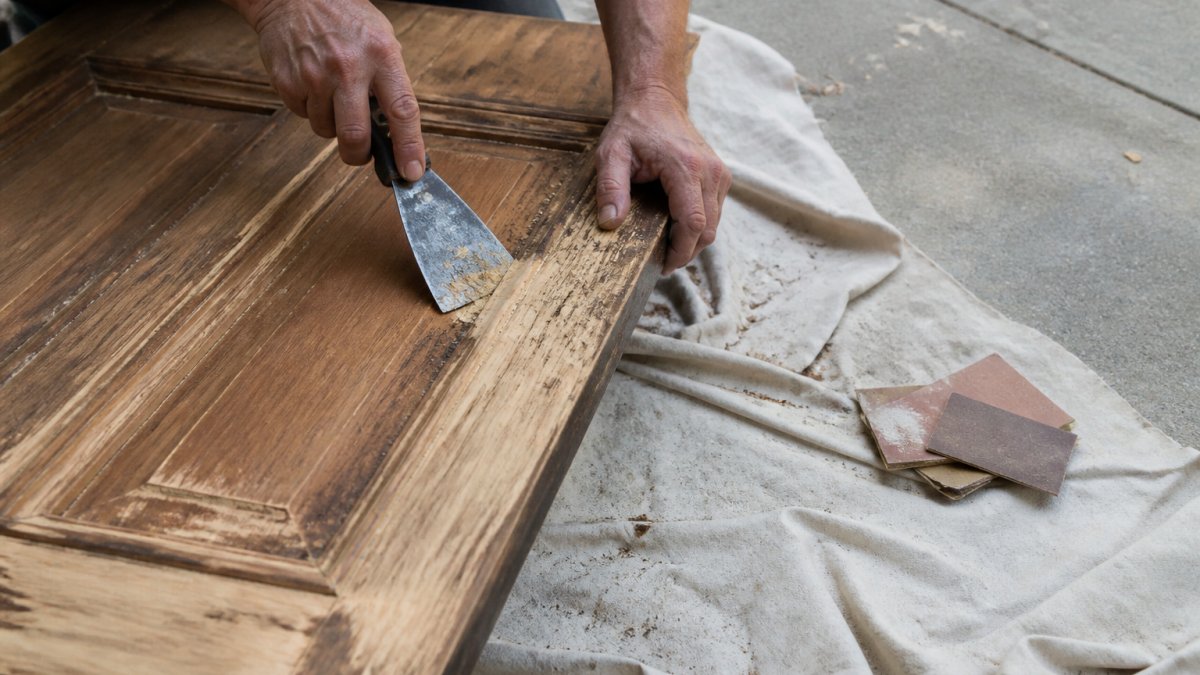
Apply stripper with a brush, wait for the finish to wrinkle, then lift it with a carbide scraper. Follow with a second pass on stubborn spots. After stripping, sand progressively from 80 to 220 grit, always with the grain. Wipe the door down with denatured alcohol and let it dry fully before finishing.
For a deeper walkthrough of the stripping sequence, see our guide on how to refinish wood veneer doors.
Step 4: Staining, Painting, and Protective Finish
Staining, painting, and applying a protective finish is the step that determines how the door looks and how long it lasts. Pick one path:
- Stain plus clear coat: Best for showing off wood grain and original character. Apply stain, wipe off the excess, then build three thin coats of exterior-grade spar urethane or marine varnish.
- Paint: Better for doors with mismatched patches or heavy grain. Prime with a stain-blocking primer, then apply two coats of exterior paint.
- Antiquing or distressing: A decorative finish that layers glaze over a base coat to mimic age. It works well on doors where the original finish is too far gone to save.
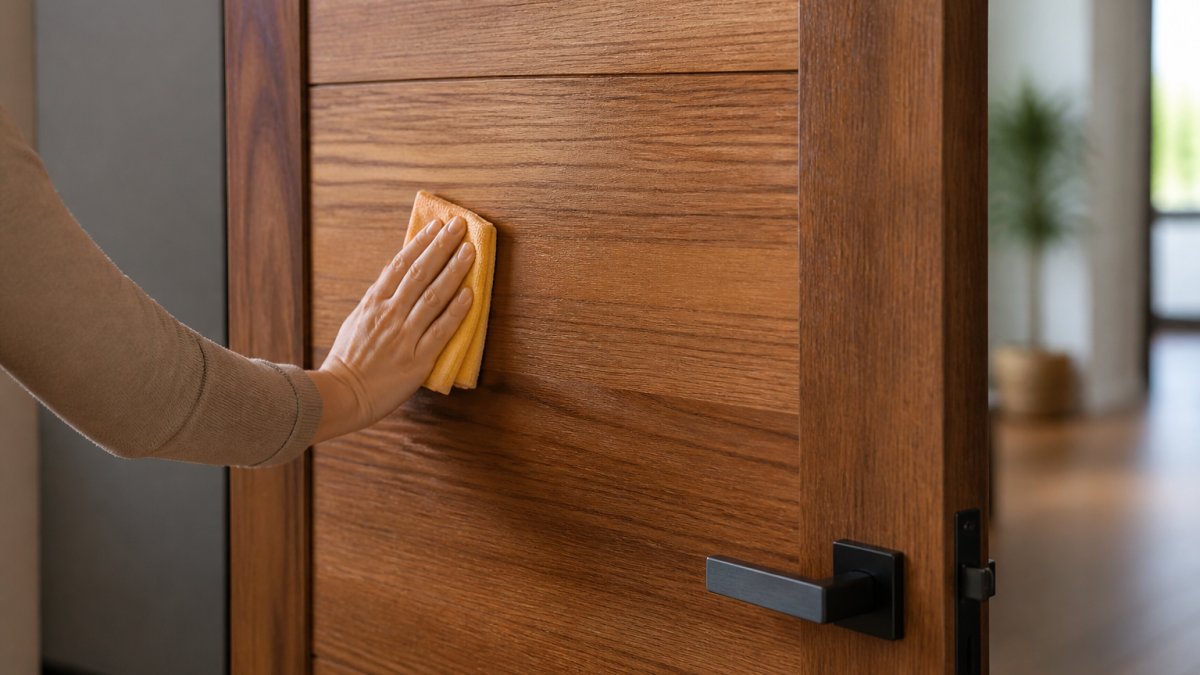
Arizona sun is brutal on clear coats. Exterior doors benefit from a UV-stabilized topcoat, and the finish should be refreshed as it weathers. Once the finish is on, our guide to maintaining wood veneer door finishes covers the upkeep schedule.
Historic Wooden Door Repair and Material Compatibility
Historic wooden door repair succeeds or fails on material matching. Antique doors were typically built from old-growth wood, often denser and more stable than what's sold today. When you patch or replace a section, match the species and grain direction, or the repair will telegraph through the finish within a season.
Before you repair, identify what you have. Once the wood is cleaned and stabilized, selecting the appropriate primer for old wood ensures that the finish adheres properly to the porous, aged fibers without compromising the integrity of the original surface.
Common damage types and repair methods:
- Rot: Dig out all soft, dark, or crumbly wood with a chisel until you reach solid material. Let the area dry completely, in monsoon season, bring the door indoors. Mix a two-part epoxy wood filler and press it into the cavity, slightly overfilling, then sand smooth and shape to match the surrounding profile. For larger voids, cut a matching patch from similar wood and epoxy it in place.
- Cracks and splits: Small cracks can be injected with epoxy and clamped until cured. A split that runs through a stile or rail is a structural issue, if the door stays square when you lift it slightly, it can often be repaired; if it racks or drags, replacement is usually the safer call.
- Loose joints: Clean old glue out of the joint, apply fresh wood glue, and clamp until cured. Pinned mortise-and-tenon joints may need the pin drilled out and replaced after regluing.
- Veneer damage: Lift loose veneer carefully, clean the substrate, and re-glue with a flat caul and clamps. Missing veneer patches should match species and grain direction.
- Insect damage: Probe for frass and hollow galleries. Limited damage can be consolidated with epoxy; widespread galleries through structural members mean replacement.
A repair is structurally sound when the door stays square, the repaired member carries load, and the patch matches the original material closely enough to move with it.
If you're unsure whether your door's material can survive the climate, our breakdown of the best exterior door materials for Arizona heat helps you judge it.
Wood Door Restoration Cost and DIY vs. Professional
Wood door restoration cost depends on damage extent, finish type, door size, and whether you do the work yourself. For current pricing, contact Arizona Door Store directly.
| Cost Band | Typical Scope | What Drives the Price |
|---|---|---|
| Light refresh | Sound door, dull or chalky finish, minor scratches | Stripper, sandpaper, stain, and topcoat; mostly labor hours |
| Mid-level restoration | Some rot at the bottom edge, loose joints, failed clear coat | Epoxy, wood patches, clamping, plus finish materials |
| Full restoration | Lead paint, extensive rot, veneer damage, historic hardware | Containment, testing, specialized repair, and finish expertise |
A DIY restoration of a single door involves materials such as chemical stripper, sandpaper in several grits, two-part epoxy, stain, primer, and an exterior-grade topcoat. Pricing for materials depends on the products and quantities you choose. The hidden cost is time, stripping and sanding an antique door panel by panel is slow work, and mistakes show up in the finish. Professional restoration typically includes labor, dust containment, lead-safe practices, and finish expertise.
Use these four questions to decide:
- Is there lead paint? If the door was painted before 1978, testing and containment push the job toward a professional. Dry-sanding lead paint is a health hazard and a liability.
- How much rot? Soft spots near the bottom edge are a weekend DIY repair. Rot that has reached the lock rail or gone through the full thickness of the wood is a structural repair.
- Is the door historic or original to the house? Irreplaceable character argues for professional restoration rather than a learning-curve experiment.
- Do you have a shaded workspace? Direct sun on a stripped door dries the wood unevenly and can cause new cracks, a real constraint in Arizona heat.
If restoration isn't the right call, understanding custom door installation cost factors helps you weigh replacement against saving the original. Our article on door repair DIY versus professional work breaks down the safety and cost comparison in more detail.
Frequently Asked Questions
Can an antique wood door be restored instead of replaced?
In most cases, yes. Solid wood doors can be repaired, stripped, and refinished as long as the damage is limited to surface scratches, grime, or isolated rot. A door with structural cracks, delamination, or rot across more than a small section may cost more to fix than to replace. Inspect the joints, bottom rail, and frame before deciding.
How can you tell whether a wood door has rot?
Probe the bottom rail and corners with a screwdriver. Soft, crumbly wood that gives way easily signals rot. Look for bubbling paint, dark stains, and a musty smell. In Arizona, rot often appears at the base of exterior doors where monsoon moisture collects. Catch it early and wood door rot repair is a small job; let it spread and the whole rail may need replacing.
How much does wood door restoration cost?
Wood door restoration cost depends on door size, damage, and finish type. Small repairs and refinishing cost less than full stripping and rebuilding. Get a written project estimate that separates repair, stripping, and finishing. For current pricing on replacement doors and hardware, contact Arizona Door Store directly.
When should you hire a professional for historic wooden door repair?
Hire a professional when the door has lead paint, significant rot, or historic details you want to preserve. Historic wooden door repair requires matching wood species, profiles, and finishes, which takes skill. A pro can also advise on safe stripping and finish compatibility. For complex projects, a local restoration specialist is worth the cost.