 how-to
7 Ways to Maintain Wood Veneer Door Finishes
Last Updated: October 28, 2026
Quick Summary
Maintain a wood veneer door finish by cleaning with a barely damp cloth and mild soap, then drying it immediately, since excess moisture is the top cause of veneer failure. Keep indoor humidity around 30% to 50%, shield the door from direct sun and heat, and reapply wax, oil, or polyurethane on the schedule your finish requires.
- Wring cloths until almost dry, wipe, then follow immediately with a dry cloth.
- Keep indoor relative humidity roughly between 30% and 50% to reduce veneer movement.
- Test any new cleaner on a hidden spot like the top edge or inside face near hinges.
- Re-wax every 6 to 12 months, or when water stops beading on the surface.
- Fix peeling veneer the week you notice it, before moisture and heat spread the lift.
Table of Contents
- Why Wood Veneer Door Finishes Fail
- How to Clean Wood Veneer Doors Without Lifting the Finish
- Protecting Wood Veneer Finishes from Heat, Sun, and Humidity
- Wood Veneer Door Scratch Repair: What You Can Fix Yourself
- How to Repair Peeling Wood Veneer Before It Spreads
- A Practical Maintenance Schedule by Finish Type
- Door Checks That Prevent Finish Damage
- Choosing Replacement Doors and Hardware Locally
- Frequently Asked Questions
Why Wood Veneer Door Finishes Fail
Most wood veneer door finishes fail from water, heat, and small mistakes repeated over years, not age.
A wood veneer door is a real wood skin, often under a millimeter thick, bonded to a core panel. It looks like solid wood but has far less material to absorb damage: moisture swells and lifts the veneer, and heat dries it until the finish cracks.
How to Clean Wood Veneer Doors Without Lifting the Finish
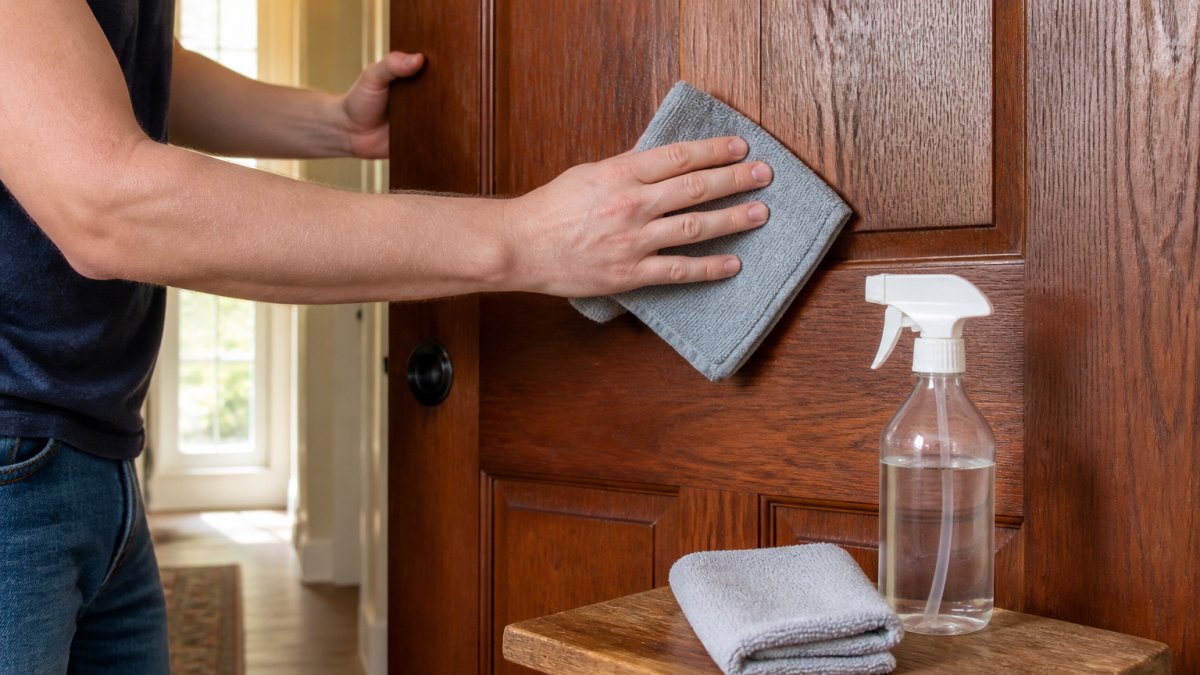
Clean veneer doors with a soft cloth, a gentle solution, and almost no water, excess moisture is the number one cause of veneer failure.
Work in this order:
- Dust the door with a dry cloth or duster, top to bottom.
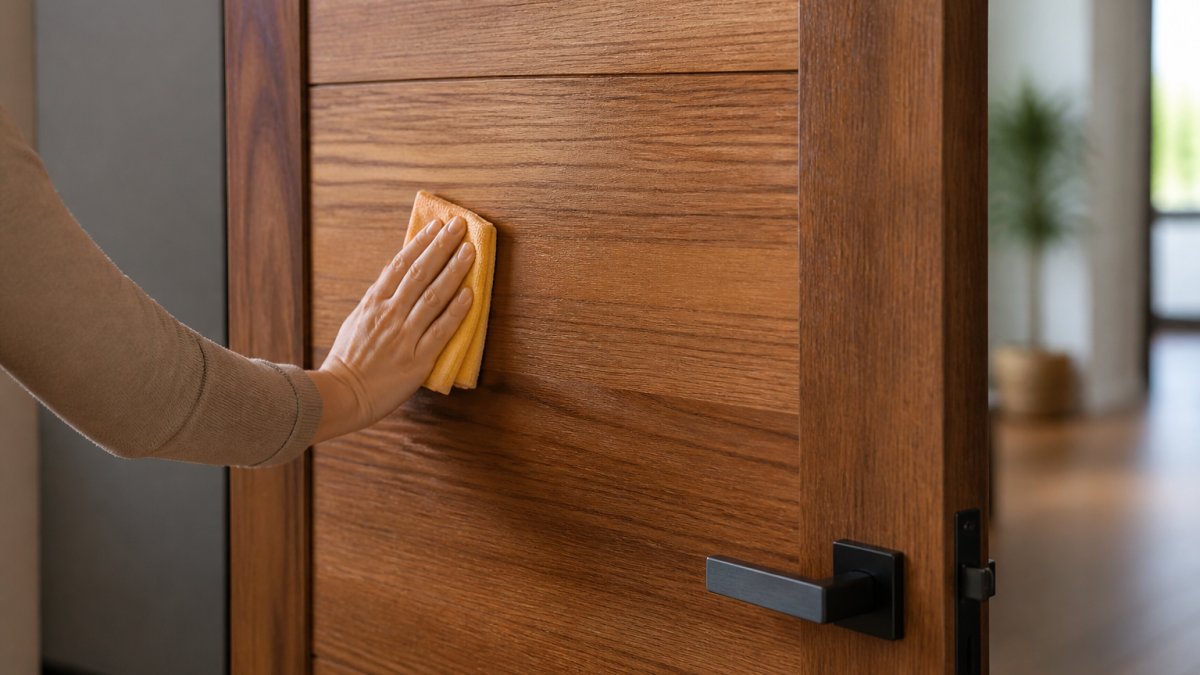
- Wipe with a barely damp cloth and a mild soap solution.
- Dry immediately with a clean, dry cloth.
- Never let water sit on the veneer surface.
Cloths, Solutions, and the Damp-Dry Rule
The damp-dry rule: wring the cloth until no water drips and it feels almost dry, wipe, then follow immediately with a dry cloth.
Use these materials:
- Microfiber cloths for dusting and wiping
- A mild soap solution, a few drops in warm water
- A dry cloth for every damp wipe
Skip paper towels, scouring pads, and anything abrasive. They dull the wood finish and leave micro-scratches that trap dirt.
Test Any Cleaner on a Hidden Spot First
Test any new product on a hidden spot, the top edge or inside face near the hinges. Apply a small amount, wait a few minutes, and check for dulling, discoloration, or softening. If the finish looks different, stop; this five-minute test saves a whole door.
Avoid harsh chemicals completely. Ammonia, bleach, strong detergents, and abrasives like steel wool strip the protective finish and dry out the veneer.
Protecting Wood Veneer Finishes from Heat, Sun, and Humidity
Heat, direct sunlight, and humidity are the quiet killers of wood veneer finishes, and doors face them differently than furniture. A door is a vertical panel that swings, seals against a frame, and often sits where sunlight rakes across it for hours. While these structural stresses are unique to swinging panels, the underlying principles of solid wood furniture care remain essential for preserving the integrity of the finish against environmental fluctuations.
How Sun and Heat Damage a Door
Ultraviolet light breaks down the finish, causing it to chalk, fade, or yellow, while radiant heat dries the veneer skin faster than the core, stressing the glue line. Over time that shows up as fine cracks and, eventually, lifting at the edges.
A door face that receives direct sun for several hours a day is the highest-risk spot in the house. The fix is simple:
- Use blinds or a sheer curtain during peak sun hours.
- If the door is exterior, consider a storm door or an overhang that shades the face.
- Keep space heaters and portable radiators at least a few feet from door faces. In desert conditions, choose hardware finishes that resist corrosion too.
How Humidity Moves the Veneer
Wood veneer responds to relative humidity: in dry conditions the veneer and core shrink, in damp conditions they swell. Because the thin veneer and thicker core move at different rates, the veneer lifts at the edges when it swells faster and can crack when it dries faster.
Keeping indoor relative humidity in a moderate range, roughly 30% to 50%, reduces movement. In practice:
- Run a dehumidifier in basements and damp rooms.
- Use exhaust fans in bathrooms and kitchens during and after showers and cooking.
- Wipe up spills immediately, before moisture reaches the seams.
Door-Specific Protection by Location
Match protection to the room:
- Bathroom doors: The face nearest the shower sees the most moisture. Dry it after cleaning and check the bottom edge for swelling every few months. A properly sized exhaust fan is the best protection you can add.
- Kitchen doors: Grease and cooking steam settle on the finish. Wipe with a damp-dry cloth and mild soap, then dry immediately. Avoid abrasive cleaners that dull the finish.
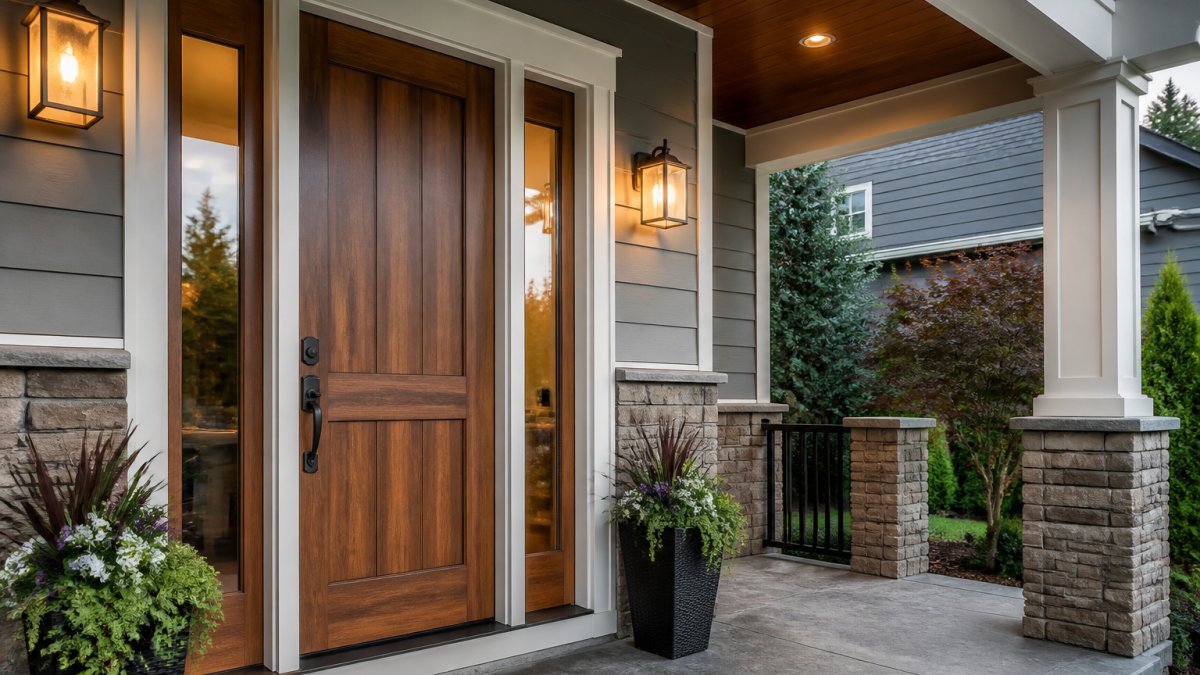
- Entry doors: Exterior faces take sun, rain, and temperature swings. Inspect the finish twice a year and reseal as needed. Check weatherstripping and the threshold for gaps that let water in.
The Role of the Finish Itself
A protective finish, wax, oil, polyurethane, or lacquer, is your first line of defense, and each protects differently:
- Wax repels water but wears off and needs frequent reapplication.
- Oil penetrates the veneer and adds moisture resistance from within, but builds no hard film.
- Polyurethane forms a durable film that resists moisture and wear, but can crack at the edges if the door moves.
Reapply on schedule and it shields the veneer from everyday wear. If you're unsure what finish you have, see the identification steps above.
Wood Veneer Door Scratch Repair: What You Can Fix Yourself
Light scratches in the finish are a DIY fix; deep gouges that reach the core need a pro or replacement.
For surface scratches:
- Rub a matching wood stain marker along the scratch.
- Wipe the excess with a soft cloth.
- Apply a thin coat of wax or polish to blend it in.
For shallow dents, place a damp cloth over the dent, press a warm iron briefly, and check; repeat gently to raise the wood fibers.
What most guides miss: veneer is thin. For similar door constructions, see hollow core door repair and maintenance tips.
How to Repair Peeling Wood Veneer Before It Spreads
Peeling veneer gets worse fast, fix it the week you notice it, since moisture and heat spread the lift along the glue line.
Here's the fix:
- Press the lifted veneer flat to see how much has released.
- Clean out any dust or old glue with a thin blade.
- Apply wood veneer glue under the flap with a syringe or thin stick.
- Press it flat and weight it, or clamp it, for the full cure time.
- Wipe away squeeze-out before it dries.
Watch out: never force a brittle flap back down. For damage beyond spot repair, follow the full step-by-step refinishing process. If the veneer cracks, the repair gets much harder.
A Practical Maintenance Schedule by Finish Type
Most care guides give one schedule for all veneer doors, which is a mistake: a waxed hallway door and a factory-finished bathroom door need different attention at different intervals. The schedule below is built around the finish, not the door.
Identify the Finish First
Before maintaining a finish, identify it: check a hidden spot, the top edge or the inside face near the hinges, with a clean white cloth and a drop of denatured alcohol.
- Wax softens and lifts onto the cloth.
- Oil darkens slightly and feels tacky.
- Lacquer dissolves quickly and may leave a sticky residue.
If you're unsure, treat the finish as the most delicate option and test any product on that hidden spot first.
Daily and Weekly Tasks
These take seconds and prevent small abrasions that become visible wear.
- Daily: Close doors gently; slamming stresses hinges and can chip the finish at contact points.
- Weekly: Dust high-touch areas, handles, push plates, edges where hands land, with a dry microfiber cloth. Dust is abrasive and acts like sandpaper under a wiping hand.
- Weekly: Check the floor sweep or bottom edge for grit that can scrape the finish as the door swings.
Monthly Tasks by Finish
| Finish Type | Clean | Inspect | Reapply Protection |
|---|---|---|---|
| Wax | Monthly, dry cloth; re-wax high-touch spots | Every 3 months: check for dulling and water rings | Every 6-12 months, or when water stops beading |
| Oil | Monthly, damp-dry cloth; avoid soap buildup | Every 3 months: look for dry, lighter patches | Every 6-12 months with a compatible oil |
| Polyurethane | Monthly, damp-dry cloth with mild soap | Every 6 months: check edges and bottom rail for cracking | Every 2-3 years, or when the surface feels rough |
| Lacquer | Monthly, dry cloth only; avoid water rings | Every 6 months: look for clouding or fine cracks | As needed, by a professional; lacquer repairs are not a DIY job |
| Factory finish | Follow the manufacturer's care sheet | Every 6 months: check edges, hardware contact points | Per manufacturer; many factory finishes need no reapplication |
Quarterly Inspection Points
Every three months, spend five minutes on these door-specific checks:
- Edges: Run a finger along the top and bottom edges. Lifting or roughness here is the first sign of moisture intrusion.
- Hardware contact points: Look behind handles, hinges, and closers for chipped finish or dark rub marks.
- Bottom rail: Check for swelling, staining, or finish wear from mopping and floor cleaning.
Annual Tasks
Once a year, do a full pass:
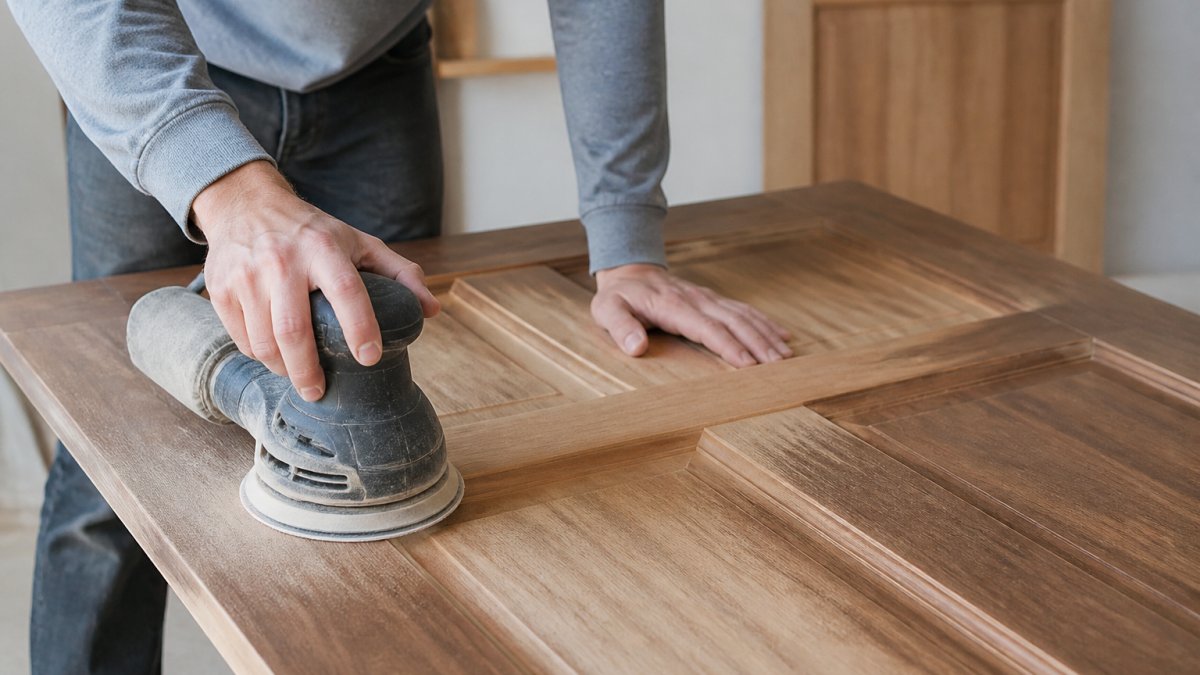
- Reapply wax or oil on doors that use those finishes, following the manufacturer's directions. To understand how your finish was originally applied and how to keep it durable, see how to finish wood doors.
- Tighten hinge screws and check that the door hangs square. A sagging door rubs the frame and wears the finish at the latch edge.
- Inspect weatherstripping on exterior doors. Failed seals let in moisture that swells the veneer.
Door Checks That Prevent Finish Damage
A two-minute check every few months catches problems before they cost you a door:
- Open and close the door. Does it stick, rub, or drag?
- Check hinges and screws for looseness.
- Look along veneer edges for lifting or bubbles.
Sticking doors usually mean moisture swelling or shifted hinges, fix the cause, not just the rub. If checks reveal damage too advanced to maintain, learn when to replace your interior doors. A dragging door wears through the finish at the bottom edge, where veneer damage usually starts.
Choosing Replacement Doors and Hardware Locally
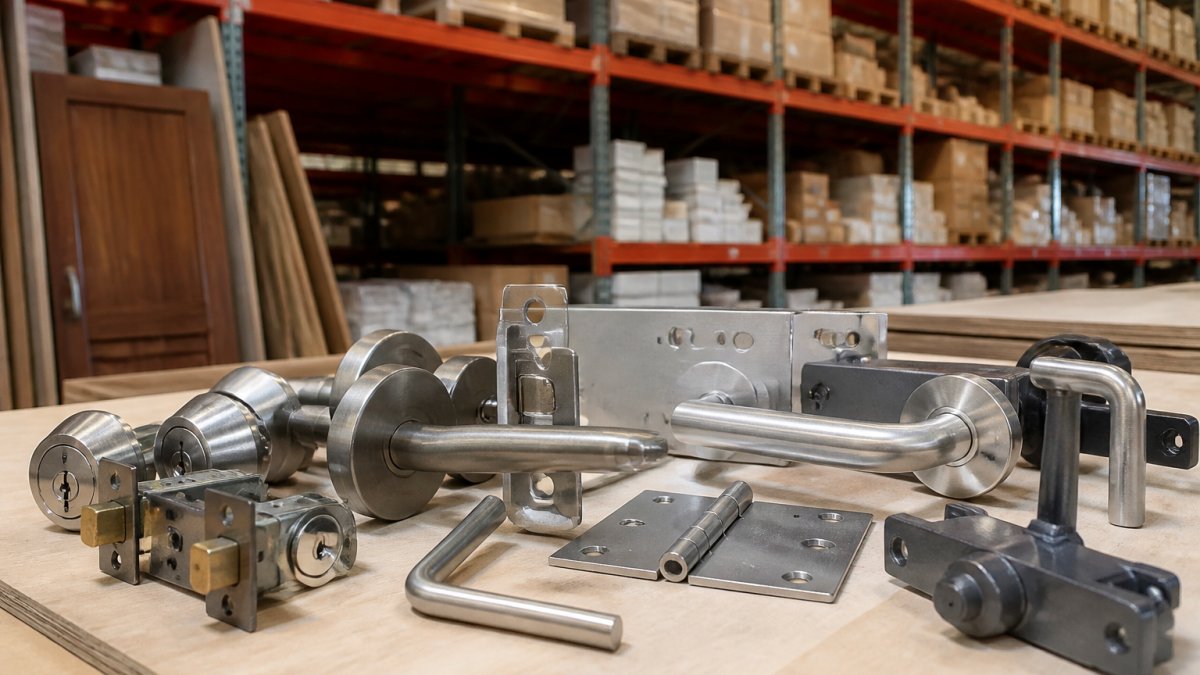
At Arizona Door Store, a family-owned business with design centers in Scottsdale and Phoenix, contractors and homeowners can get expert guidance and personalized service.
As Joe A. put it, "They are great at showing me products that match my need without trying to sell me the highest price door."
We offer fast and efficient will-call service and reliable local delivery to Scottsdale, Phoenix, and Tucson.
Frequently Asked Questions
How do you clean a wood veneer door?
Wipe the door with a soft microfiber cloth and a gentle cleaning solution, then dry it immediately with a second cloth. Work top to bottom so drips don't run over clean areas. Never flood the surface or let water sit in the edges, panel grooves, or around hardware. For routine dusting, a dry cloth is enough; save damp wiping for fingerprints and grime. Always test any cleaner on a hidden spot such as the door's top edge before using it across the whole wood veneer door.
Can you use furniture polish on a veneer door?
Only if the label says it suits your door's finish, and even then, use it sparingly. Silicone-based polishes can build up and make refinishing difficult later, so check the product's compatibility first. On wax-finished veneer, a thin coat of furniture wax every few months keeps the surface protected. On lacquered or polyurethane finishes, skip polish entirely and stick to a damp wipe and dry. Test on a hidden spot before treating the full door.
Can water damage wood veneer doors?
Yes. Water is the most common cause of veneer failure, especially at the bottom edges, panel joints, and around hardware where moisture seeps under the veneer and loosens the glue. Wipe spills immediately and never leave a wet cloth against the door. In humid rooms like bathrooms, run the exhaust fan and keep the door dry. Exterior and high-humidity doors need a sealed, intact finish so moisture stays out of the wood veneer door.
How often should you clean and maintain veneer doors?
Dust or dry-wipe interior doors every two to four weeks, and damp-clean high-touch areas like edges and hardware surrounds monthly. Inspect the finish every season for scratches, dull patches, or lifting edges. Reapply wax or polish every three to six months on wax-finished doors, and refresh a protective topcoat as the manufacturer recommends. Exterior and high-humidity doors need a check every few months, since sun and moisture wear the finish faster.
Maintaining wood veneer door finishes comes down to a few habits: clean gently, dry quickly, protect the surface, and check for damage early. When a door is past saving, Arizona Door Store can help you choose a replacement that fits your home and your budget. We offer locally made doors, expert guidance from experienced consultants, and fast turnaround on orders. Get started with Arizona Door Store and keep every door in your home looking its best.