 how-to
How to Refinish Wood Veneer Doors: Step-by-Step
Table of Contents
- Before You Start: Identify the Veneer and Prep the Door
- How to Sand Wood Veneer Without Damaging It
- How to Repair Chipped Wood Veneer Before Refinishing
- How to Refinish Veneer Doors Without Stripping
- Best Finish for Wood Veneer Doors
- How to Refinish Wood Veneer Doors: The Full Step-by-Step Workflow
- Troubleshooting, Cost, and When to Replace Instead
- Frequently Asked Questions
Last Updated: October 19, 2026
Before You Start: Identify the Veneer and Prep the Door
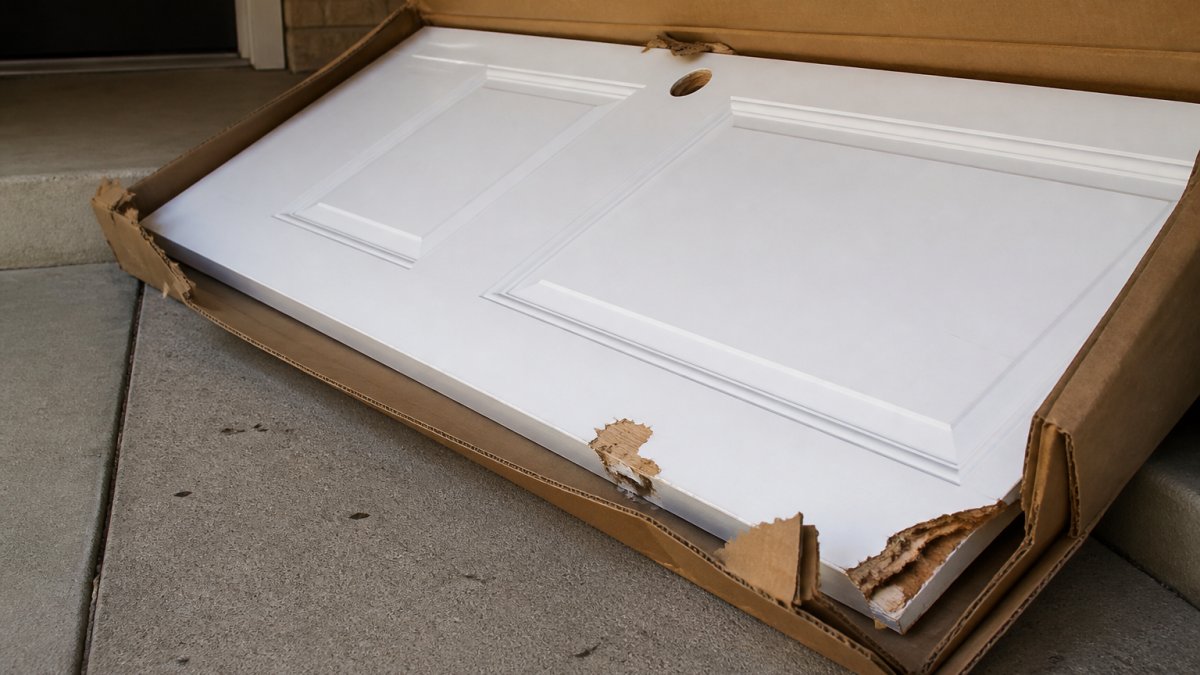
Learning how to refinish wood veneer doors starts with one honest look at what you're working with. A veneer door is a thin slice of real wood glued over a stable core, and that thin layer is what makes the job different from refinishing a solid slab.
Most guides get this wrong: they treat veneer like solid wood. You have maybe a millimeter of real wood before you hit glue and particleboard.
How to Tell Veneer From Laminate and Check Veneer Thickness
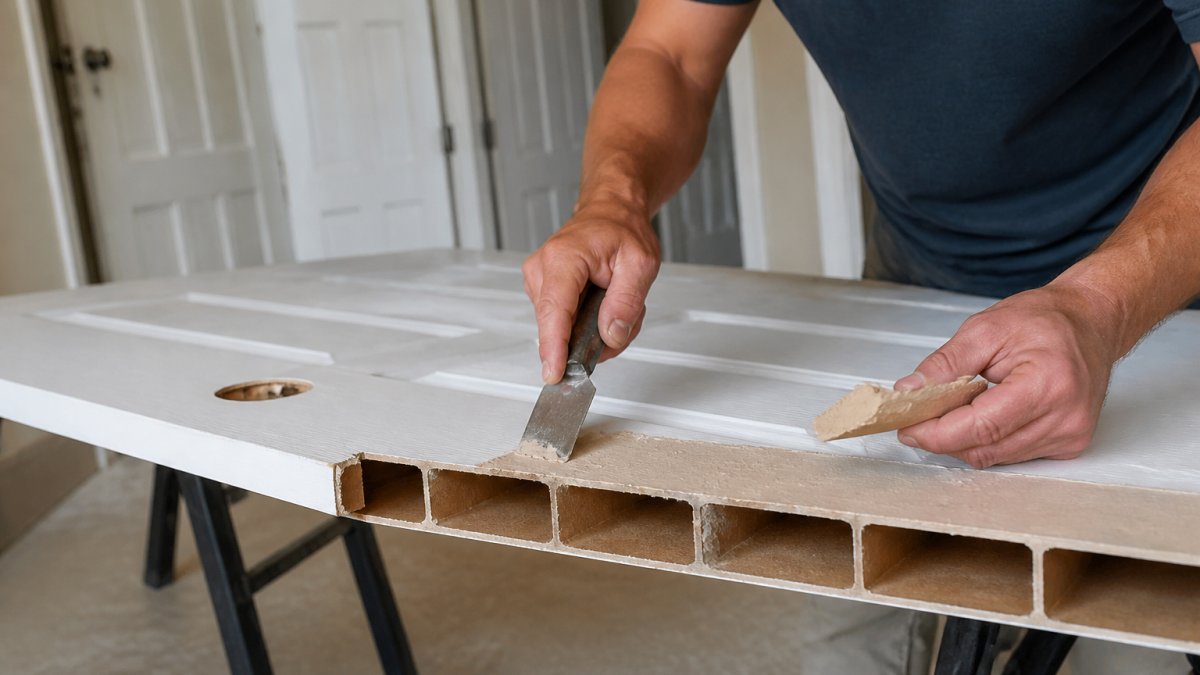
Veneer is real wood, usually 0.5 to 1 mm thick, glued to a particleboard or MDF core. Laminate is a printed plastic sheet that can't be sanded or stained.
Try these checks:
- Look at the door edges. Veneer doors show a thin wood band or a matching edge strip. Laminate shows a visible seam or plastic lip.
- Inspect the grain. Real veneer grain repeats across the face and never looks pixel-perfect.
- Test a hidden spot. Sand a small area under a hinge. Wood dust means veneer. Plastic shavings mean laminate.
Remove Hardware and Clean the Surface
Strip the door before you touch sandpaper. Pull the hinges, handles, lockset, and any kick plates, and bag the screws so nothing goes missing.
Then clean. Grease and hand oils block stain and cause blotchy patches. Wipe the face with a degreaser and a lint-free cloth, scrub around the handle and edges where hands land most, and let the door dry fully before sanding.
If the door is still hanging, take it off. Working flat on sawhorses gives you control and saves your back.
How to Sand Wood Veneer Without Damaging It
Sanding a veneer door is a light-touch job, not a stripping job. The goal is to dull the old finish and open the grain, not remove wood.
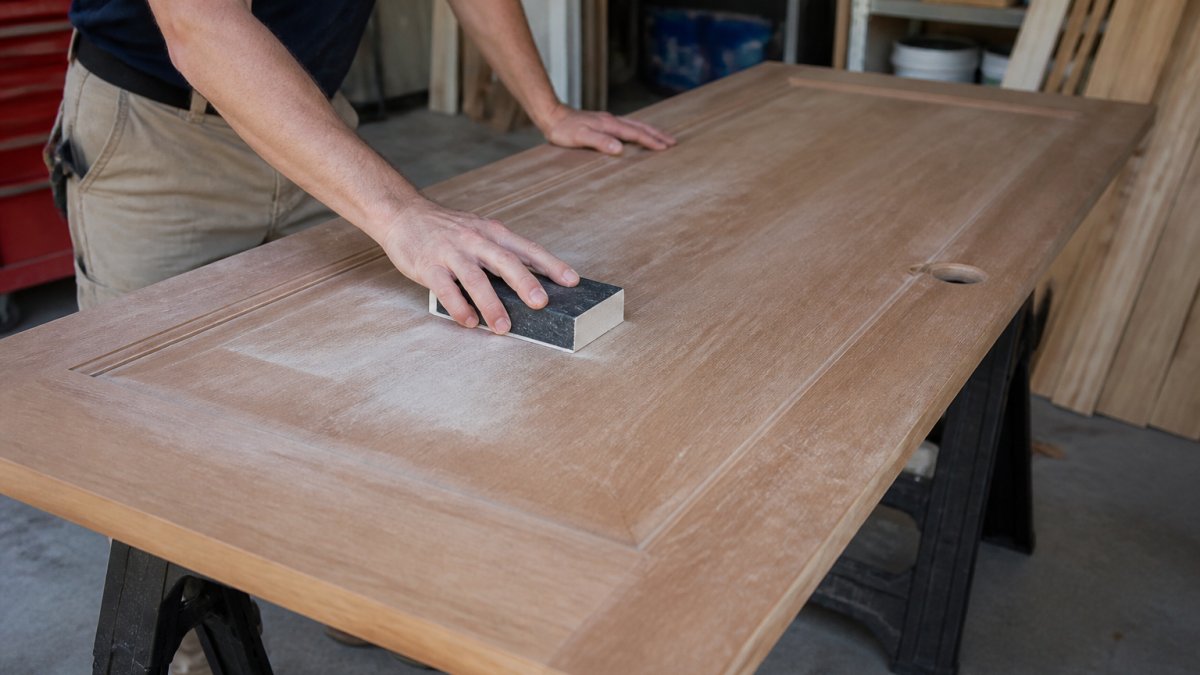
Here's the workflow we'd use:
- Start with 120-grit to cut the old clear coat.
- Move to 150-grit for a smoother face.
- Finish with 180-grit, then stop.
- Sand edges by hand, never with a power sander.
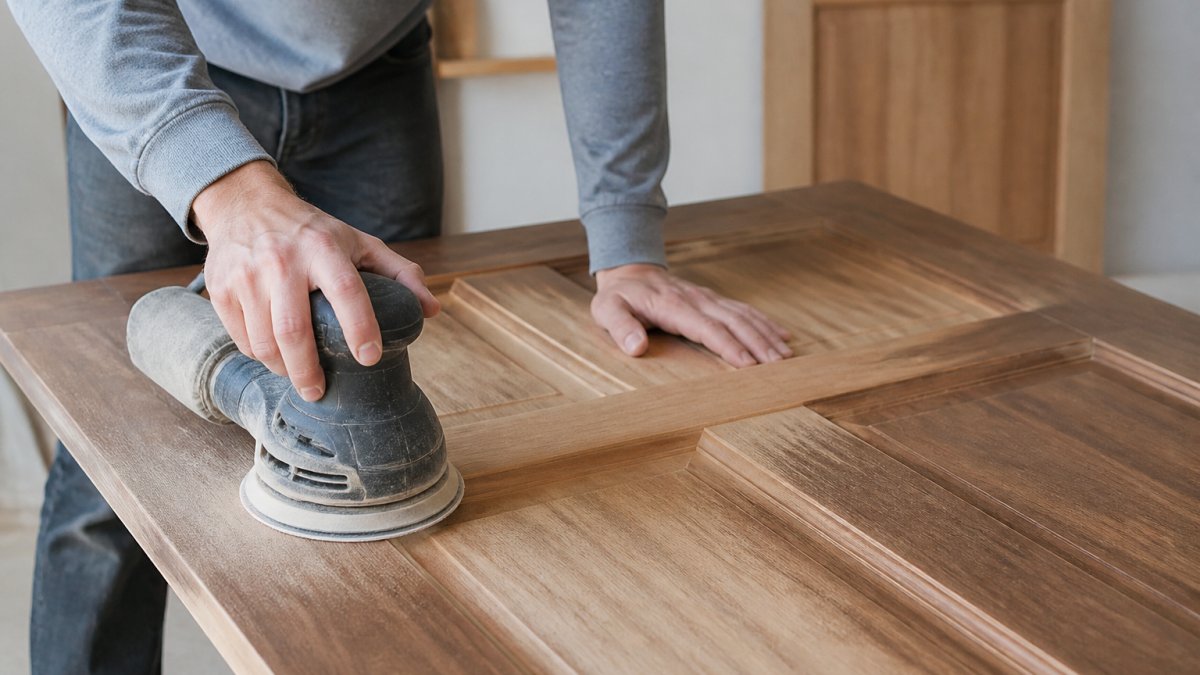
Power sanders eat thin veneer fast. A random orbital on a low setting is acceptable on flat faces, but keep it moving and check the surface every few passes.
How to Repair Chipped Wood Veneer Before Refinishing
Chipped veneer repair comes down to two questions: is the chip loose, and how big is it? Small chips get filled. Loose sections get glued back down. Missing chunks get patched with matching veneer.
Work through these fixes:
- Loose veneer: Slit the bubble with a utility knife, work wood glue under the flap with a thin card, then clamp it flat with wax paper between the clamp and the wood. Let it cure overnight.
- Small chips: Fill with a tinted wood filler matched to the final stain color, not the current faded color. Overfill slightly, then sand flush once dry.
- Missing sections: Cut a patch from matching veneer, trim it to a clean shape, glue it in, and sand flush. Blend the edges with a touch of stain.
Let all repairs dry completely before sanding. Wet filler clogs paper and smears into the grain.
How to Refinish Veneer Doors Without Stripping
You can often refinish veneer doors without chemical stripper, and on thin veneer that is usually the safer first choice. The decision comes down to three variables: how sound the existing finish is, how much color change you want, and how much veneer thickness you have to work with.
Decide First: Recoat, Hand-Sand, or Strip
Use this decision sequence before you buy any product.
- Test the existing finish. Rub a cloth dampened with denatured alcohol on a hidden spot. If the finish softens, it is likely shellac or lacquer and can be reamalgamated or stripped easily. If not, it is probably polyurethane or a conversion varnish and needs abrasion or a methylene chloride-free stripper.
- Check adhesion. Press clear packing tape across a few square inches and pull. If finish flakes come up, the old coat is failing and a recoat will not bond, you need to remove it.
- Measure your veneer margin. At a hinge mortise or door edge, if the veneer reads under about 0.6 mm (roughly 1/32 in), treat every abrasive step as high risk and favor chemical removal over sanding.
- Decide the color move. Going darker or same tone: a scuff-sand and recoat can work. Going lighter or changing species look: you need to remove the old finish and often the old stain, which means stripping or very careful sanding.
The No-Strip Path (Scuff and Recoat)
The no-strip approach works when the old finish is sound (no peeling, cracking, or tape-test failure), the color is close to what you want or you are going darker with a gel stain, there are no deep scratches through the veneer, and the existing finish is a film-forming product (polyurethane, varnish, lacquer) rather than an oil or wax blend that will repel new coats.
Workflow for a scuff-and-recoat:
- Degrease and dry the door fully.
- Scuff by hand with 220-grit on a sanding block, with the grain, until uniformly dull. Do not remove the old finish, just give the new coat a mechanical key.
- Vacuum, then tack-cloth.
- Apply a bonding primer only if your topcoat's label requires it; many wipe-on polyurethanes do not.
- Apply two to three thin coats of topcoat, sanding lightly with 320-grit between coats.
The Chemical Stripping Path
Chemical stripping is the safer removal method when the finish is failing, when you want a significant color change, or when the veneer is too thin to sand aggressively, but it is messier and requires more safety discipline.
Product selection. Choose a methylene chloride-free paint and varnish remover for indoor or garage work. Methylene chloride-based strippers are fast but carry serious ventilation and PPE requirements and are restricted in some states; check local rules before buying.
Application sequence.
- Work on one face at a time with the door flat.
- Apply a thick, even coat with a natural-bristle brush, working in one direction. Do not scrub it in.
- Let it dwell for the time on the label, typically 15 to 30 minutes for gel strippers, until the finish wrinkles and lifts.
- Scrape with a plastic scraper held at a low angle, following the grain. Wipe the blade clean on a rag frequently.
- Use a stripping pad or coarse steel wool with more stripper to clear residue from the grain.
- Neutralize per the label, some strippers require a water rinse, others a solvent wipe. Do not skip this step; residue blocks new finish.
- Let the door dry completely, then lightly hand-sand with 220-grit to even the surface.
Hand Sanding vs. Machine Sanding on Thin Veneer
Hand sanding is the default on veneer doors. A sanding block with 120-, 150-, and 180-grit paper gives you feedback and control a power tool cannot.
Machine sanding is acceptable only on flat faces with a random orbital on a low setting, kept moving, checked every few passes.
A practical rule: if the veneer edge at a hinge mortise looks thinner than a dime, hand-sand only.
When Stripping Is the Wrong Call
Skip stripping and go straight to repair or replacement when:
- The veneer is already lifting across large areas, stripper will make it worse.
- The core is swollen or water-damaged.
- The door has been painted with lead-containing paint from an older home; test before disturbing it and follow EPA lead-safe renovation guidance.
Best Finish for Wood Veneer Doors
The best finish for wood veneer doors is a wipe-on oil-based polyurethane or a gel stain topped with a clear coat. Both give you control on a thin surface and hide minor sanding marks better than a high-gloss spray, but the right choice depends on the species, the look you want, and cure time.
Match the Finish to the Veneer Species
Veneer species behave differently under stain and clear coat. Two doors that look alike can take finish very differently.
- Oak veneer: Open grain, takes stain evenly, but the pores show through a thin topcoat. A grain filler before topcoat gives a smoother film.
- Maple and birch veneer: Tight grain, prone to blotching. A pre-stain conditioner or a gel stain is close to mandatory.
- Cherry veneer: Darkens naturally with age and light exposure. A clear, non-yellowing topcoat preserves the intended color better than an oil-based poly that ambers.
Product Selection Guide
| Finish | Best For | Recoat Window | Key Trade-off |
|---|---|---|---|
| Wipe-on oil-based polyurethane | Interior doors, easy control, amber warmth | 4-6 hours | Ambers over time; longer full cure |
| Gel stain + clear topcoat | Color change, blotch-prone species | 24 hours before topcoat | Slower schedule; needs careful wipe-off |
| Water-based polyurethane | Low-odor jobs, fast recoat, non-yellowing | 2-3 hours | Raises grain; needs light sanding between coats |
| Brushing lacquer | Pro or well-ventilated setups | 30-60 minutes | Strong fumes; needs spray or flow-out skill |
| Dewaxed shellac (sealer coat) | Sealing blotch-prone veneer, blocking tannin | 30-45 minutes | Not a topcoat on its own; needs a clear coat over it |
Sealers, Conditioners, and Blotch Control
A sealer or conditioner is not optional on blotch-prone veneer, it partially blocks the pores so stain absorbs more evenly.
- Pre-stain conditioner: Apply, let it penetrate for the label time, wipe off excess, and stain within the label window, usually two hours.
- Dewaxed shellac: A 1-pound cut wiped on and lightly scuffed is an excellent universal sealer and blocker, and it seals old finish residue that might interfere with a water-based topcoat.
- Gel stain: On highly figured or blotch-prone veneer, gel stain sits on the surface rather than soaking in, making it the most forgiving color option for veneer doors.
Application Sequence and Cure Times
- Seal or condition if the species is blotch-prone. Let it dry per the label.
- Stain with a foam brush or rag, working with the grain. Wipe off excess before it tacks, usually 5 to 15 minutes for a wiping stain, longer for a gel.
- Let stain dry fully. Oil-based stains typically need 24 hours; water-based 2 to 4 hours. Do not rush this step.
- Apply the first topcoat thin. Wipe-on poly goes on with a rag or applicator pad; brushing poly with a quality synthetic brush.
- Sand lightly between coats with 320-grit on a sanding block, just enough to knock down nibs, then tack-cloth.
- Apply two to three coats, then let the final coat cure fully, typically 7 days for oil-based poly before normal use, longer in cool or humid conditions.
Compatibility Rules That Prevent Failures
- Water-based topcoat over oil-based stain: Only after the stain is fully cured (usually 24 hours or more). Otherwise the waterborne coat can bead or fail to bond.
- Oil-based topcoat over water-based stain: Generally safe once the stain is dry, but test first.
- Shellac over anything, anything over shellac: Dewaxed shellac is the universal bridge coat. Use it when you are unsure whether two products are compatible.
For more on wood finishing standards, the USDA Forest Service wood handbook is a solid technical reference.
How to Refinish Wood Veneer Doors: The Full Step-by-Step Workflow
Follow this sequence in order and you avoid the backtracking that ruins veneer.
- Remove the door and set it flat on sawhorses.
- Strip the hardware and bag the screws.
- Clean with a degreaser, then dry.
- Repair loose veneer, chips, and gaps. Let everything cure.
- Sand with 120, 150, then 180 grit, by hand on edges.
- Wipe dust with a tack cloth.
- Test stain on a hidden edge or the door bottom.
- Apply stain, wipe off excess, and let it dry.
- Seal with two to three thin coats of clear finish.
- Sand lightly between coats with 220-grit.
- Reattach hardware once the final coat cures.
- Rehang the door and check the swing.
If you need matching hardware or a replacement door for a project that's past saving, our team at Arizona Door Store can help you source the right piece.
Troubleshooting, Cost, and When to Replace Instead
Refinishing isn't always the right call. Here's how to troubleshoot common outcomes and decide.
Blotchy stain? The grain absorbed unevenly.
Finish won't dry? Old finish or oil residue is underneath.
Sanding marks showing through? You skipped a grit.
Veneer lifting at the edges? Glue failed. Re-glue and clamp before adding more finish.
When to replace instead of refinish:
- The veneer is sanded through to the core in large areas.
- The door is warped, cracked, or delaminating across the face.
- The core is water-damaged or swollen.
For replacement doors and hardware, Arizona Door Store stocks options for every budget.
Frequently Asked Questions
Can you sand and refinish a veneer door?
Yes, but carefully. Most door veneer is only about 0.6 mm thick, so a random orbital sander with 80-grit paper can cut through it in seconds. Use hand sanding with a block and 120 to 220 grit, sand with the grain, and stop as soon as the old finish dulls. If you can see a color change or a papery edge, you have gone too far. When in doubt, use a chemical stripper instead of sanding to refinish wood veneer safely.
How do you repair chipped or peeling veneer on a door?
For a small chip, clean the area, fill it with wood filler tinted to match, then sand flush and blend with a stain marker. For loose or peeling veneer, slice under the flap with a utility knife, work wood glue into the gap with a foam brush, press flat, and clamp or weight it for 24 hours. Large missing sections usually call for patching with a matching veneer piece or replacing the door slab.
What finish should you use on a wood veneer door?
A water-based polyurethane or a wiping varnish can be suitable for most veneer doors. Both dry clear, resist yellowing, and build a protective coat without the heavy solvent smell of oil-based products. Apply two to three thin coats, sanding lightly with 320 grit between coats. French polishing on doors is generally avoided because the shellac finish is soft and shows fingerprints in high-traffic areas.
Do you need to remove a veneer door before refinishing it?
Removing the door makes the job faster and cleaner. Pop the hinge pins, label the top edge, and lay the slab flat on sawhorses so finish does not run. If the door stays hung, work in sections, keep stripper and dust away from the hinges, and tape off the floor and frame. Either way, take off all hardware, including handles, locksets, and kick plates, before you start.
A refinish only works when the veneer underneath is sound. If your door is past repair, or you need matching hardware to finish the job right, Arizona Door Store can help. We offer locally made doors, fast will-call service, and expert guidance from consultants who work with contractors and homeowners every day. Get started with Arizona Door Store and finish your project with a door built to last.