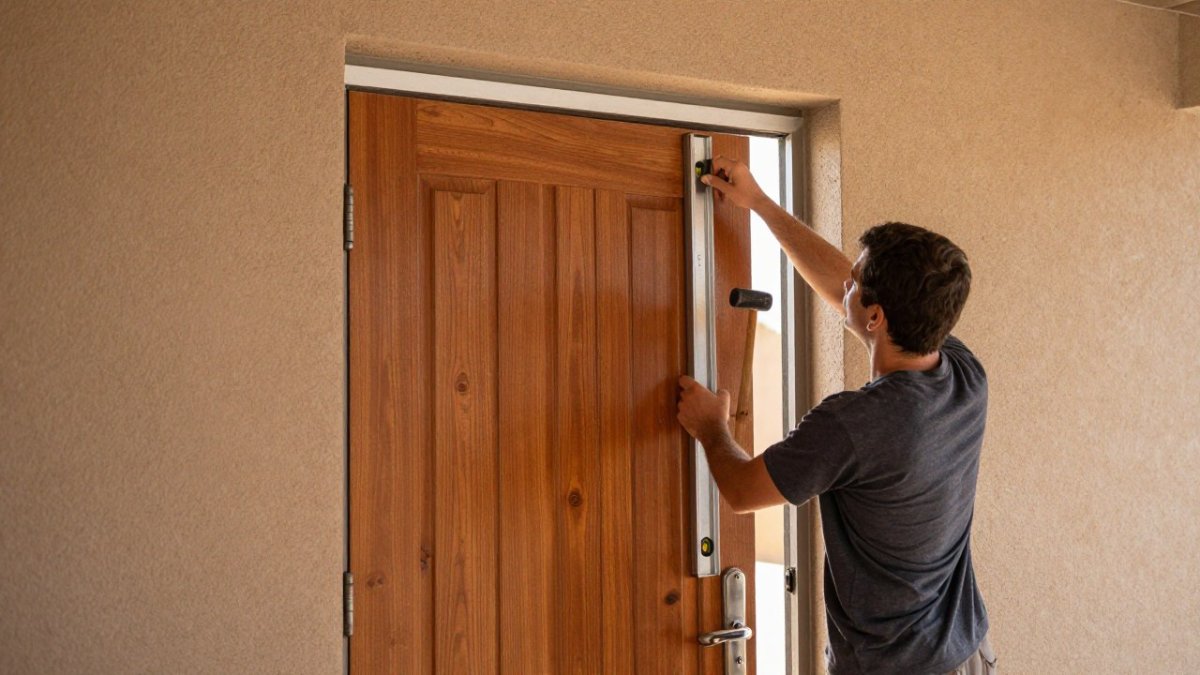
 How-to
How to Install Modern Door Handles on Any Interior Door
Last Updated: November 9, 2026
Quick Summary
To install modern door handles, first measure your door thickness and backset, then remove the old handle and latch, fit the new latch bolt, and align the spindle and chassis before tightening the screws. If your new modern door handles match the old backset and bore size, you can reuse every existing hole.
- Most interior doors in U.S. homes are 1-3/8 inches thick, while exterior and some solid-core doors run 1-3/4 inches.
- Backset is almost always either 2-3/8 inches or 2-3/4 inches from the door edge to the bore hole center.
- Over-tightening the mounting screws is the most common cause of a stiff lever.
- A dry graphite or silicone spray on the latch bolt twice a year keeps things smooth.
- Tighten the mounting screws once a year, since seasonal humidity swings loosen them gradually.
Table of Contents
- Before You Start: Measuring Door Thickness and Backset
- Tools Needed for Door Handle Installation
- Removing the Old Handle and Latch Mechanism
- Step-by-Step: Installing Your Modern Door Handles
- How to Install a Door Handle With Hidden Screws
- How to Replace Door Handles With Same Holes
- Handing the Door, Smart Lock Integration, and Maintenance
- Get the Right Modern Door Handles for Your Project
- Frequently Asked Questions
Before You Start: Measuring Door Thickness and Backset
Swapping out dated knobs for modern door handles is one of the cheapest upgrades you can make to an interior door, but the job lives or dies on two numbers: door thickness and backset. Get those right and the new hardware drops in cleanly. Get them wrong and you will be drilling new holes in a door you cannot un-drill.
Contractors and homeowners often ask the same two questions before buying hardware: what size is my door, and how far is the hole from the edge? What size is my door, and how far is the hole from the edge? Here is how to answer both in about five minutes.
Checking Door Thickness and Bore Hole Size
Most interior doors in U.S. homes are 1-3/8 inches thick. Exterior and some solid-core doors run 1-3/4 inches. Hardware is sold for one or the other, so check before you buy.
- Use a tape measure across the door's edge, not the face
- Standard bore hole diameter is 2-1/8 inches
- Standard edge bore for the latch is 1 inch
Measuring Backset and Cross Bore Alignment
Backset is the distance from the door's edge to the center of the bore hole. It is almost always either 2-3/8 inches or 2-3/4 inches.
Measure from the edge of the door to the middle of the big hole. Then check that the cross bore on both faces of the door lines up with the edge bore.
Here are the key measurements and standard sizes to confirm before you buy new hardware.
| Item | Value | Note |
|---|---|---|
| Typical interior door thickness | 1-3/8 inches | Exterior and some solid-core doors run 1-3/4 inches |
| Standard bore hole diameter | 2-1/8 inches | Check for oversized or patched holes |
| Standard edge bore for latch | 1 inch | Note any patched holes from old hardware |
| Standard backset | 2-3/8 inches or 2-3/4 inches | Distance from door edge to center of bore hole |
| Misalignment cause | Cross bore off from edge bore | Number one reason a new handle binds |
Tools Needed for Door Handle Installation
You need fewer tools than you think. A basic kit covers most swaps:
- Tape measure
- Phillips and flathead screwdriver
- Cordless drill with a 1-inch spade or hole saw bit
If your old hardware fought you on the way out, our guide on installing door hardware correctly covers the small techniques that prevent stripped screws and split jambs.
Removing the Old Handle and Latch Mechanism
Start on the interior side. Most knobs and levers hide their screws under a decorative rosette or trim ring.
- Pop off the cover plate with a flathead or your fingernail
- Unscrew both mounting screws and pull the handle halves apart
- Remove the two screws holding the latch plate on the door's edge
If your old knob has no visible screws at all, it is likely a push-button or spring-loaded style. Our article on replacing door knobs without screws walks through removal for those.
Watch out: do not pry a stuck rosette with a metal tool. You will gouge the door face, and that mark is permanent.
Step-by-Step: Installing Your Modern Door Handles
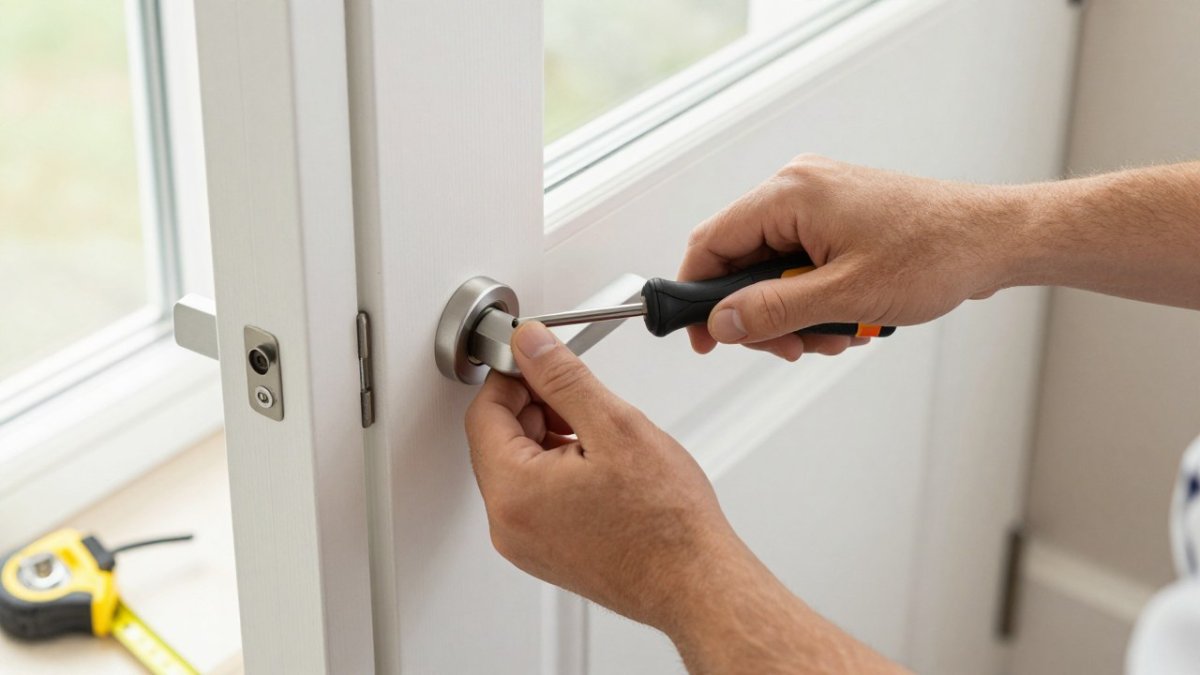
Work in this order to avoid the two classic mistakes: a latch that sticks and a lever that droops.
Fitting the Latch Bolt and Chassis
Slide the new latch bolt into the edge bore with the angled face pointing toward the door's closing direction. Screw the faceplate down flush with the door edge. If the plate sits proud, the door will rub the strike plate and never latch right.
Aligning the Spindle and Securing Mounting Screws
Push the spindle through the latch and center the chassis on both faces of the door. Hand-tighten the mounting screws, then check that the handle turns freely before you fully tighten. Over-tightening is the most common cause of a stiff lever.
Testing the Lock and Adjusting the Strike Plate
Close the door and watch the latch. If it clicks in without force, you are done. If it hangs up, loosen the strike plate screws and nudge the plate a little. A privacy lock should turn smoothly with the door closed.
How to Install a Door Handle With Hidden Screws
Hidden-screw handles use a set screw or a clip system instead of visible fasteners. The trick is finding the release point.
- Look under the rosette for a small slot or pinhole
- Insert a pin or small Allen key to release the trim
- Mount the chassis first, then press the trim on until it clicks
How to Replace Door Handles With Same Holes
This is the easy version of the job. If your new modern door handles match the old backset and bore size, you reuse every hole.
- Confirm the new backset matches the old one (2-3/8 inches or 2-3/4 inches)
- Reuse the existing latch and strike plate if they are in good shape
- Swap only the handle set and chassis
When the Holes Do Not Match: Retrofitting Vintage and Oversized Cutouts
The harder case, and the one most tutorials ignore, is an older door with a mortise lock body, an enlarged bore, or a backset that falls between the two standard sizes. A vintage mortise lock is a rectangular cassette set into the door edge, often 5-1/2 inches tall or more, with a separate deadbolt and latch. A modern tubular handle will not drop into that pocket, and you have three realistic options:
- Mortise-to-tubular conversion kit: These kits fill the old mortise pocket with a metal or plastic filler plate and drill new 2-1/8 inch and 1 inch bores in the standard positions. They are the cleanest path when the door is solid wood and you want to keep it.
- Patch and re-bore: For a door you plan to paint, glue in a wood patch sized to the old pocket, sand flush, and drill fresh standard bores. This is more work but gives you a factory-clean result.
- Oversized bore adapter: If a previous owner enlarged the cross bore past 2-1/8 inches, a rosette adapter plate or a larger escutcheon can cover the gap, check the new handle's rosette diameter against the old hole before you buy.
Watch out: do not try to fill an oversized bore with spackle or wood filler alone. The chassis screws need solid material to bite into, and a filler patch will crack the first time the lever is used.
Measure the old mortise pocket height, width, and depth before you shop, and confirm the conversion kit's filler plate covers the full opening.
Handing the Door, Smart Lock Integration, and Maintenance
Left vs. Right Door Handing
Door handing describes which side the hinges sit on when you face the door from the outside, and it determines which way the lever or knob must turn and which face of the latch bolt is angled.
To identify handing, stand on the outside of the door (the side you approach to enter) and look at the hinges:
- Hinges on your left = left-hand door
- Hinges on your right = right-hand door
Then confirm the swing. A door that opens toward you is an in-swing door; one that opens away is an out-swing. For an in-swing left-hand door, the lever on the outside should point right when the door is closed.
Adding a Smart Lock to Modern Door Handles
A smart lock is not just a heavier handle, it adds a battery housing, a motorized deadbolt, and often a keypad or Bluetooth module to the door, and that changes what the door and frame must support. Before you buy, check three things:
- Door thickness: Most smart locks are rated for 1-3/8 inch to 1-3/4 inch doors. A thin hollow-core interior door may flex under the motor torque; a solid-core or exterior door is the better host.
- Backset and bore: Smart locks almost universally use a 2-3/8 inch or 2-3/4 inch backset and a 2-1/8 inch bore, but the interior escutcheon is often larger than a standard rosette, so confirm it will cover any existing marks or patches on the door face.
- Frame and strike: The motorized deadbolt throws with more force than a manual thumb turn. If the strike plate sits in soft jamb wood or the frame has shifted, the bolt will bind and drain the batteries. Our guide on reinforcing door frames for heavy hardware shows how to add a reinforced strike or a longer screw into the framing stud.
Battery housing is the detail most guides skip. Most smart locks use four AA alkaline batteries in the interior escutcheon, and the housing sits behind a removable cover that you must be able to reach without removing the whole handle. Dry-fit the interior assembly before you commit: if the battery door faces the door frame or a wall, you will be unscrewing the lock every time the batteries die.
Lubrication and Long-Term Care
A dry graphite or silicone spray on the latch bolt twice a year keeps things smooth. Avoid oil-based sprays, which attract dust and gum up the internal springs over time. Tighten the mounting screws once a year, seasonal humidity swings in most U.S. homes loosen them gradually, and a loose chassis is the usual cause of a drooping lever. If you chose a powder-coated finish, our article on powder coated door hardware explains how those finishes hold up and how to clean them without dulling the surface.
Get the Right Modern Door Handles for Your Project
The hardest part of this job is not the screwdriver. It is picking a handle that fits the door you already have. Thickness, backset, and handing decide everything, and a five-minute measurement session saves a return trip.
Arizona Door Store can help contractors and homeowners with sizing and product selection before you buy, and will-call service is available for pickup. If you are still deciding on style, our guide on choosing door handles for modern homes breaks down the looks that work best in today's interiors.
Get started with Arizona Door Store and install hardware that fits right the first time.
Frequently Asked Questions
Can you put new modern door handles on old doors?
Yes, in most cases. The main obstacle is the existing bore hole and backset. Standard modern door handles use a 2-1/8 inch cross bore and either a 2-3/8 or 2-3/4 inch backset. If your old door has an oversized or oddly placed hole, you can fill it with a wood patch or use a retrofit kit or adapter plate. Check door thickness too: modern hardware typically fits doors 1-3/8 to 1-3/4 inches thick. Measure before buying so you avoid a return trip.
Do I need special tools to install modern door hardware?
No specialty tools are required for a straightforward swap. You need a Phillips screwdriver, tape measure, utility knife, and a drill with the correct bit for pilot holes. A chisel helps if you need to deepen the latch or strike plate mortise. For a fresh install into an undrilled door, you will also need a hole saw sized for the cross bore and edge bore, plus an installation template to keep the bores aligned.
How do I make sure my new door handle is level?
Set a torpedo level across the rosette or backplate before you tighten the mounting screws. Hand-tighten the screws in a cross pattern so the chassis pulls down evenly, then check the level again. If the handle sits slightly off, loosen the screws a quarter turn, shift the chassis, and retighten. A level handle also depends on the latch being centered in the edge bore, so confirm the latch bolt moves freely before final tightening.
How do I install a door handle with hidden screws?
Hidden-screw handles use a set screw or grub screw under the rosette or on the neck of the lever. Slide the rosette or cover plate into place, then tighten the small set screw with the hex key supplied in the box. Mount the interior and exterior halves through the cross bore first, then tighten the set screws to lock the trim. Do not overtighten, since the set screw can strip the spindle or mar the finish.