 How-to
Custom Closet Shelving: Installation Options That Fit
Last Updated: November 19, 2026
Quick Summary
Custom closet shelving installation options come down to three families: wall-mounted systems hung from brackets or a track, floor-supported units that carry their own weight, and fully built-in cabinetry. Each changes what you need from the wall, the tools you'll rent, and how much of the job you can do yourself. At Arizona Door Store, we supply shelving and moulding to contractors and homeowners, and the question customers ask most often is not which shelf looks best.
- A DIY closet shelving installation is beginner-to-intermediate when anchoring into studs with a modular kit.
- Modular systems win on speed, cost, and reconfiguration; custom built-ins win on fit, finish, and resale appeal.
- Standard shelf depth is 12 inches for linens and bins and 14 to 16 inches for folded clothes.
- Allow about 12 inches of vertical clearance per folded-clothes shelf and more for bins.
- Sag prevention comes down to three things: shelf material, shelf span, and support spacing.
Table of Contents
- What Custom Closet Shelving Installation Options Really Involve
- DIY Closet Shelving Installation: Tools, Steps, and Realistic Skill Level
- Modular Closet Systems vs. Custom Built-Ins: Which Fits Your Project
- Closet Shelving for Small Spaces: Layouts That Add Vertical Storage
- Closet Shelving Installation Cost: Materials, Labor, and What Drives the Total
- Shelf Materials, Load Capacity, and Preventing Sag
- Planning Your Shelving Layout with Arizona Door Store
- Frequently Asked Questions
What Custom Closet Shelving Installation Options Really Involve
Custom closet shelving installation options come down to three families: wall-mounted systems hung from brackets or a track, floor-supported units that carry their own weight, and fully built-in cabinetry. Each changes what you need from the wall, the tools you'll rent, and how much of the job you can do yourself.
At Arizona Door Store, we supply shelving and moulding to contractors and homeowners, and the question customers ask most often is not which shelf looks best. It's what the wall behind it can hold. That single answer decides your system, your budget, and whether a Saturday install stays a Saturday install.
Below, we'll walk through the tools and steps for a DIY build, compare modular kits against built-ins, break down what drives cost, and cover the anchoring and material choices that keep shelves from sagging. Here's what most guides skip: the wall is the project.
DIY Closet Shelving Installation: Tools, Steps, and Realistic Skill Level
A DIY closet shelving installation is a beginner-to-intermediate project if you're anchoring into studs and using a modular kit. It moves to intermediate-plus the moment you hit plaster, masonry, or a wall that isn't plumb.
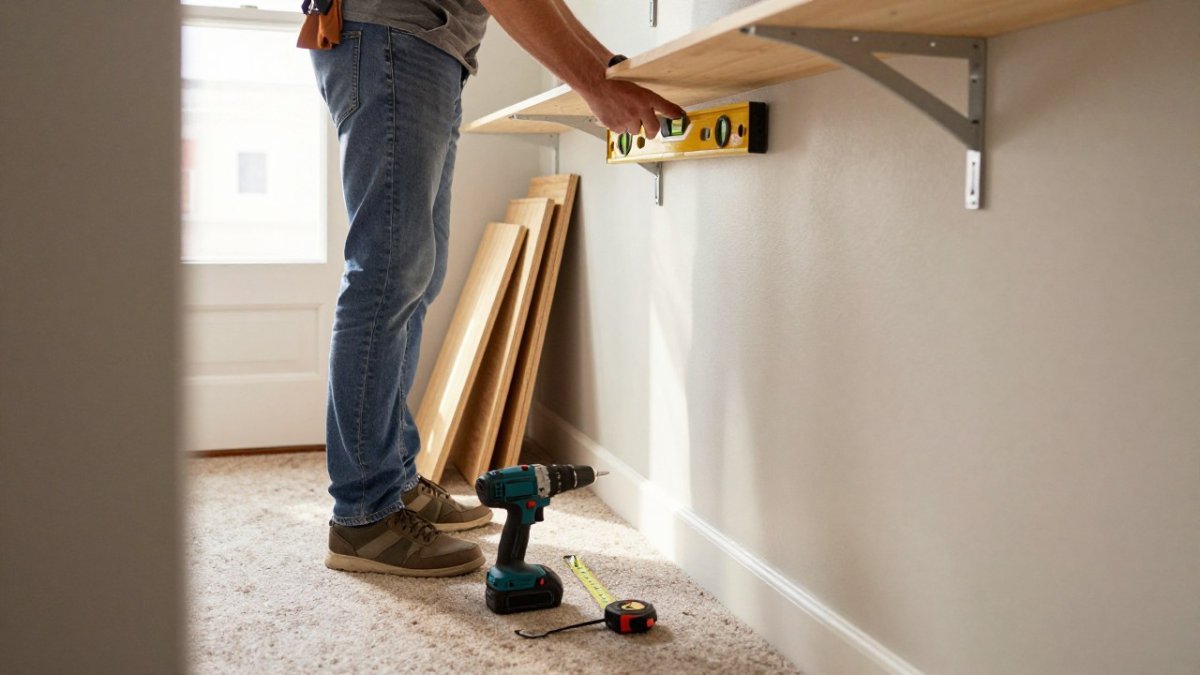
Here's the honest skill breakdown. Hanging a track and brackets on drywall with wood studs is a weekend job for someone comfortable with a drill. Cutting shelves to fit an out-of-square alcove, patching old anchor holes, and shimming a wavy wall takes more patience than talent.
Tools you'll actually use:
- Measuring tape and a pencil
- Stud finder
- 4-foot level
- Cordless drill with driver bits
- Drywall saw or oscillating tool
- Circular saw or hand saw for cut-to-size shelves
- Wall anchors rated for your load
- Safety glasses and a dust mask
The steps, in order:
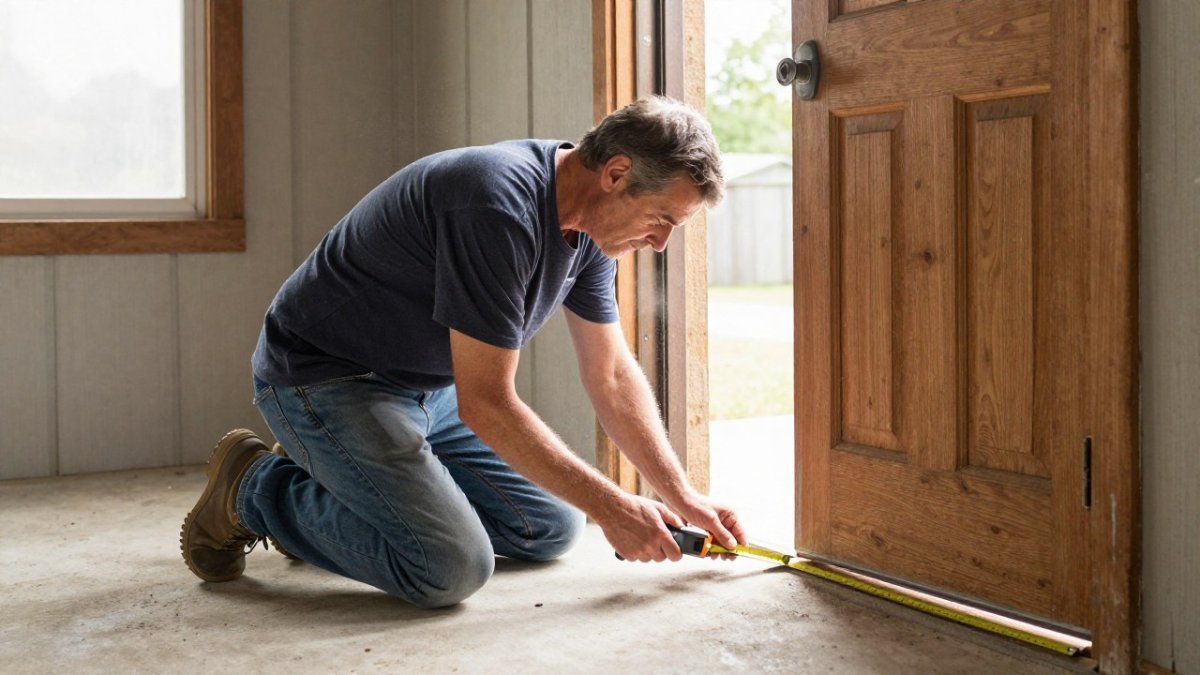
- Measure width, height, and depth at three points on each wall. Use the smallest number.
- Locate studs and mark their centers with tape.
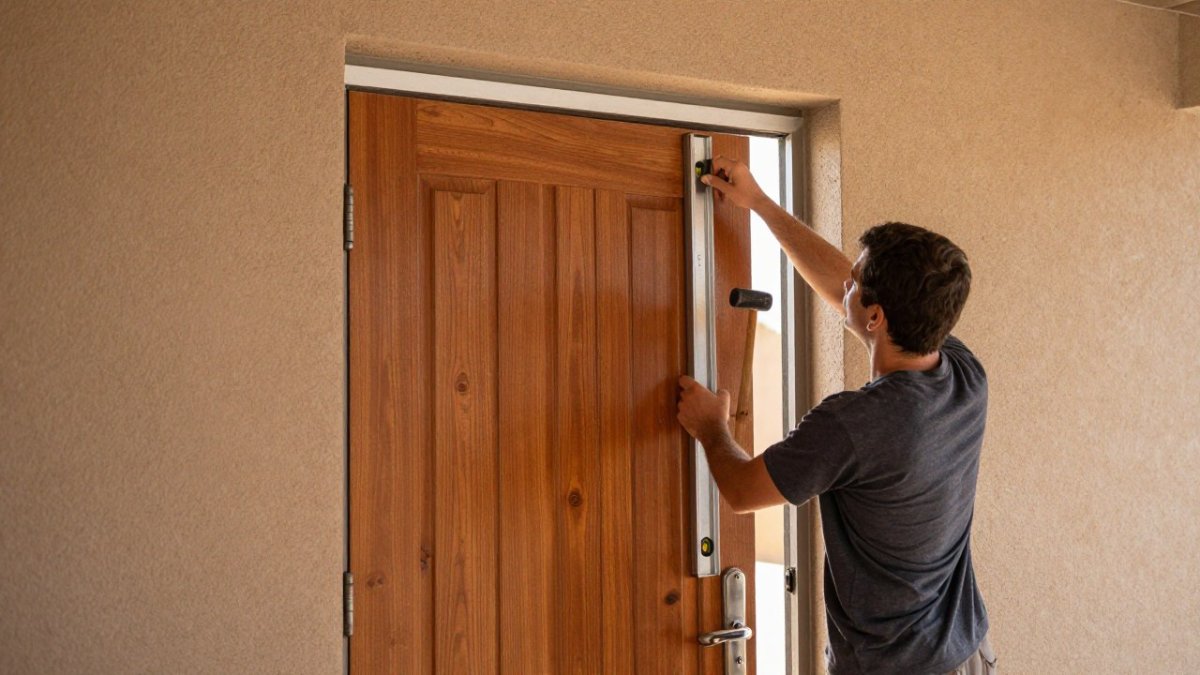
- Mark your shelf heights with a level line, not a tape measure alone.
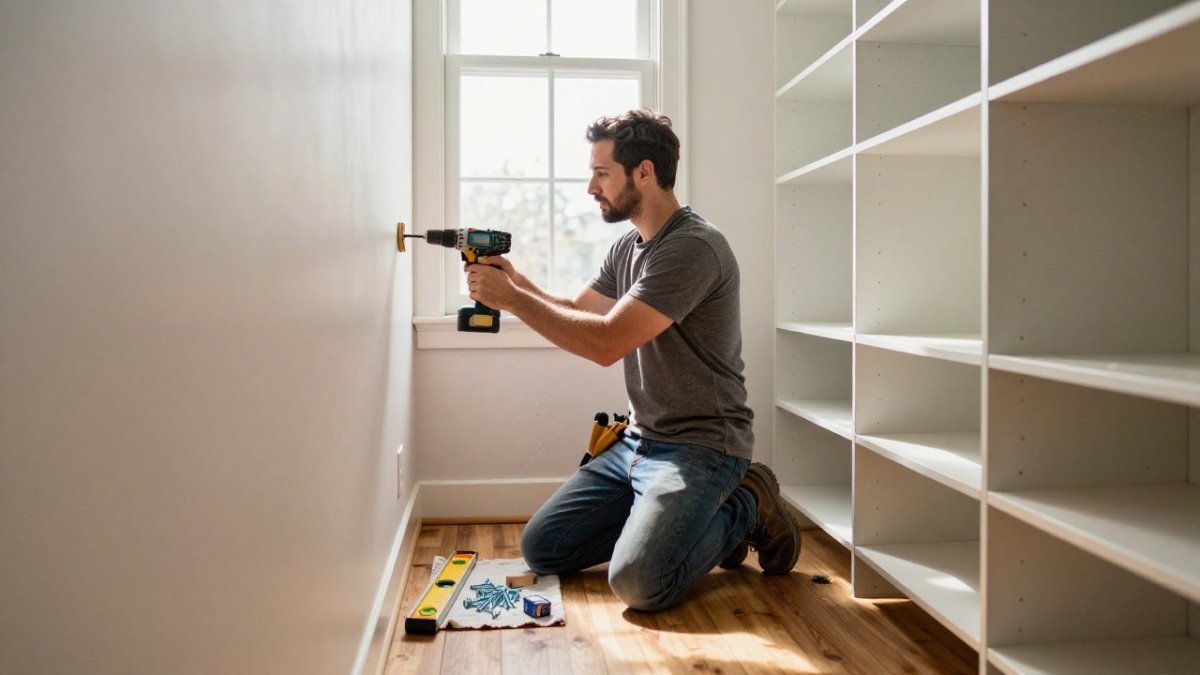
- Install the track or brackets into studs wherever possible.
- Add anchors only where a stud isn't available, and match the anchor to the load.
- Set shelves, check level, and load the bottom first.
Anchoring to Studs, Drywall, Masonry, and Uneven Walls
Studs are the only anchor you should trust without a second thought. A wood stud behind drywall will hold a loaded shelf with ordinary screws; drywall alone will not, no matter which anchor the package promises.
For drywall-only spots, use toggle bolts or heavy-duty anchors rated well above the weight you plan to store. For masonry and brick, use sleeve anchors and a hammer drill. For the full load ratings and fastener guidance, see our guide to load bearing requirements for wall mounted shelves.
Modular Closet Systems vs. Custom Built-Ins: Which Fits Your Project
Modular closet systems win on speed, cost, and reconfiguration. Custom built-ins win on fit, finish, and resale appeal.
Modular systems arrive as panels, rails, and predrilled shelves. You adjust heights with clips or brackets, add accessories later, and take the system with you if you move.
Built-ins are cut and finished for your exact opening.
A practical middle path: modular frames with custom cut-to-size shelves and a matching face frame. You get adjustability where it matters and a finished look where it shows.
Closet Shelving for Small Spaces: Layouts That Add Vertical Storage
Closet shelving for small spaces works by stacking functions on one wall: hanging above, shelves at eye level, shoe storage below. Matching shelf and hanging heights to who uses them makes a small closet easier to live with, and a useful overview of custom closet organization for small rooms can help connect those measurements to the rest of the layout.
Depth and spacing that actually fit:
- Standard shelf depth is 12 inches for linens and bins and 14 to 16 inches for folded clothes; deeper shelves waste reach in a narrow closet.
- Allow about 12 inches of vertical clearance per folded-clothes shelf and more for bins.
- A double-hang rod needs roughly 40 inches between rods for shirts and skirts, and a single hang for long garments needs about 60 inches of clear height.
Three layouts that consistently work:
- The double-hang wall: two rods stacked, shelves above, shoes below. Best for shirts, skirts, and a shared reach-in.
- The tower: a full-height column of adjustable shelves beside a single hang rod. Best when one person needs more folded storage than hanging space.
- The corner L: shelves wrapping two walls, with hanging on the third. Best when the door swing eats one wall.
Lighting and accessibility finish the job. A battery-powered LED strip under the top shelf or a plug-in puck light at the back of a deep shelf makes a small closet usable without a rewiring job.
If your closet is genuinely tight, our guide to designing custom closet shelving for small spaces walks through layouts that reclaim vertical storage without widening the footprint.
Watch out: stacking shelves floor to ceiling without checking reach turns the top two shelves into dead storage, which defeats the point of going vertical.
Closet Shelving Installation Cost: Materials, Labor, and What Drives the Total
Closet shelving installation cost splits into materials, hardware, and labor, and the labor line is where DIY and professional diverge most. Material choice and wall condition move the total more than closet size does.
Build your estimate in four lines:
- Linear feet of shelving. Measure every shelf run end to end and add 10 percent for cuts and waste. This is the number you multiply by a per-foot material rate.
- Hardware count. Brackets or track, standards, shelf pins, rod brackets, and anchors. Count one bracket per stud crossing plus one at each end, and one anchor per bracket where no stud is available.
- Wall-condition allowance. Add labor hours for plaster repair, masonry drilling, or shimming an out-of-plumb wall. A common pattern is that odd walls add half a day to a one-day job.
- Accessories. Drawers, baskets, lighting, and edge banding are optional line items that can rival the shelving cost on a large layout.
Material cost tiers, from least to most expensive per linear foot:
- Wire shelving: the lowest material cost and the fastest to install, but it dents under heavy bins and shows every item.
- Laminate over particleboard: mid-range, wipes clean, and available in cut-to-size lengths; it dislikes moisture.
- Plywood or MDF with edge banding: higher material cost and more finishing time, but better screw-holding and sag resistance than particleboard.
- Solid wood and custom built-ins: the top of the range, driven by lumber grade, joinery, and finish.
Pricing depends on quantity, dates, and delivery, so please visit our website for current prices or request a quote. Bring your measurements to a design center and ask for a line-item quote: shelving by the foot, hardware by the piece, and labor by the hour or day.
DIY vs. Professional Installation at a Glance
| Factor | DIY Installation | Professional Installation |
|---|---|---|
| Upfront cost | Materials and tool rental only | Materials plus labor |
| Time to finish | One to three weekends | Usually one to two days |
| Skill needed | Beginner to intermediate | None on your side |
| Wall problems | You troubleshoot | Handled in the quote |
| Custom cuts | You measure and cut | Measured and fitted |
| Best for | Standard closets, stud walls | Odd walls, built-ins, tight timelines |
How to compare the two honestly: add up your material cost, then add the value of your weekends and the cost of any tool you'd rent or buy. If the DIY total lands close to a professional quote and your walls are plaster, masonry, or out of plumb, the professional quote is usually the better deal once you account for callbacks. If you have standard stud walls and a modular kit, DIY keeps the labor line at zero.
Watch out: the cheapest per-foot material may cost more over time if it sags or pulls out of drywall, so price the support hardware and anchors into the same line as the shelf boards.
Shelf Materials, Load Capacity, and Preventing Sag
Sag prevention comes down to three things: shelf material, shelf span, and support spacing. A shelf that sags isn't a cosmetic problem; it's a warning that the span is too long for the material.
Wire shelving is light, ventilated, and inexpensive, but it dents under heavy bins and shows every item. Laminate over particleboard is affordable and wipes clean, though it dislikes moisture. Plywood holds screws well and resists sag better than particleboard at the same thickness.
The rule of thumb: the longer the unsupported span, the thicker the shelf and the closer the brackets. For a deeper comparison, read our breakdown of plywood vs MDF for modular shelving, and if you're selecting boards for a built-in, our guide to choosing kiln-dried lumber for cabinetry covers moisture and stability.
Watch out: overloading a drywall-anchored shelf is the most common failure we see. The shelf doesn't break; the anchor pulls through and takes a section of wall with it.
Planning Your Shelving Layout with Arizona Door Store
The best installation option is the one that matches your wall, your storage, and your timeline, and that's a planning question before it's a shopping question. Measure first, decide on anchoring second, and pick the system third.
We're a family-owned supplier, and we work with contractors and homeowners alike. Bring your closet dimensions and photos of the walls, and our consultants will help you match shelving, hardware, and moulding so the finished closet looks intentional rather than assembled.
The gap between a closet that works and one that fights you is usually a few measurements and the right anchor. Get those right and the rest is assembly.
Frequently Asked Questions
What are the different ways to install custom closet shelving?
Most installations fall into three systems: wall-mounted shelving that hangs on brackets or a cleat, floor-supported units that carry weight down to the base, and track-based systems where standards bolt to the wall and brackets clip in at adjustable heights. Wall-mounted and track systems suit reach-in closets, while floor-supported units work well in walk-in closets with heavier loads. Your choice depends on wall condition, how much weight the shelves hold, and whether you want fixed or adjustable shelf heights.
Is it cheaper to install closet shelving yourself?
Doing the work yourself removes labor from the budget, so you pay mainly for shelving, brackets, anchors, and tools you may not already own. The trade-off is time and risk: a missed stud or weak anchor can mean a shelf that sags or pulls out of drywall. For a single reach-in closet with a simple layout, DIY often makes sense. For a full walk-in with multiple sections and cut-to-size shelves, a professional install can be worth the added cost.
Can custom closet shelves be installed without a contractor?
Yes, if you are comfortable with a drill, a level, and locating studs. Track-based and modular systems are the most beginner-friendly because the brackets set the spacing for you. The parts that trip people up are uneven walls, anchoring into drywall without studs, and cutting shelves to fit odd corners. Measure twice, mark stud locations before drilling, and use appropriate wall anchors for anything that does not land on a stud.
How much space should you leave between closet shelves?
Standard guidance puts 12 to 16 inches between shelves for folded clothes, with 6 to 8 inches for shoes and taller gaps of 18 to 24 inches for bulky items or hanging space. Shelf height and spacing should follow what you actually store, so plan the layout around your wardrobe rather than a fixed formula. Leave at least 12 inches of clearance above a closet rod so hangers can move freely.