 how-to
How to Level a Door Frame in an Old House
Last Updated: November 5, 2026
Quick Summary
To level a door frame in an old house, first diagnose whether the slab, hinges, or frame is at fault, then reset the frame by removing the casing, freeing the jamb, and shimming it back to plumb. Aim for jamb plumb within 1/8 in. and diagonals matching within 1/8 in.
- Check the hinge jamb, strike jamb, head, and diagonals in that fixed order.
- A setting spreader holds the frame at the right width while you shim.
- Place shims in pairs, one from each side, so they lock against each other.
- If rough-opening diagonals differ by more than 1/4 in., the framing needs attention.
- Seasonal sticking that frees up in winter points to slab swelling, not a moved frame.
Table of Contents
- Diagnose the Door Before You Level the Frame
- Tools for Leveling Door Frames in an Old House
- Check the Frame for Plumb, Level, and Square
- How to Adjust Door Hinges by Bending
- Reset the Frame: Removing Casing, Shimming, and Fastening
- Fixing Uneven Door Gaps and Verifying the Repair
- Get the Right Door and Hardware for Your Old-House Project
- Frequently Asked Questions
Diagnose the Door Before You Level the Frame
A door that sticks, rubs, or hangs crooked is telling you something. Before you grab a level, figure out what is actually wrong. The problem might be the door slab, the hinges, or the frame itself.
Contractors and homeowners often want to level a door frame in an old house. The first step is always the same: diagnose before you adjust. Skip it and you risk making a small problem worse.
Is the Door Slab or the Frame Out of Square?
Open the door halfway and watch the gap along the top and sides. An uneven door gap that shifts as the door swings points to a hinge or slab problem. A gap that stays consistently wide on one side points to a frame that is out of square.
Here is a quick way to tell them apart:
- Door problem: The gap changes as the door moves. Hinges look loose or bent.
- Frame problem: The gap stays the same. The door reveal is wider on one side top to bottom.
- Both: Old houses often have a warped slab in a settled frame. Fix the frame first.
A sagging door that drags on the floor usually means loose hinge screws or a frame that has dropped. Check the screws first. It takes two minutes.
Tools for Leveling Door Frames in an Old House
You do not need a truckload of gear to level a door frame. A few basic tools cover most jobs. Here is a useful set of tools to keep on hand:
- Six-foot level for checking the full height of the jamb
- Two-foot level for tight spots and the head
- Plumb bob when a level will not fit
A setting spreader can hold the frame at the right width while you shim, so you are not fighting the jamb with one hand.
Check the Frame for Plumb, Level, and Square
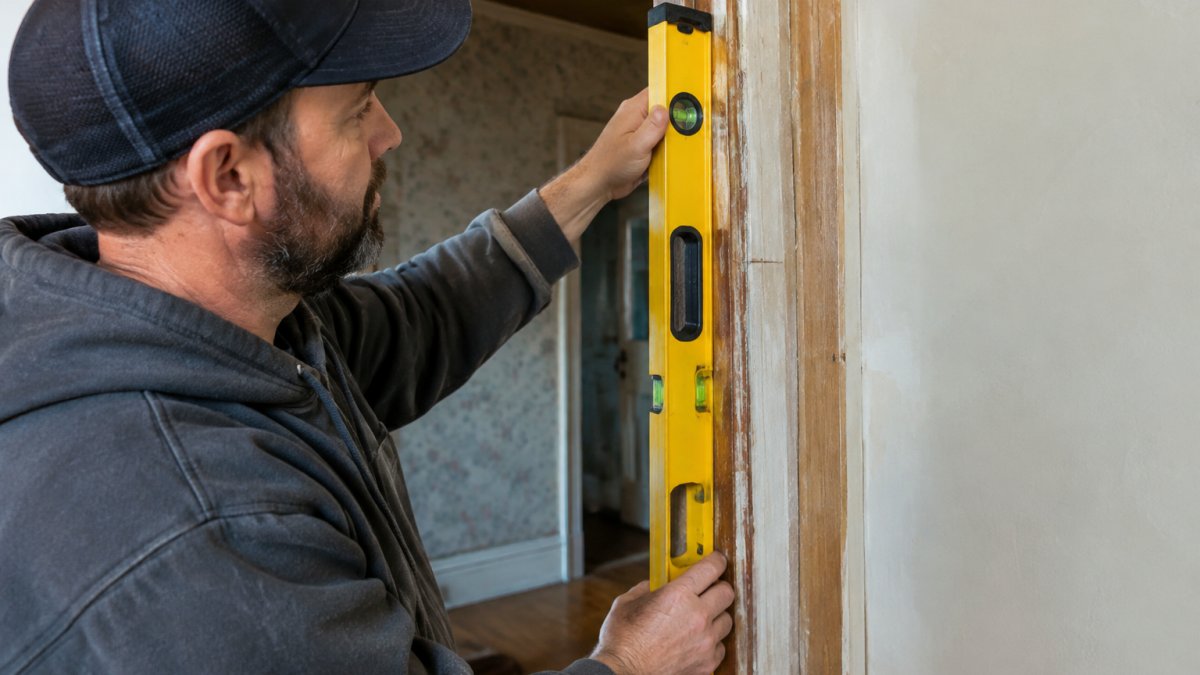
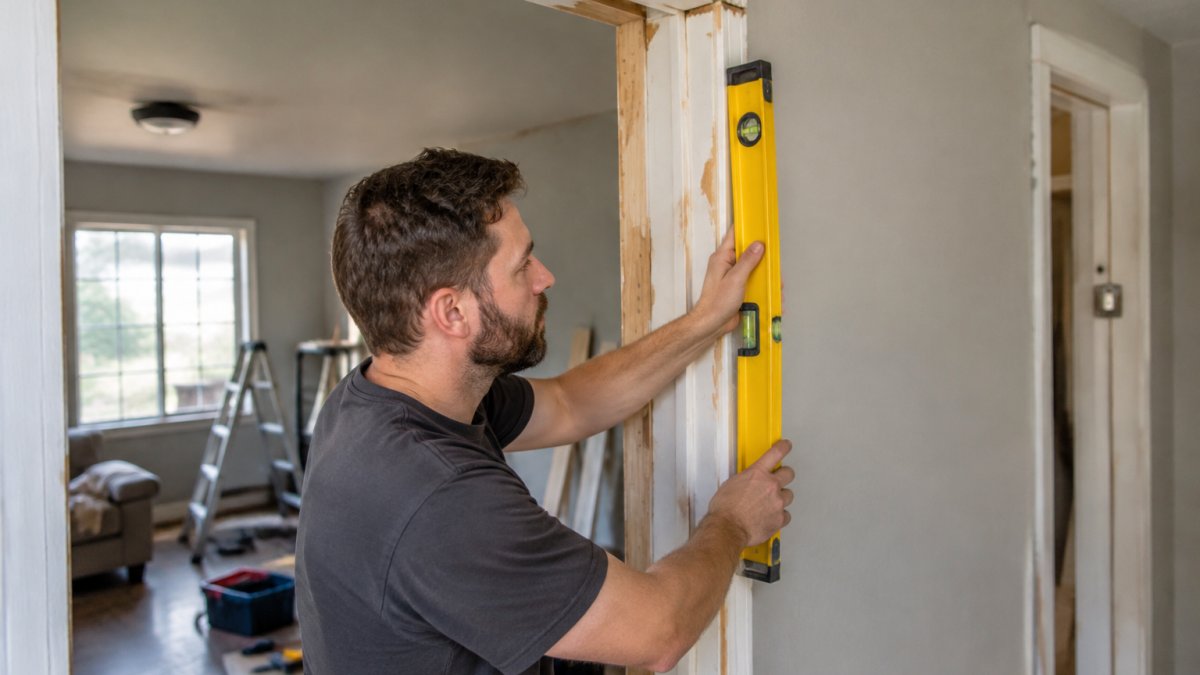
Set your level against the door jamb on the hinge side. Check it in three places: top, middle, and bottom. Then check the head for level and the corners for square.
Work in a fixed order so you do not chase the same error twice:
- Plumb the hinge jamb. Hold a six-foot level against the hinge-side jamb at the top, middle, and bottom. Note which way the bubble drifts.
- Plumb the strike jamb. Repeat on the latch side. The two jambs should lean the same direction and the same amount.
- Level the head. Set a two-foot level across the top of the opening, front to back and side to side.
- Check square with diagonals. Measure from the top hinge corner to the bottom strike corner, then from the top strike corner to the bottom hinge corner. The two diagonals should match.
- Check jamb twist. Hold a level across the jamb face at the top and again at the bottom. If the bubble moves from one reading to the next, the jamb is twisted.
- Check the reveals. With the door closed, measure the gap at the top, the hinge side, and the strike side. A reveal that is wide at the top and narrow at the bottom on one side points to a racked frame, not a hinge problem.
Measurements and Tolerances That Actually Matter
Old houses move, so perfect numbers are rare. Here is what to aim for, in inches:
| Check | Target | Acceptable Range |
|---|---|---|
| Jamb plumb | 0 in. over full height | Up to 1/8 in. off |
| Head level | 0 in. across opening | Up to 1/16 in. off |
| Diagonals (square) | Equal | Up to 1/8 in. difference |
| Jamb twist | 0 in. top to bottom | Up to 1/16 in. difference |
| Door reveal at top | Even | 1/8 to 3/16 in. each side |
| Door reveal at sides | Even | 1/8 to 3/16 in. each side |
Read the numbers as a diagnosis, not just a pass/fail.
If your frame is within these ranges, the problem is likely the slab or hinges. For doors on uneven floors, our guide on installing interior doors on uneven floors walks through the full process.
Watch out: a level that is dropped or stored in a cold truck can read out of calibration, so check it against a known plumb line before you cut any fasteners.
How to Adjust Door Hinges by Bending
Sometimes the frame is fine and the hinges are the problem. Bending a hinge is a fast fix for a door that rubs at the top or bottom. It sounds rough, but it works.
Here is how to adjust door hinges by bending:
- Open the door and support it with a wedge.
- Find the hinge pulling the door out of line.
- Slip an adjustable wrench over the hinge knuckle.
- Apply slow, firm pressure toward the frame.
- Close the door and check the gap.
- Repeat in small steps until the door sits even.
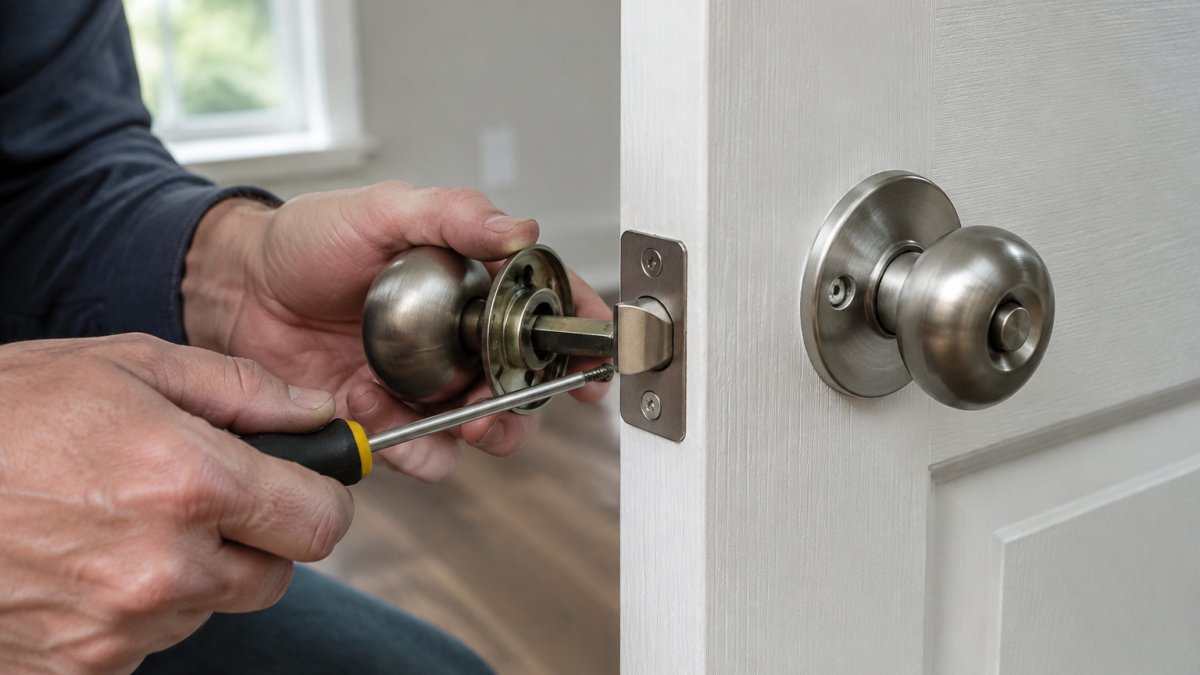
Go slow. A little bend goes a long way, and you can always add more. If the hinge screws are loose, tighten them first. If the holes are stripped, drive a longer screw or plug the hole with a wooden matchstick and glue.
Reset the Frame: Removing Casing, Shimming, and Fastening
When the frame itself is out, you need to reset it. Our guide on door repair DIY vs. professional covers the safety and cost trade-offs before you start.
Work through the reset in order, and stop at each checkpoint to measure before you move on. Skipping a checkpoint is how a frame ends up shimmed tight but still out of square.
- Score the paint line with a knife. Run a utility knife along the seam where the casing meets the wall on both sides. This keeps the paint from tearing and protects the plaster.
- Pry off the door trim on both sides. Work a pry bar behind the casing at the nail points, starting at the bottom and moving up. Save the trim, old casing profiles are hard to match.
- Cut the fasteners holding the jamb to the studs. Use a reciprocating saw with a metal-cutting blade or an oscillating tool to cut the nails or screws behind the jamb. Cut at the shim locations so you free the jamb without gouging the stud.
- Check the opening before you shim. With the jamb free, recheck plumb, level, and diagonals. This tells you whether the rough opening itself is racked or whether the jamb was simply installed out of line.
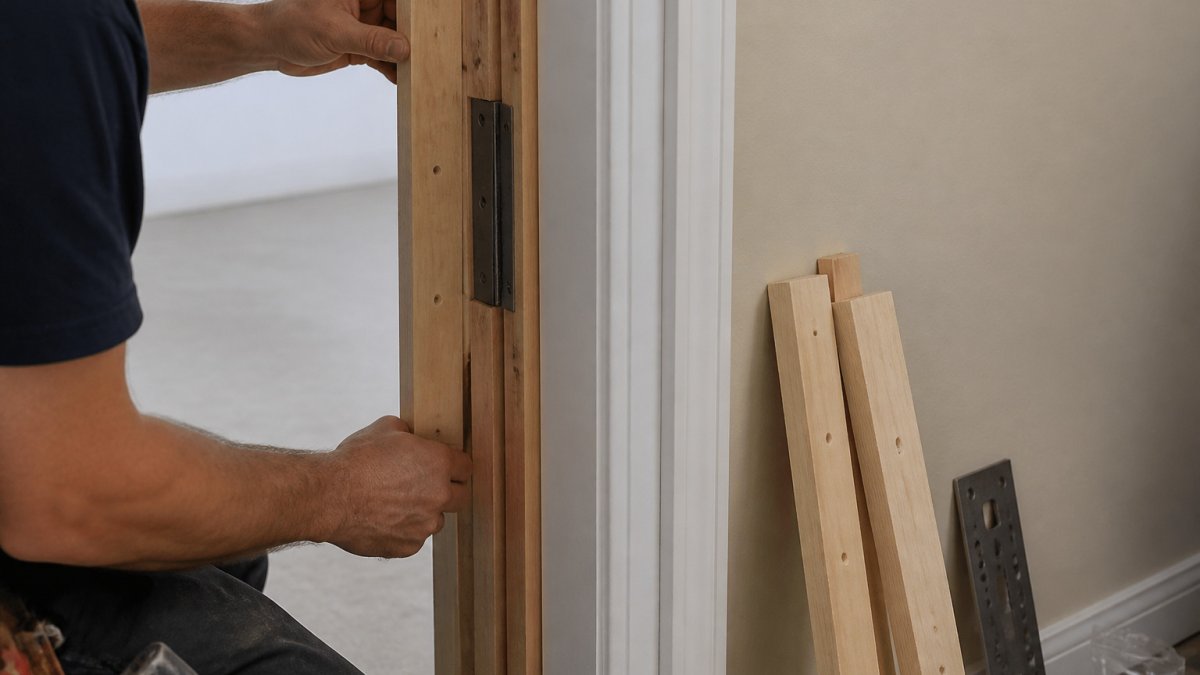
- Slide wood shims behind the jamb at the hinge points. Place shims in pairs, one from each side, so they lock against each other. Start at the hinge side, then the strike side, then the head. Add shims in small increments and recheck plumb after each pair.
- Check plumb and square as you go. After the hinge jamb reads plumb, check the head for level, then the diagonals. Adjust the strike-side shims until the diagonals match within 1/8 in.
- Fasten with cut nails or screws through the shims. Drive fasteners through the jamb and shims into the stud at each shim location. Do not overdrive, stop when the jamb face is flush with the shim.
- Recheck every measurement before you rehang the door. Plumb, level, diagonals, and reveals. If a reading drifts after fastening, back out the fastener, adjust the shim, and refasten.
Troubleshooting the Reset
A few setbacks come up often enough to plan for:
- The jamb will not come plumb no matter how you shim. The rough opening is probably racked. Check the diagonals of the stud opening; if they differ by more than 1/4 in., the framing needs attention before the jamb can be set.
- The head sags after you fasten the jambs. The header may be undersized or damaged. Add a shim at the center of the head and refasten, or plan on sistering the header.
- The door still rubs after the frame reads plumb. The slab is likely warped or the hinges are worn. Check the slab with a straightedge before you blame the frame.
If the frame reset is larger than you expected, it is worth understanding why professional door installation matters before you commit to the DIY route.
Old-House Movement and Preservation Considerations
Old houses move. Framing shrinks, floors settle, and plaster cracks. A frame that was plumb last year may not be plumb now.
Keep original trim where you can. Old door casing is often worth saving, and careful prying preserves the profile.
Watch out: cutting fasteners behind a jamb can release stored tension in an old frame, and the jamb may shift suddenly.
Fixing Uneven Door Gaps and Verifying the Repair
After any adjustment, check your work. Close the door and look at the gap all the way around. The door gap should be even at the top and both sides. The latch should catch the strike plate without force.
Run through this checklist:
- Gap is even at the top and both sides
- Door swings without rubbing the floor or jamb
- Latch lines up with the strike plate
If the door still rubs after a frame reset, the slab may be warped. That is a slab problem, not a frame problem.
Get the Right Door and Hardware for Your Old-House Project
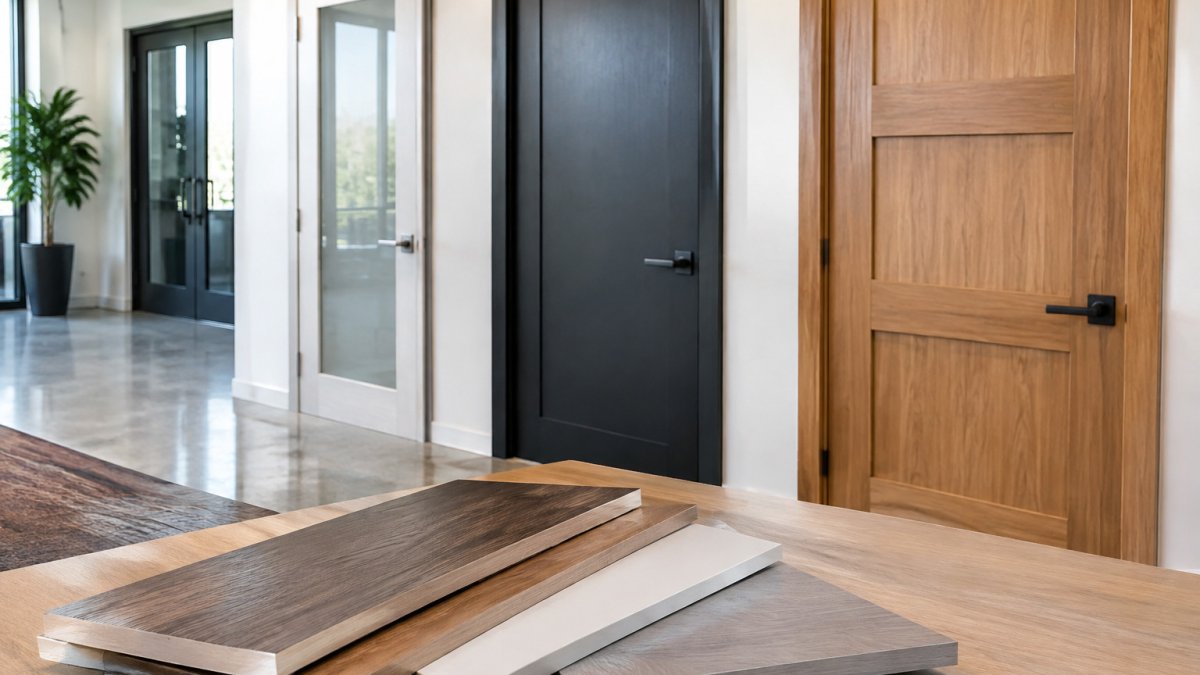
Once the frame is level, the door has to fit it. Our guide on how to measure doors for replacement shows you exactly where to take readings. If you are keeping the frame and swapping only the door, see how to install an interior door slab into an existing frame.
At Arizona Door Store, we help contractors and homeowners in Scottsdale, Phoenix, and Tucson match doors and hardware to real-world openings. Our team can help you think through the choices. Customers often describe the team as helpful and informative.
Frequently Asked Questions
Does a door frame need to be perfectly level to work correctly?
No. A door frame does not need to be perfectly level to function. What matters is that the frame is plumb side to side, square corner to corner, and not twisted. Small variations are normal in old houses. If the door slab swings freely, latches cleanly, and the gaps are even, the frame is working even if the head is slightly out of level. Chasing perfect numbers on an old frame often causes more damage than it fixes.
Can you fix a sagging door without replacing the entire frame?
Yes, in most cases. Start by tightening or replacing the hinge screws with longer fasteners. If the door still sags, try how to adjust door hinges by bending the top or bottom knuckle slightly. When the frame itself is out of plumb, you can remove the casing, cut the nails, and reset the jamb with wood shims. Full frame replacement is only needed when the jamb is rotted, cracked, or too far out of square to shim back into position.
What are the best tools for leveling door frames?
You need a six-foot level for the jamb, a two-foot level for the head, and a plumb bob or laser for cross-checking. Add a setting spreader or a helper to hold the frame, wood shims, a hammer, a pry bar, a utility knife, and a drill with screws or cut nails. A tape measure and a framing square help confirm the opening is square. Keep a pencil handy for marking shim locations before you fasten anything.
When should you call a professional for door frame repairs?
Call a professional when the jamb is rotted, the header is sagging, or the wall itself has moved enough that resetting the frame would require structural work. Also call for help if the door opening is out of square by more than about 1/4 inch across the diagonals, or if you have already tried hinge adjustments and shimming without success. A pro can confirm whether the problem is the frame, the slab, or the house settling.
Leveling a door frame in an old house takes patience, but the payoff is a door that closes clean and stays that way. When you are ready to pair your leveled frame with the right door and hardware, Arizona Door Store can help. We offer locally made doors, expert customer service, and reliable local delivery to keep your project on schedule. Get started with Arizona Door Store and finish your old-house project with doors that fit right the first time.