 how-to
How to Install Interior Door Slab Into Existing Frame
Table of Contents
- Prehung vs Slab Door Installation: Which Method Is Right for Your Project
- Tools Needed for Hanging a Door Slab
- How to Measure for a Replacement Door Slab
- Preparing Your Frame: Removing the Old Door Slab
- Fitting and Hanging Your Interior Door Slab Into the Existing Frame
- Adjusting Door Hinges for Alignment
- Handling Out-of-Square Frames and Uneven Floors
- Common Mistakes to Avoid When Installing a Door Slab
- Frequently Asked Questions
Last Updated: October 3, 2026
Prehung vs Slab Door Installation: Which Method Is Right for Your Project
When replacing an interior door, you choose between a prehung door or a door slab. This choice affects cost, timeline, and difficulty.
A prehung door comes with hinges attached to the door and jamb as one unit. A door slab is just the door itself, installed into your existing frame. Most homeowners and contractors choose the slab approach for older homes where the existing frame is sound.
The slab method saves money when your frame is square and level, and works better in tight spaces. The trade-off is that installing a door slab requires more skill and precision, you must transfer hinge locations, mortise for hinges, and ensure proper clearance on all sides.
This guide walks you through the entire process of how to install interior door slab into existing frame, from measuring and preparing the frame to hanging and adjusting your new door.
Tools Needed for Hanging a Door Slab
Essential tools:
- Tape measure (25-foot minimum)
- Level (24-36 inches long)
- Circular saw or table saw
- Chisel set (1/4-inch to 1-inch)
- Hammer
- Drill with bits
- Screwdriver set
- Pencil and marking knife
- Shims (wooden wedges)
- Sandpaper (120-grit and 180-grit)
- Clamps
- Door jig or hinge template (optional but helpful)
Nice-to-have tools:
- Power planer for fitting the slab to the frame
- Router jig for mortising hinges quickly
- Drywall saw for cutting around trim
- Stud finder
A router jig saves time for multiple doors; a hinge template aids accuracy. For a single door, a chisel and hammer suffice.
How to Measure for a Replacement Door Slab
Measure the opening width at the top, middle, and bottom. If measurements differ by more than 1/8 inch, your frame is out of square, important when fitting the door.
Measure height on both sides. The door slab should be 1/8 inch shorter than the shortest measurement to prevent binding.
Measure jamb thickness. Most interior doors fit 4 9/16-inch jambs, but older homes vary.
Check hinge locations on your old door. Most use three hinges: top and bottom about 10 inches from the ends, middle hinge halfway between.
Measurement checklist:
- Opening width at top, middle, bottom
- Opening height on both sides
- Jamb thickness
- Hinge spacing on old door
- Swing direction (left or right)
Preparing Your Frame: Removing the Old Door Slab
Support the door from below. Remove hinge pins one at a time by tapping a nail or punch upward. Once all pins are out, lift the door free.
Inspect the frame for damage, rot, or soft wood. Repair or replace damaged jamb sections; sand small dings smooth.
Check frame hinges. If bent or damaged, remove them. Apply penetrating oil if screws stick, then replace with new hinges.
Sand the jamb where the old door sat, removing paint and buildup. Use 120-grit sandpaper, then 180-grit for a smooth surface.
Verify the frame is plumb and level using a 24-inch level. Note any out-of-plumb areas; you'll use shims to compensate during installation.
Fitting and Hanging Your Interior Door Slab Into the Existing Frame
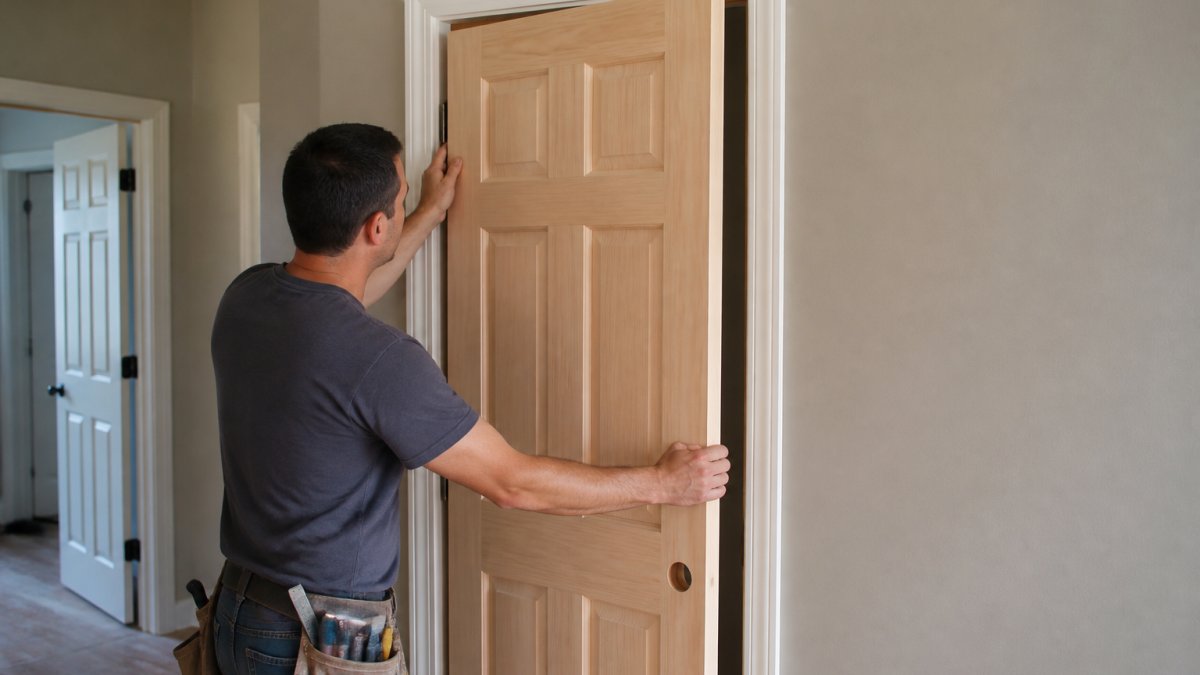
This is where the work becomes precise. Take your time with each step.
Transferring Hinge Locations and Mortising
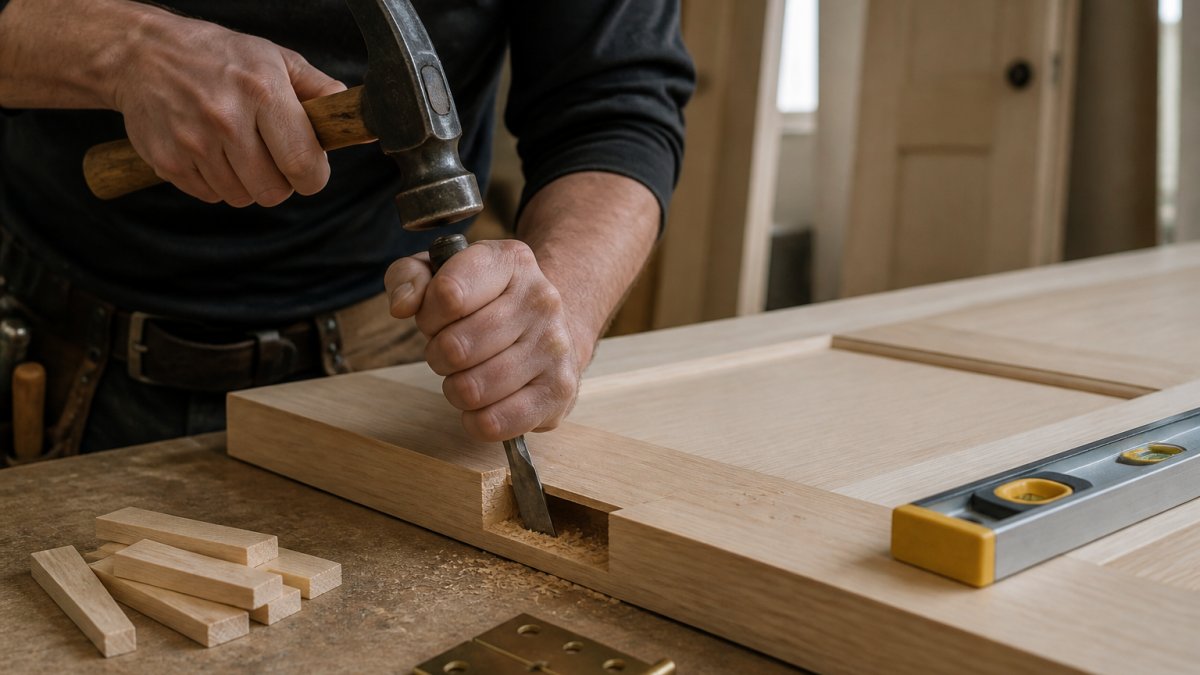
Mark hinge locations using measurements from your old door. Measure from the top and bottom of the door slab and mark each hinge center with a pencil.
Set the door slab on sawhorses. Use a hinge template or old hinges as a guide. Trace around each hinge with a marking knife to show where to mortise.
A hinge mortise is the rectangular recess holding the hinge leaf flush with the door edge. Cut to the exact depth of the hinge leaf (usually 1/4 inch).
Transfer mortise locations to the jamb using a hinge template or careful measurement from the top. Mark locations with a pencil to ensure perfect alignment.
Cut jamb mortises the same way: score, chisel, test fit. Hinges must align exactly with those on the door slab.
Installing the Lockset and Latch
The lockset and latch bolt need precise holes: 2 1/8-inch for the lockset, 1-inch for the latch bolt.
Mark the lockset hole center at standard height (36 inches from the bottom) on both sides of the door.
Drill the lockset hole from both sides to prevent splintering. Insert the lockset and test that the latch bolt moves smoothly and catches properly.
Drill the latch bolt hole in the jamb at the same height as the door latch. Test fit by closing the door gently, the latch bolt should engage smoothly without binding.
Adjusting Door Hinges for Alignment
Once the door slab hangs, alignment is critical. The door should sit evenly with equal clearance on all sides and swing smoothly without binding.
Initial Plumb and Level Check
Use a 24-36 inch level to check that the door is plumb. Place the level against the door edge. If the door tilts, loosen hinge screws slightly and adjust.
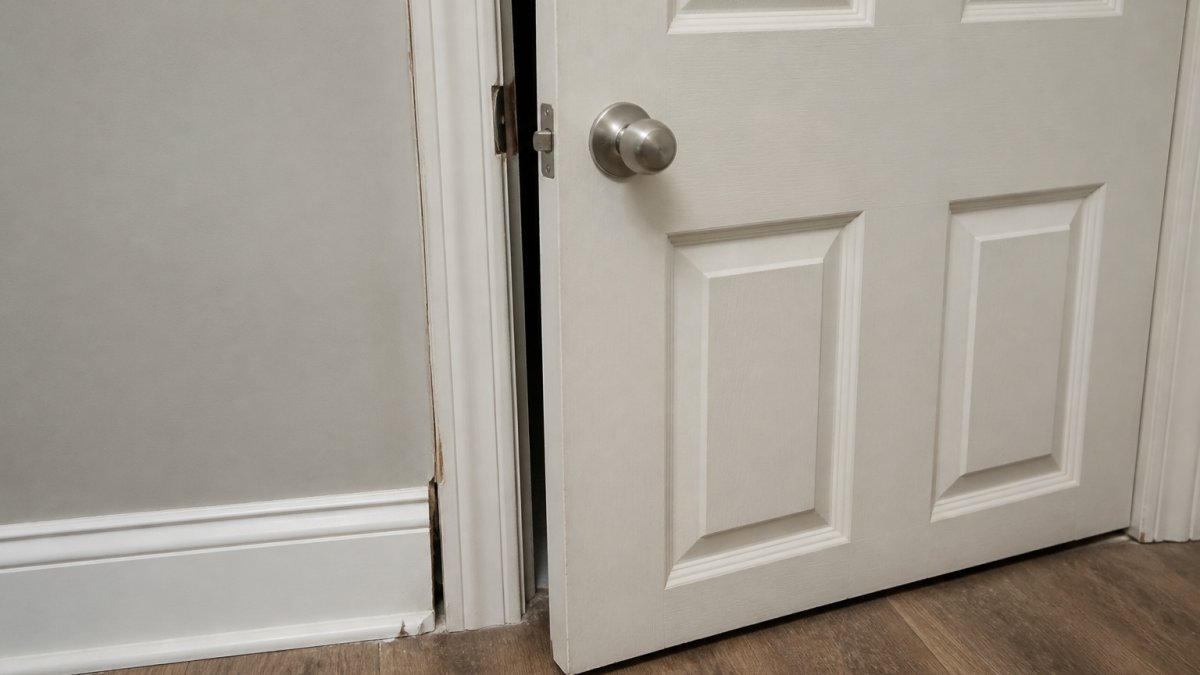
Check the reveal (gap between door and jamb), it should be 1/8 inch on all sides. Use a feeler gauge or folded paper to verify consistent gaps. Uneven gaps indicate tilting or an out-of-square frame.
Diagnosing Binding and Misalignment
Binding at the top of the latch side: Loosen the top hinge screws and place a shim behind the top hinge. Tap gently until binding stops, then retighten.
Binding at the bottom of the latch side: Loosen the bottom hinge screws and place a shim behind the bottom hinge.
Binding at the top of the hinge side: Loosen the top hinge screws and remove any shims behind the top hinge.
Binding across the entire latch side: The door slab may be too wide or the frame out of square. Measure door width at top, middle, and bottom. Plane the appropriate corner (1/16 inch at a time) from outside toward inside to avoid splintering. Persistent friction often signals structural shifts that require more than simple planing, much like the precision needed when fixing pocket doors to ensure smooth operation within their tracks.
Binding at the top or bottom edge: Measure opening height on both sides. Plane the door edge to match the shorter measurement. Sand smooth and seal immediately.
Fine-Tuning with Hinge Screws
Test the door swing after shimming. For minor adjustments, loosen one hinge screw at a time (never more than one-quarter turn) and tap gently with a rubber mallet. Retighten and test.
Do not over-tighten hinge screws, snug is sufficient. Over-tightening strips screw holes and prevents adjustment. If stripped, move the hinge 1/2 inch and drill a new hole.
Addressing Out-of-Square Frames
If your frame is out of square by more than 1/4 inch, shimming alone may not solve the problem.
Use a straightedge to identify which side is high and which is low. Place shims behind the jamb on the low side to bring the frame into plumb.
For severe out-of-square conditions, plane the door slab to match the frame angle. Plane with the grain in light passes (1/32 inch each) to avoid tearout.
Finishing and Sealing Cut Edges
After planing or sanding door edges, seal immediately. Unsealed wood absorbs moisture and warps, especially in hollow-core doors.
For hollow-core doors: If planed edge exposes cardboard, seal with wood filler or epoxy. Fill completely, sand smooth, then prime and paint.
For solid-core and solid wood doors: Sand with 120-grit then 180-grit. Apply primer and paint (two coats for better moisture protection).
This sealing step prevents the door from warping or swelling due to humidity changes, which is especially important in bathrooms or kitchens where moisture levels fluctuate.
Final Alignment Verification
Once all adjustments are complete, perform a final check:
- Close the door and verify the reveal is 1/8 inch on all sides.
- Open and close the door five times. It should swing smoothly without binding.
- Check that the door closes fully and the latch engages without forcing.
- Verify the door does not swing open on its own (the frame should be plumb enough to hold it closed).
- Tighten all hinge screws firmly (but not over-tight) and verify they remain tight after the final test swing.
Document the final adjustment by taking photos. This record helps if future adjustments are needed and explains any visible gaps or imperfections to the homeowner.
Handling Out-of-Square Frames and Uneven Floors
Many older homes have frames that are not perfectly square. Uneven floors and settling walls create challenges. The good news: you can still install a door slab successfully.
If your frame is out of square by more than 1/4 inch, you have options. One approach is to plane the door slab slightly to match the frame angle.
Start by identifying which side of the frame is high and which is low. Use a level and straightedge. Once you know where the problem is, place shims behind the jamb on the low side.
For uneven floors, shims under the door stop can help. The door stop is the piece of trim that prevents the door from swinging too far. Adjust it so the door closes evenly.
If the floor slopes significantly, the bottom of the door may not sit flush against the floor. A door sweep (a rubber seal at the bottom of the door) can compensate.
Document the frame condition before you start. Take photos. This helps you troubleshoot problems and explains any gaps or imperfections to the homeowner.
Common Mistakes to Avoid When Installing a Door Slab
Learning from others' mistakes saves time and frustration.
Measuring once. Measure three times. Write everything down. Bring measurements to Arizona Door Store when you select your door slab.
Ignoring frame condition. A warped or damaged frame causes problems. Fix the frame before hanging the door. Inspect for rot, water damage, and structural issues.
Rushing the mortises. Hinge mortises must be precise. A shallow mortise leaves gaps. A deep mortise causes the door to hang crooked.
Forgetting about clearance. The door slab needs 1/8 inch clearance on all sides. Without it, the door binds and won't close smoothly.
Skipping the level check. A door that looks straight to the eye might not be plumb. Use a level on every installation.
Installing hinges upside down. The hinge pin should point upward. If it points down, the door will sag. Check the hinge orientation before screwing it down.
Tightening screws too much. Over-tightening strips screw holes and prevents fine adjustment. Tighten snugly, not with maximum force.
Installing a door slab into an existing frame is a skill that improves with practice. The process requires precision and patience, but the results are worth it.
Frequently Asked Questions
How much gap should be between a door slab and the frame?
Standard gap tolerance is 1/8 inch on the top and sides of the door slab. The bottom clearance depends on your flooring type: 1/2 inch for carpet, 1/4 inch for hard flooring, and 3/8 inch if you plan to install a door sweep. Uneven floors may require adjustment at the bottom, use shims to maintain consistent spacing and ensure the door swings freely without binding.
Is it easier to install a slab door or a prehung door?
Prehung doors are faster and easier for standard, square frames because hinges and the lockset are pre-installed. Slab doors require more skill but offer flexibility for custom installations and out-of-square frames. If your jamb is plumb and level, prehung saves time. If your frame is irregular or you need precise adjustments, a slab door gives you better control.
Do I need to mortise hinges when replacing a door slab?
Yes, you must mortise hinges into the door slab edge. The hinge leaf sits flush with the surface so the door closes properly. If your old door had the same hinge locations, you can transfer the template and use a router jig or chisel to create matching mortises. Improper mortising causes binding, gaps, and misalignment, this is one of the most common installation mistakes.
What should I do if my frame is out of square or my floor is uneven?
Use a level and square to identify high and low spots. Shim the bottom of the jamb to bring it plumb and level, even if the floor isn't flat. Check the reveal (gap between door and trim) at multiple points. For severely uneven floors, you may need to bevel the bottom edge of the door slab with a planer or belt sander. Older homes often have settling and floor slope, shimming and careful measurement prevent binding and gaps.