 how-to
How Long Does Barn Door Installation Take
Table of Contents
- How Long Does Barn Door Installation Take
- Tools Needed for Interior Door Installation
- Pre-Installation Prep Time
- Step-by-Step Barn Door Installation Process
- Barn Door Installation Cost and Budget Considerations
- Safety Precautions and Weight Capacity
- Common Installation Delays and Troubleshooting
- When to Call a Professional
- Frequently Asked Questions
Last Updated: September 29, 2026
How Long Does Barn Door Installation Take
The time required for barn door installation varies significantly based on your skill level, wall type, and the specific challenges your space presents. A straightforward interior installation on standard drywall typically takes two to four hours for someone with basic DIY experience. Professional installers often complete the same project in one to two hours. However, older homes with uneven walls, plaster construction, or structural complications can extend timelines considerably.
At Arizona Door Store, we provide expert guidance to homeowners and contractors for their door projects across the Phoenix metropolitan area. Understanding how long your specific project will take helps you plan your schedule and set realistic expectations before you begin.
The key variables affecting installation duration include wall composition, door weight, your familiarity with power tools, and whether you're working alone or with a helper. We'll break down each factor so you can estimate your timeline accurately.
Installation Time by Skill Level
Beginners typically need four to six hours for a complete barn door installation. This includes time spent reading instructions, locating studs, double-checking measurements, and working carefully through each step. First-time installers often pause between steps to verify they're on track.
Intermediate DIYers with some construction experience usually complete the project in two to three hours. They move confidently through the process but may still need to troubleshoot minor alignment issues.
Experienced contractors and carpenters often finish in one to two hours. Their familiarity with power tools, measuring techniques, and problem-solving allows them to work efficiently. They anticipate potential issues and address them proactively.
Pre-installation prep time deserves special attention. Even before you pick up a drill, measuring the door opening, locating wall studs, and gathering tools can take thirty minutes to an hour.
Time Variance Based on Wall Type
Wall composition dramatically impacts installation duration. Drywall is the fastest option, studs are easy to locate, and fasteners secure quickly. Most drywall installations take two to four hours total.
Plaster walls present a common challenge in older homes. Plaster is brittle and requires careful drilling to avoid cracking. You'll need to work slowly, use appropriate anchors, and may need to reinforce areas around mounting points. Add one to two hours to your timeline.
Brick or concrete walls require specialized drill bits and anchors. If you lack experience drilling into masonry, budget three to five extra hours. Renting a masonry drill bit and learning proper technique takes time upfront but prevents damaged walls.
Tile or stone surfaces are the most time-intensive. You may need to drill pilot holes, use specialized anchors, and work methodically to avoid cracking the surface. These projects often take six to eight hours or longer.
Studs and framing variations also affect timing. If your wall studs are spaced irregularly or don't align with where you need to mount the track, you'll need to use additional reinforcement methods, adding thirty minutes to an hour.
Tools Needed for Interior Door Installation
Gathering the right tools before you start prevents mid-project trips to the hardware store and keeps your workflow moving. Here's what you'll need:
- Tape measure (25-foot minimum)
- Stud finder (electronic models are faster and more reliable)
- Drill-driver (18V or higher for consistent power)
- Drill bits (standard, masonry if applicable, and spade bits for larger holes)
- Level (24-inch is ideal for checking vertical and horizontal alignment)
- Pencil or chalk for marking
- Screwdriver set (Phillips and flathead)
- Wrench or socket set (for adjusting bolts on hangers)
- Sawhorses or work surface (for supporting the door while you work)
- Safety glasses and work gloves
- Ladder (for reaching the header board area)
Having everything ready before you start eliminates delays. A two-person lift makes handling the door slab safer and faster, especially for heavier doors.
Pre-Installation Prep Time
Most people underestimate prep time. What looks like thirty minutes often takes closer to an hour when done correctly.
Measuring the opening requires accuracy. Measure width at three points (top, middle, bottom) and height at three points (left, center, right). Record the smallest measurements to ensure proper fit. This step alone takes fifteen to twenty minutes.
Locating wall studs with a stud finder takes ten to fifteen minutes. Mark stud locations with light pencil marks. For barn door installation, you need to identify studs where the header board will mount, typically the top of your door opening.
Clearing the work area removes obstacles and prevents accidents. Move furniture, protect flooring with drop cloths, and ensure adequate lighting. This takes ten to fifteen minutes.
Reviewing instructions and layout prevents costly mistakes. Lay out all hardware components and verify everything is present before you begin drilling. Take five to ten minutes for this step.
Marking mounting locations requires precision. Use your measurements and the manufacturer's template to mark exact drill points. This takes fifteen to twenty minutes and is worth doing slowly to avoid errors.
Step-by-Step Barn Door Installation Process
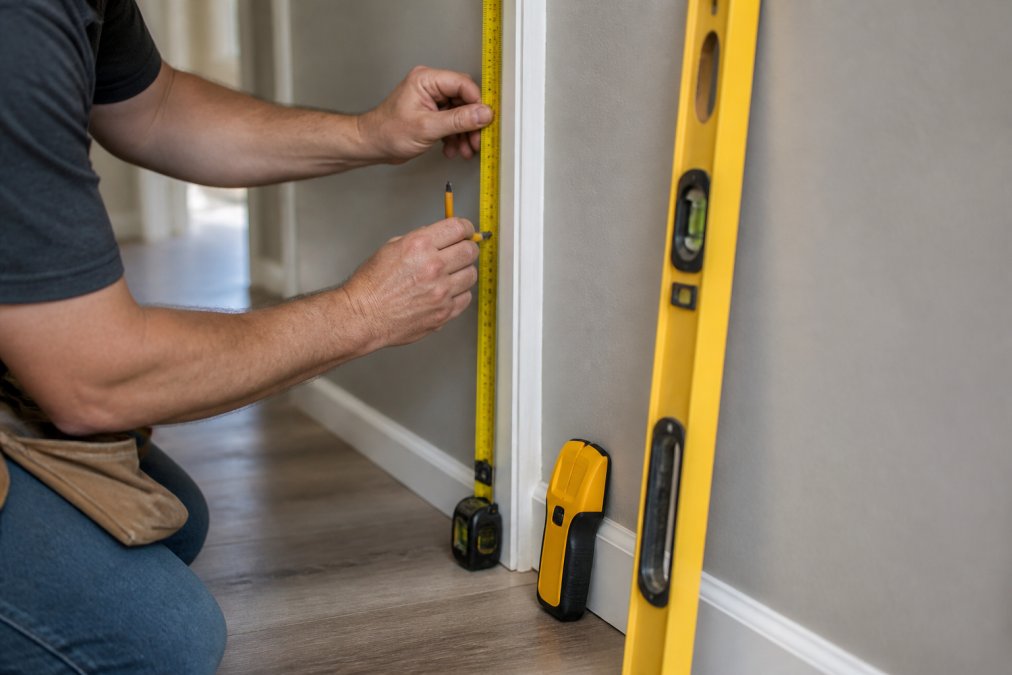
Step 1: Measure the Door Opening and Locate Wall Studs
Start by measuring your door opening precisely. Use a tape measure to record the width at three different heights and the height at three different widths. Write down the smallest measurement in each direction, this ensures your door will fit without binding.
Next, locate the wall studs using your stud finder. Mark stud locations with a pencil. The header board for barn door hardware typically mounts above the door opening, so focus on identifying studs in that area. Most walls have studs spaced sixteen inches apart, but verify this by finding at least two studs and measuring the distance between them.
Check your wall surface for plumb using a level. Slightly uneven walls are normal and manageable. Significantly uneven walls may require shimming during installation.
Step 2: Install the Barn Door Header Board
The header board is the foundation for your entire barn door track system. It must be level, secure, and properly anchored to wall studs or with appropriate heavy-duty anchors.
Position the header board above your door opening. Most installations place it two to three inches above the frame. Use your level to ensure it's perfectly horizontal before drilling any holes.
Mark pilot hole locations where the header board will attach to studs. Drill pilot holes first, this prevents splitting wood and makes driving fasteners easier. Use fasteners appropriate for your wall type: wood screws for studs, heavy-duty anchors for drywall between studs.
Drive fasteners securely. The header board must support the full weight of your door, so don't skip this step.
Step 3: Mount the Track System
The track system slides onto the header board and holds the hanger brackets. Align the track according to manufacturer specifications, typically centered on the header board.
Step 4: Attach Hanger Brackets to the Door Slab
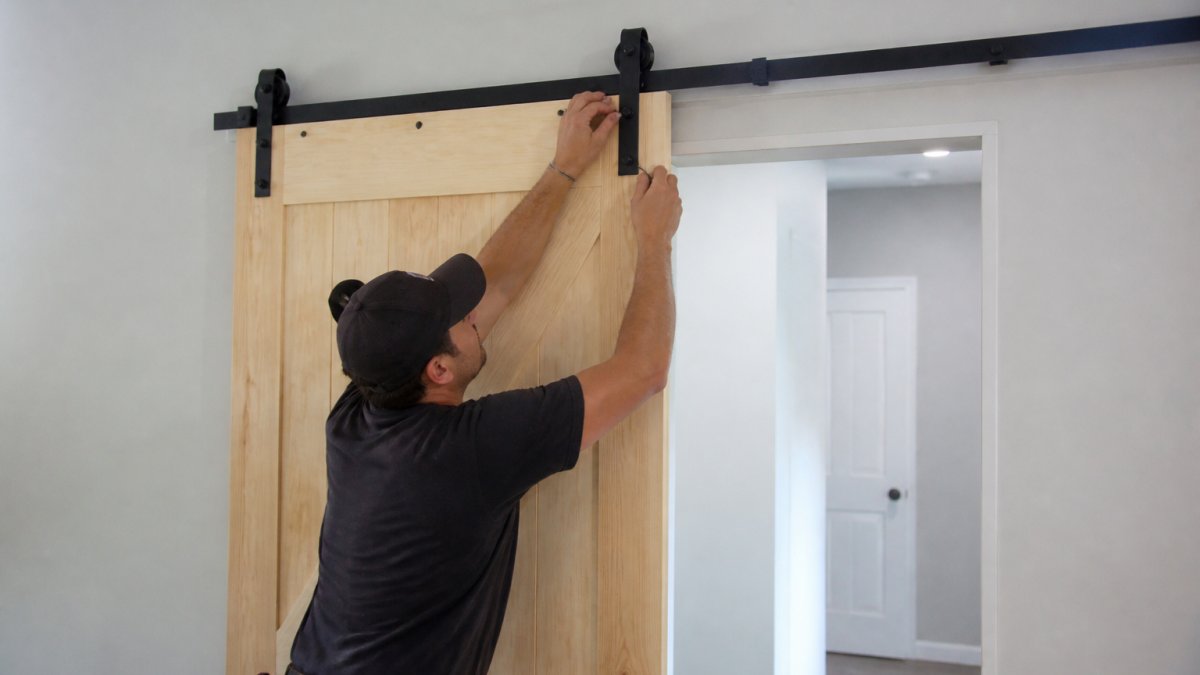
Place your door slab on sawhorses at a comfortable working height. Position the hanger brackets according to the manufacturer's template. Most barn door hardware uses two hangers positioned near the top corners of the door.
Step 5: Hang the Door and Adjust Alignment
This step is easiest with two people. Lift the door slab and guide the hanger brackets into the track. The door should slide smoothly and hang evenly.
Step 6: Install Floor Guide and Door Stoppers
The floor guide keeps the bottom of the door from swinging away from the wall. Position it directly below the door's path and secure it to the floor with fasteners appropriate for your flooring type.
Barn Door Installation Cost and Budget Considerations
The financial investment for barn door installation varies based on hardware quality, door material, and whether you hire professionals. Budget considerations extend beyond just the hardware cost.
Safety Precautions and Weight Capacity
Barn doors are heavy. A solid wood door slab typically weighs between seventy and one hundred fifty pounds, depending on size and material. Never install barn door hardware without confirming weight capacity specifications.
Common Installation Delays and Troubleshooting
Stud location problems are common. If studs don't align with where you need to mount the header board, use heavy-duty anchors rated for your door's weight. These anchors distribute load across a larger area of drywall.
When to Call a Professional
Some situations warrant professional installation. If your walls are significantly uneven, out of plumb, or constructed of materials you're unfamiliar with, professionals handle these complications more efficiently.
Frequently Asked Questions
What tools are required for a standard barn door installation?
You'll need a drill-driver, stud finder, level, tape measure, socket wrench, screwdriver set, and a two-person lift or assistance for handling the door slab. A miter saw helps trim trim casing, and pilot holes prevent splitting. Safety gear including work gloves and safety glasses protects you during installation. Most DIYers have these basic carpentry tools already; specialized equipment like a stud finder is a one-time investment that simplifies locating wall studs for secure mounting.
Do I need a header board for a barn door installation?
Yes. The barn door header board is essential for supporting the track system and distributing the weight of the door slab across the wall structure. It must be mounted directly to wall studs to ensure structural integrity and prevent sagging. Without a proper header board installation, the track system cannot support the door's weight capacity safely, and the sliding mechanism will not function correctly over time.
What is the average labor cost to install a barn door?
Labor costs vary based on your location, contractor experience, and project complexity. Pricing for installation depends on the wall type, door weight, and whether additional structural work is needed. For an accurate estimate on installation labor, we recommend contacting local contractors directly.
How much clearance is needed above the door frame for the track?
Standard barn door installation requires approximately 2-3 inches of clearance above the interior opening for the track system and hanger brackets. This measurement ensures the door can slide smoothly without obstruction. When measuring the door opening, account for this clearance to avoid conflicts with ceiling trim casing or existing architectural elements. Verify exact clearance requirements with your specific barn door hardware manufacturer's specifications.